AutoCAD remains the industry standard for architectural drafting and technical drawing worldwide. Whether you're an architecture student or a professional transitioning from hand drafting, mastering AutoCAD is essential for creating precise construction documents, floor plans, and technical drawings that form the backbone of architectural practice.
This comprehensive tutorial will guide you through AutoCAD's fundamental features specifically tailored for architectural work. From setting up your first project to creating professional construction drawings, you'll learn the essential skills needed to produce accurate architectural documentation that meets industry standards in both the UK and internationally.
For UK architects working toward ARB registration or RIBA chartered status, AutoCAD proficiency is considered a fundamental skill. The software's precision and industry-wide adoption make it indispensable for producing the technical drawings required for planning applications, building regulations approval, and construction documentation.
Getting Started with AutoCAD
Interface Overview
AutoCAD's interface is designed for efficiency and precision in technical drafting. Understanding each component will accelerate your learning process:
Command Line: The heart of AutoCAD, where you'll type commands, see prompts, and receive feedback. Learning keyboard shortcuts for common commands dramatically speeds up your workflow.
Ribbon Interface: Organized into tabs (Home, Insert, Annotate, etc.), the ribbon provides visual access to tools and commands. The Architecture tab contains specialized tools for architectural drawing.
Drawing Area: Your primary workspace where all drawing and editing occurs. The crosshairs cursor shows your current position, and the coordinate system helps maintain precision.
Status Bar: Displays drawing aids like Grid, Snap, Ortho, and Polar tracking. These tools are crucial for accurate architectural drafting.
Tool Palettes: Contain blocks, hatches, and other frequently used elements. Many firms create custom palettes with their standard architectural symbols and details.
The Model and Layout tabs at the bottom separate your drawing space (Model) from your presentation sheets (Layout), a fundamental concept for organizing architectural drawings.
Setting up a New Project
Proper project setup is crucial for maintaining consistency and meeting professional standards:
Template Selection: Start with an architectural template that includes appropriate layers, text styles, and dimension styles. Many UK practices use templates that comply with BS 1192 standards for drawing organization.
Units Configuration: Set your drawing units to millimeters for UK practice (or appropriate units for your region). AutoCAD can work in any unit, but consistency is key.
Layer Standards: Establish a layer naming convention early. UK practices often follow BS 1192 layer naming, while international projects might use AIA layer standards. Typical architectural layers include walls, doors, windows, dimensions, and text.
Drawing Limits: Set appropriate limits for your drawing area based on your project scale. This helps with zooming and plotting operations.
Annotation Scale: Set up annotation scaling to ensure text and dimensions appear correctly at different plot scales, essential for architectural drawing sets.
Basic Drawing Techniques
Creating Lines, Shapes, and Objects
AutoCAD's drawing commands form the foundation of all architectural work:
Line Command: The most fundamental tool for architectural drafting. Use the Line command with precise coordinates or object snaps to create accurate wall layouts, property boundaries, and construction details.
Rectangle and Circle: Essential for creating rooms, circular features, and basic geometric shapes. The Rectangle command can create walls by drawing with specific thickness.
Polyline: Creates connected line segments that behave as a single object. Particularly useful for complex shapes, property boundaries, and areas that need to be filled with hatching.
Arc and Spline: For curved elements like staircases, landscaping features, and organic architectural forms. Understanding arc creation methods is crucial for architectural detailing.
Offset: One of the most important commands for architectural work. Use Offset to create parallel lines for wall thickness, setbacks, and spacing elements consistently.
Object snaps (OSNAP) are crucial for precision. Enable endpoint, midpoint, intersection, and perpendicular snaps for accurate connections between drawing elements.
Using Layers and Properties
Layer management is fundamental to professional architectural practice:
Layer Organization: Create logical layer systems with appropriate naming conventions. Separate structural elements, architectural features, annotations, and dimensions onto different layers.
Layer Properties: Control color, linetype, and lineweight for each layer. UK standards often specify particular colors and linetypes for different drawing elements.
Layer States: Save different layer configurations for different drawing purposes. For example, create layer states for design development, construction documents, and presentation drawings.
Properties Panel: Modify object properties including layer assignment, color, and linetype. Understanding how to change properties efficiently speeds up drafting work.
Match Properties: Copy properties from one object to another quickly, maintaining consistency across your drawing.
Layer discipline is essential in collaborative work, especially when exchanging drawings with engineers, consultants, and contractors.
Advanced Features
3D Modeling Basics
While AutoCAD is primarily a 2D drafting tool, basic 3D capabilities can enhance architectural visualization:
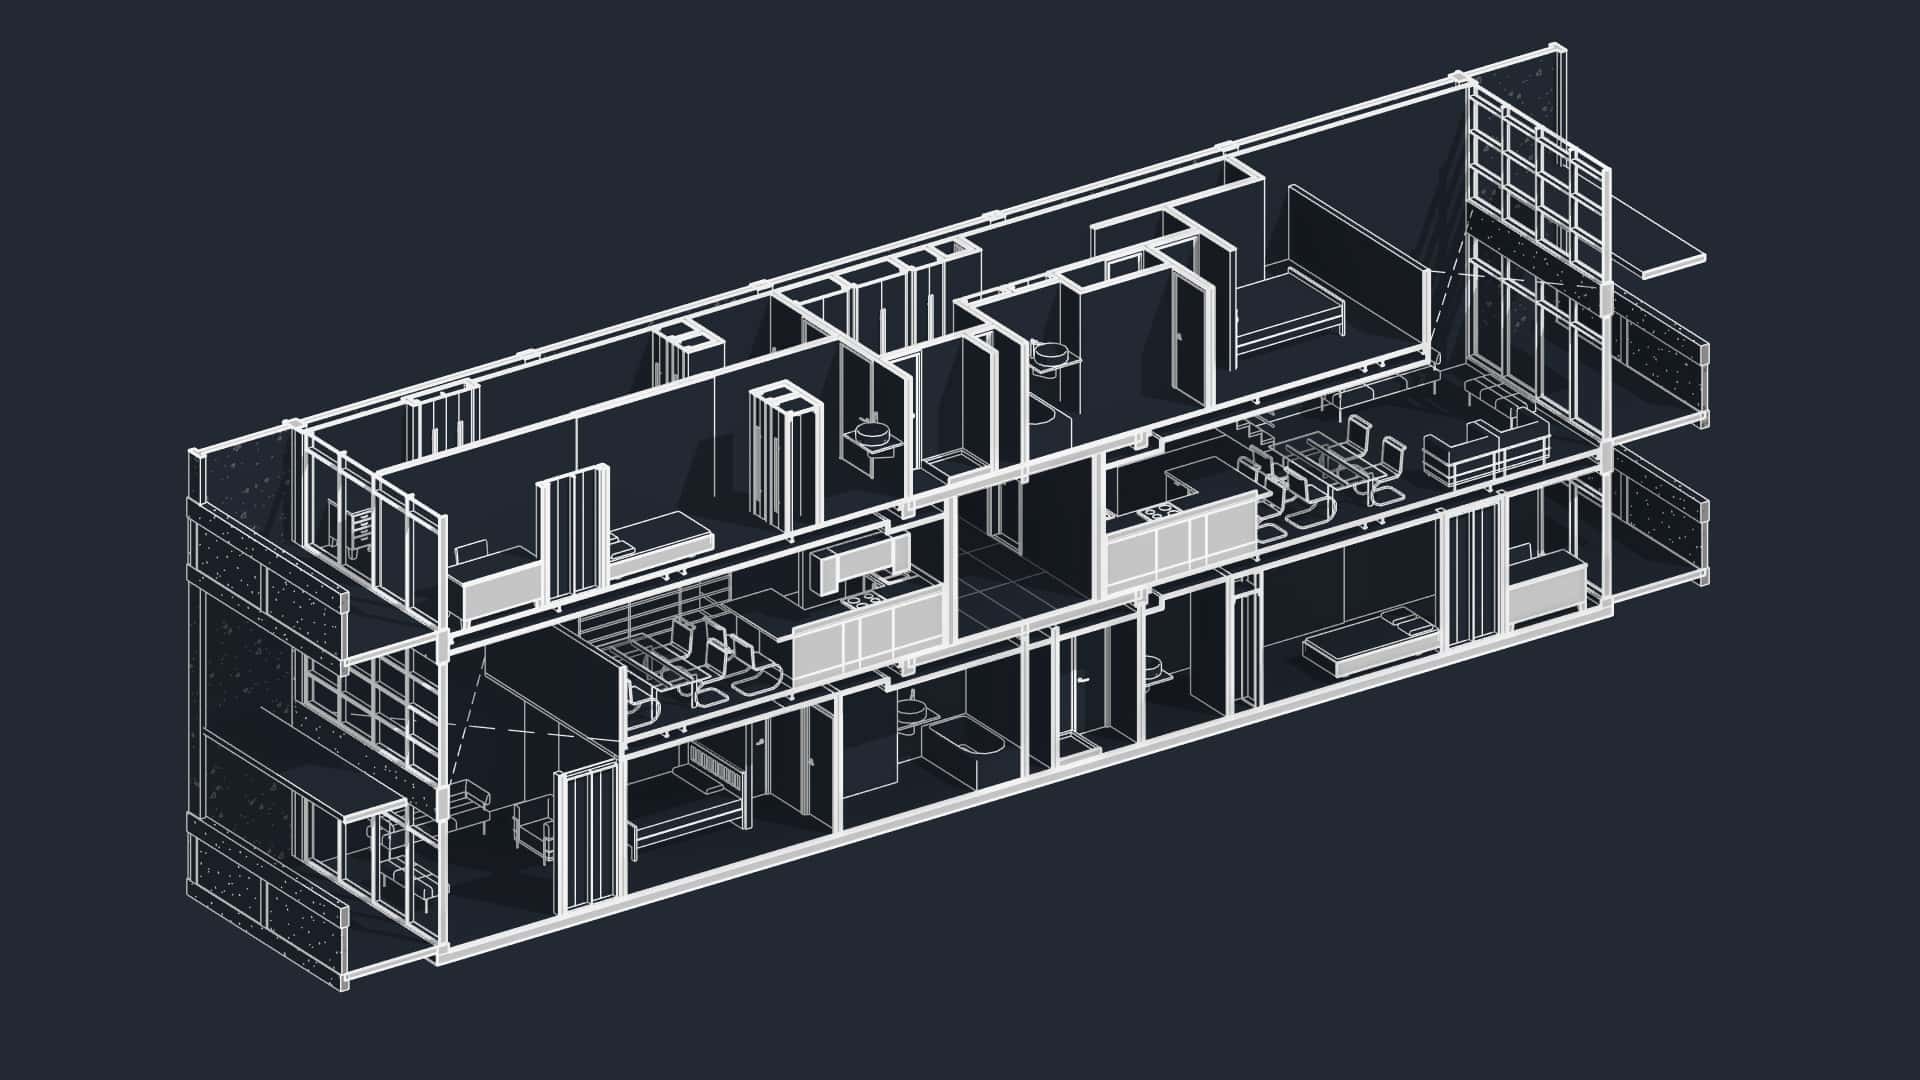
Extrude Command: Convert 2D floor plans into 3D forms by extruding walls to appropriate heights. This creates simple massing studies and basic 3D visualization.
3D Views: Use preset isometric views and the ViewCube to examine your 3D geometry from different angles. This helps verify design intent and identify potential conflicts.
Basic 3D Primitives: Box, cylinder, and sphere commands create simple 3D forms for conceptual modeling and space planning exercises.
UCS (User Coordinate System): Change your working plane for drawing on vertical surfaces or angled elements, useful for creating sections and elevations.
While AutoCAD's 3D capabilities are limited compared to specialized modeling software like Revit or SketchUp, understanding basic 3D concepts prepares you for more advanced BIM workflows.
Rendering and Visualization
AutoCAD includes basic rendering capabilities for simple visualization:
Materials: Apply basic materials to 3D objects for more realistic appearance. The material library includes common architectural finishes.
Lighting: Add artificial lighting to illuminate your 3D models. Understanding basic lighting principles enhances visualization quality.
Render Command: Generate rendered images of your 3D models. While not as sophisticated as dedicated rendering software, it's useful for basic visualization needs.
Visual Styles: Change how your 3D model appears on screen, from wireframe to realistic visual styles with shadows and materials.
For professional architectural visualization, most practices use specialized software like Lumion or V-Ray, but understanding AutoCAD's basic rendering capabilities provides a foundation for more advanced work.
Best Practices
Common Mistakes to Avoid
Learning from common errors accelerates your AutoCAD proficiency:
Drawing Off-Grid: Always use object snaps and coordinate input for precision. Architectural drawings require exact dimensions for construction accuracy.
Layer Mismanagement: Inconsistent layer use creates confusion and makes drawings difficult to modify. Establish layer standards early and stick to them consistently.
Inappropriate Scale: Drawing building elements at wrong scales (like drawing a door handle at building scale) causes plotting and annotation problems.
Ignoring Standards: Each practice and region has drafting standards. Familiarize yourself with relevant standards like BS 1192 in the UK or AIA standards internationally.
Overcomplicating Drawings: Draw only what's necessary for communication. Excessive detail can obscure important information and slow down drafting.
Tips for Efficient Workflow
Professional AutoCAD users develop efficient working methods:
Keyboard Shortcuts: Learn command aliases for frequently used tools. Commands like L (Line), C (Circle), and TR (Trim) become second nature with practice.
Template Development: Create standardized templates with your practice's layers, text styles, and dimension styles. This ensures consistency across projects.
Block Libraries: Develop libraries of standard architectural elements (doors, windows, fixtures) as blocks. This speeds up drafting and maintains consistency.
External References (Xrefs): Use external references for base drawings, consultant drawings, and repeated elements. This facilitates collaboration and keeps file sizes manageable.
Regular Backup: Save frequently and maintain backup copies. Use AutoCAD's automatic save features and establish regular backup routines.
Quality Control: Develop checking procedures for drawings before issuing. Use tools like Layer Walk and the Properties panel to verify drawing consistency.
Integration with BIM Workflows
Modern architectural practice increasingly uses Building Information Modeling (BIM), but AutoCAD remains relevant:
CAD to BIM: AutoCAD drawings can be imported into BIM software like Revit as a starting point for 3D modeling. Clean, well-organized CAD drawings translate better to BIM.
Detailing: AutoCAD excels at creating detailed 2D drawings that complement BIM models. Many practices use AutoCAD for construction details even within BIM workflows.
Legacy Projects: Existing buildings documented in AutoCAD require ongoing maintenance and renovation work. Understanding both CAD and BIM workflows provides flexibility.
Collaboration: AutoCAD's industry-wide adoption means you'll likely exchange drawings with consultants and contractors using CAD. Understanding both systems enhances collaboration.
For UK architects pursuing RIBA chartered status, demonstrating competency in both traditional CAD and modern BIM workflows shows adaptability and comprehensive technical skills.
Professional Development Path
Mastering AutoCAD opens doors to advanced architectural software and techniques:
Advanced AutoCAD: Explore customization, scripting, and advanced 3D modeling techniques to increase efficiency and capabilities.
BIM Transition: Use your AutoCAD foundation to learn Revit, ArchiCAD, or other BIM platforms. The precision and layer management skills transfer directly.
Specialization: Consider specialized applications like AutoCAD Architecture, which adds building-specific tools, or Civil 3D for site design work.
Industry Standards: Stay current with evolving CAD standards and best practices through RIBA continuing professional development or similar programs in your region.
AutoCAD proficiency remains a valuable skill in architectural practice, whether as your primary drafting tool or as part of a broader technical skill set. The precision, flexibility, and industry acceptance of AutoCAD ensure its continued relevance in professional practice.
Understanding AutoCAD provides an excellent foundation for learning other architectural software and demonstrates the technical competency expected of qualified architects in both the UK and international practice.