Grasshopper's blank canvas is one of the most intimidating things in architectural software. Not because it's complicated — it isn't, once you understand the logic — but because nobody teaches Rhino and Grasshopper as a unified system. They're treated as two separate tools, learned in isolation, and beginners end up fluent in neither.
The biggest mistake beginners make with Rhino and Grasshopper is opening Grasshopper before they understand Rhino's geometry logic. The two tools share the same underlying data model, and skipping Rhino fundamentals makes Grasshopper almost impossible to learn. What follows is the logical sequence: the Rhino skills you need first, the mental model shift Grasshopper requires, and a concrete first workflow you can complete today.
ArchAdemia offers dedicated Rhino and Grasshopper courses as part of its 60+ course library, used by over 4,000 architects and designers globally. This article is the starting point before you dive in.
Rhino Is Not Just a Modelling Tool — It's a Geometry Engine
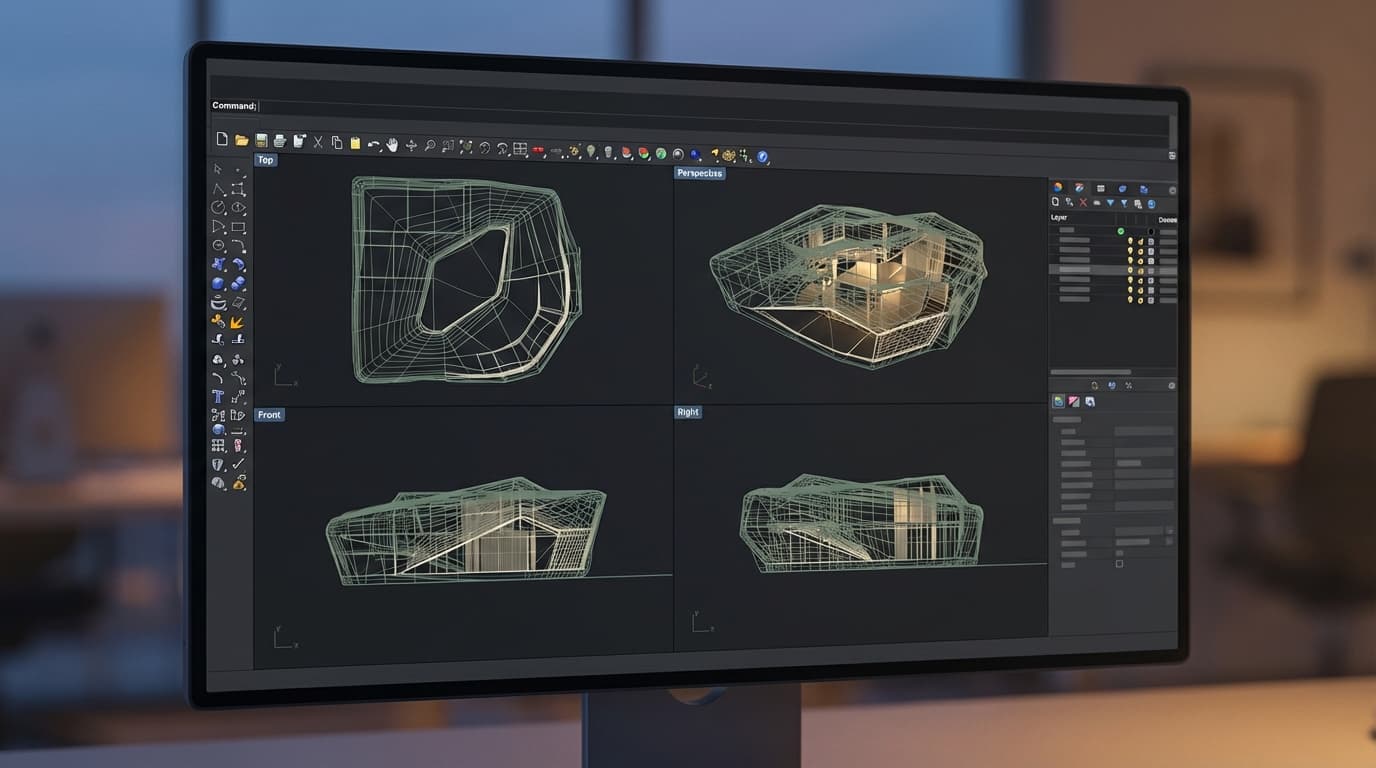
Rhino (Rhinoceros 3D) is a NURBS-based 3D modelling application used by architects for complex curved geometry, parametric design, and fabrication documentation — it is the host application for Grasshopper. That last part matters more than most tutorials acknowledge. Grasshopper doesn't run independently. It lives inside Rhino, reads Rhino geometry, and writes back to Rhino. Understanding Rhino isn't optional groundwork — it's the actual foundation.
NURBS vs Mesh: The Distinction That Matters
NURBS stands for Non-Uniform Rational B-Splines, which sounds like a maths exam topic and doesn't need to be. The practical difference is this: a NURBS surface is defined mathematically, which means it stays perfectly smooth at any scale. A mesh (what SketchUp uses) is a collection of flat polygons that approximates a curve. Zoom into a SketchUp sphere and you see facets. A Rhino sphere stays smooth because it's described as an equation, not a collection of triangles.
For fabrication, this matters enormously. CNC cutters and laser cutters work from precise geometry. Meshes introduce approximation errors. NURBS don't.
Where Rhino Fits in a Typical Architecture Workflow
Rhino 8, released in 2023 and the current version in 2026, includes native SubD modelling tools and tighter Grasshopper integration than any previous version. It sits in the workflow at the concept and complex geometry stage — not as a replacement for Revit's documentation capability, but as the tool you reach for when Revit can't model what you're designing.
Typical use cases: free-form facades, parametric structural systems, competition models, bespoke furniture, and fabrication documentation for anything with compound curves. Rhino is best used for free-form architecture, competition modelling, and parametric facades — for rectilinear BIM documentation, Revit remains the industry standard.
Best for complex geometry: Rhino 8 is the best 3D modelling tool for architects working with complex curved geometry, offering NURBS precision that mesh-based tools cannot match for fabrication-ready output.
Rhino vs SketchUp vs Revit: Picking the Right Tool
For architects who need parametric control over complex geometry without committing to full BIM, Rhino with Grasshopper is the best combination available in 2026 — SketchUp cannot handle NURBS and Revit's parametric tools require BIM infrastructure. The table below makes the decision straightforward.
Rhino costs approximately £895 for a single commercial licence in 2026, with a significantly reduced student licence available — it also offers a 90-day free evaluation period, making it the most accessible professional-grade NURBS modeller for students. SketchUp is cheaper but categorically different. Revit is the documentation workhorse. None of them are interchangeable — they're tools for different problems.
The honest answer: most architects need Revit for practice, and Rhino for the work that makes the practice interesting.
Don't Touch Grasshopper Until You've Done This
Before opening Grasshopper, beginners need to be comfortable with at least five core Rhino operations — surface creation, curve editing, boolean operations, the command line, and basic layer management. That's not an arbitrary list. Those are precisely the operations Grasshopper will ask you to understand in node form.
The Five Rhino Commands Every Beginner Must Own
Loft — Takes two or more curves and creates a surface between them. The most common surface creation command in architecture, and the first one Grasshopper beginners will replicate parametrically.
Sweep — Sweeps a profile curve along a rail curve. Essential for complex extrusions that follow a path.
NetworkSrf — Creates a surface from a network of intersecting curves. Harder to control than Loft but more powerful for compound curvature.
BooleanUnion / BooleanDifference — Combines or subtracts solid geometry. Understanding why these sometimes fail (non-manifold edges, open surfaces) saves hours of debugging in Grasshopper too.
ExtractSrf — Pulls individual faces from a polysurface. Critical for working with complex models where you need to isolate geometry before processing it.
Understanding the Command Line — Rhino's Hidden Superpower
Most beginners mouse-click through menus. This is slow and, more importantly, it hides Rhino's precision input system. The command line is where Rhino's speed lives. Type Loft instead of hunting through panels. Type _Points to toggle control points. The command line also accepts numerical inputs mid-command — type a distance, an angle, a count — which is exactly the kind of precision that makes Grasshopper's numerical inputs feel familiar rather than foreign.
Layers, Object Properties, and Why They Matter in Grasshopper
Grasshopper bakes geometry back into Rhino. When it does, that geometry lands on whatever layer is currently active — unless you specify otherwise. Set up a logical layer structure before you start baking, or you'll end up with dozens of unnamed objects scattered across default layers and no way to manage them. Layer colours in Rhino correspond to baked Grasshopper geometry — establish this system early and it saves significant cleanup time later.
Architects should spend at least 20–30 hours learning core Rhino commands before attempting Grasshopper — specifically surface creation tools (Loft, Sweep, NetworkSrf), boolean operations, and the command line interface. For someone with existing 3D modelling experience, that's roughly three to four focused weeks of evening practice. For a complete beginner to 3D, budget more.
The ArchAdemia Rhino beginner course covers exactly this sequence — from interface orientation through to surface modelling workflows — before introducing any parametric logic.
Grasshopper Logic: How to Actually Think in Nodes
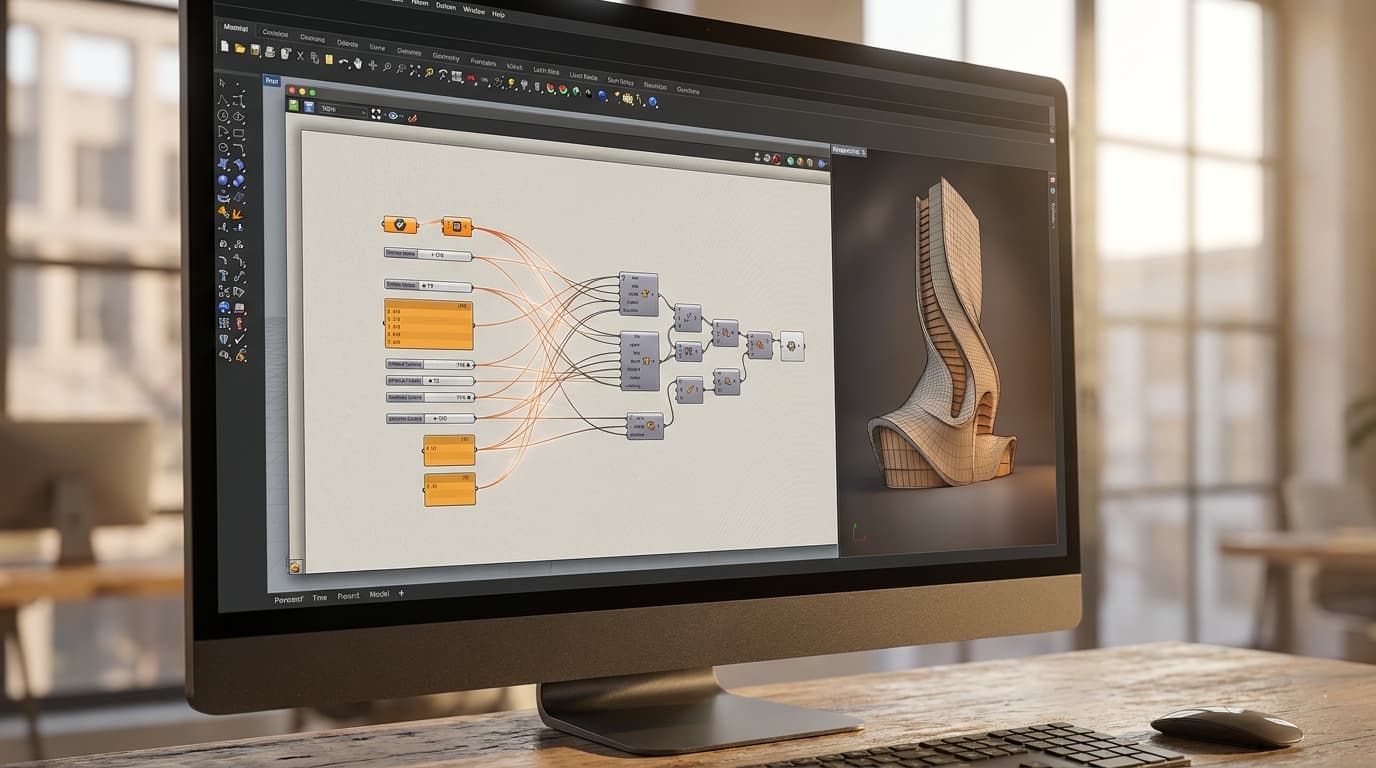
Grasshopper is a visual programming environment built into Rhino where geometry is defined by connecting parameter and component nodes with wires — data always flows left to right. That sentence is the entire conceptual foundation. Everything else is detail.
The Data Flow Model — Left to Right, Always
The mental model shift is this: you are not drawing geometry. You are describing a process for creating geometry. This is the single hardest conceptual leap for architects trained on direct modelling tools. In SketchUp, you push a face. In Rhino, you run a command. In Grasshopper, you define the logic that would run that command — and then you can change any input and watch the entire result update instantly.
Read the canvas left to right. Data enters on the left (parameters), gets processed in the middle (components), and exits on the right (outputs). Wires carry data between nodes. Follow a wire from left to right and you're following the logic of the definition.
Parameters vs Components: The Two Building Blocks
Parameters are data containers — they hold numbers, points, curves, surfaces, text. They don't do anything to the data; they just hold it. A Number Slider is a parameter. A Surface parameter component is a parameter.
Components are operations — they take inputs, do something to them, and produce outputs. Divide Surface is a component. Loft is a component. Move is a component.
The colour coding tells you what's happening: orange means a warning (the definition is working but something unexpected is occurring), red means an error (something has failed), grey means the component is inactive. Learn to read these before you start randomly reconnecting wires. The error message in the red component is almost always the fastest route to the fix.
Why Your First Definition Will Be Wrong — and That's Fine
The most common beginner mistake in Grasshopper is attempting complex definitions before understanding data types — beginners should start with points, progress to curves, then surfaces, before introducing data trees. Data trees are Grasshopper's most powerful feature and its most confusing one. A data tree is a structured list of lists — geometry organised into branches. Don't try to understand data trees on day one. Flag them as something to return to, and start with flat lists.
Number Sliders are the best starting component for Grasshopper beginners — they provide immediate visual feedback by updating geometry in real time as values change, making parametric logic immediately tangible. The moment a slider moves and geometry updates in the Rhino viewport is the moment Grasshopper stops being abstract and starts being useful. That moment usually happens within the first hour, and it's worth engineering your first definition specifically to reach it as fast as possible.
Your First Grasshopper Definition: Build This Before Anything Else
The best first Grasshopper exercise for beginners is a surface division workflow using the Divide Surface component, a Number Slider, and a Loft — it teaches geometry referencing, parametric inputs, and baking in a single definition. Here's the exact sequence.
Step 1: Set Up Your Rhino Geometry as Reference
Draw two curves in Rhino — they can be simple arcs or free-form curves, nothing elaborate. Run Loft to create a surface between them. Name the layer something obvious: "Reference Surface." This is the geometry Grasshopper will work with. Keep it simple. The point of this exercise is the Grasshopper logic, not the Rhino modelling.
Step 2: Reference Geometry into Grasshopper
Open Grasshopper (GH or Grasshopper in the command line). Drop a Surface parameter component onto the canvas (right-click the canvas, search "Surface"). Right-click the Surface component and select Set One Surface, then click your lofted surface in the Rhino viewport. The component turns grey — it's holding your surface.
This is the difference between referencing and internalising: referenced geometry depends on the Rhino file being open, while internalised geometry is embedded in the definition file itself. For sharing definitions with collaborators, internalise. For live working, reference. Right-click the Surface component and select Internalise Data if you want the definition to be self-contained.
Step 3: Divide, Populate, and Transform
Drop a Divide Surface component onto the canvas. Connect the output of your Surface parameter to the S (Surface) input of Divide Surface. Now add two Number Sliders — one for U count, one for V count. Connect them to the U and V inputs of Divide Surface. Move the sliders. Points appear on your surface in the Rhino viewport, updating in real time.
One gotcha worth flagging: if your surface domain isn't reparametrised, the division may produce unexpected results. Right-click the Surface component and select Reparametrize — this normalises the surface domain to 0–1 and gives Divide Surface predictable behaviour.
From here, you can connect the P (Points) output to a Move component, drive the move distance with another slider, and start building geometry from those moved points. Connect the resulting points to a Loft component. You now have a parametric panelled surface driven entirely by sliders.
Step 4: Bake — and Why You Should Do It Last
When you're happy with the result, right-click any component that's producing geometry and select Bake. Choose the target layer. The geometry appears in Rhino as static objects.
In Grasshopper, baked geometry is static and no longer updates when the definition changes — baking should always happen at the end of an iteration, not during active design development. Baking mid-process and then continuing to adjust sliders leaves orphaned geometry everywhere. Treat baking as the commit step: you've made a decision, now you're locking it in.
The expected outcome of completing this workflow: you understand geometry referencing, component connection, slider-driven parametric inputs, and the baking process. Those four things underpin every Grasshopper definition you'll ever build, regardless of complexity.
The Plugins That Change Everything (Once You're Ready)
Grasshopper's base installation is powerful. The plugin ecosystem makes it extraordinary. These are the tools worth knowing about once the fundamentals are solid:
Pufferfish — Extends Grasshopper's surface and curve tools significantly. Particularly useful for morphing, tweening, and surface manipulation that the base components don't cover.
Lunchbox — Panel patterns, structural grids, and mathematical surfaces. The fastest route to parametric facade panelling for beginners.
Kangaroo — Physics simulation inside Grasshopper. Form-finding, structural relaxation, tensile geometry. Not a beginner tool, but the destination many parametric architects are heading towards.
Human — Extends Grasshopper's interface capabilities, including display options and data management tools that make complex definitions significantly more readable.
All of these install through Rhino's Package Manager (Tools → Package Manager in Rhino 8), which replaced the old manual plugin installation process and makes dependency management considerably less painful.
The ArchAdemia Grasshopper course covers Pufferfish and Lunchbox as part of its intermediate workflow modules — worth bookmarking for when the foundations are in place. For those who want to extend parametric thinking into Revit workflows, Dynamo is the equivalent visual programming environment for BIM — a different tool, same underlying logic.
Which Role Are You? The Right Starting Point Depends on Your Answer
Not everyone comes to Rhino and Grasshopper from the same place. The right entry point varies significantly.
Architecture Students — Start with Rhino fundamentals, build the command line habit early, and treat Grasshopper as a second-semester skill. The 90-day Rhino evaluation licence removes the cost barrier entirely.
Junior Architects — If your practice uses Rhino for competition work or facade development, focus on the referencing and baking workflow first. You'll be modifying existing definitions before you're building new ones.
Archviz Artists — Grasshopper is a geometry generation tool for you, not a design tool. Focus on surface division, panelling, and the Lunchbox plugin. The output feeds into V-Ray for Rhino or your renderer of choice.
BIM Managers — Grasshopper and Dynamo share the same node-based logic. If you already know Dynamo, Grasshopper will feel familiar. The key difference is that Grasshopper operates on NURBS geometry rather than Revit elements.
Project-Running Architects — Rhino and Grasshopper are most useful for you at the concept stage, before geometry gets locked into BIM. The investment pays off when a client asks for a facade variation and you can generate twenty options in an afternoon rather than a week.
Frequently Asked Questions
What is Grasshopper in Rhino?
Grasshopper is a visual programming environment built into Rhinoceros 3D where geometry is created by connecting parameter nodes and component nodes with wires. Data flows left to right through the definition, allowing architects to define parametric relationships between geometry rather than drawing static shapes directly.
Do I need to learn Rhino before Grasshopper?
Yes. Grasshopper passes the same object types as Rhino — points, curves, surfaces, and meshes — through its node wires, so understanding these in Rhino is a direct prerequisite for reading Grasshopper definitions. Attempting Grasshopper without Rhino fundamentals is the single most common reason beginners give up.
How long does it take to learn Rhino and Grasshopper?
Architects should spend at least 20–30 hours learning core Rhino commands before attempting Grasshopper. A further 30–40 hours of focused Grasshopper practice is typically needed to reach the point of building useful definitions independently. Total time to functional competency: roughly 50–70 hours of deliberate practice.
How much does Rhino cost in 2026?
Rhino costs approximately £895 for a single commercial licence in 2026. Student licences are significantly cheaper, and Rhino offers a 90-day free evaluation licence — the most generous free trial period of any professional-grade NURBS modeller available.
Is Grasshopper the same as Dynamo?
Grasshopper and Dynamo share the same visual programming logic — both use nodes and wires to define parametric relationships. Grasshopper runs inside Rhino and operates on NURBS geometry; Dynamo runs inside Revit and operates on BIM elements. The conceptual model is transferable, but the tools and data types are different.
What is the best first exercise for learning Grasshopper?
The best first Grasshopper exercise for beginners is a surface division workflow using the Divide Surface component and Number Sliders — it demonstrates parametric feedback immediately, covers geometry referencing and baking, and builds the foundational understanding of data flow without requiring knowledge of data trees.
Can Grasshopper replace Revit for BIM?
No. Grasshopper is a geometry generation and parametric design tool, not a BIM platform. It produces geometry without construction data, scheduling information, or documentation capability. Rhino with Grasshopper and Revit serve different purposes — most practices that use both are using Rhino at the concept stage and Revit for documentation.
What plugins should Grasshopper beginners learn first?
For beginners, Lunchbox is the most immediately useful Grasshopper plugin — it provides facade panelling, structural grids, and surface tools that extend the base Grasshopper components without requiring advanced scripting knowledge. Pufferfish is the next logical step for surface manipulation and morphing workflows.
The Honest Summary
Rhino and Grasshopper are learnable. The learning curve is real but it's not steep — it's just poorly signposted. The sequence matters: Rhino fundamentals first, command line habits early, Grasshopper logic second, plugins third. Skip that order and you'll spend twice as long getting half as far.
The parametric mindset — describing processes rather than drawing outcomes — is the actual skill being learned here. Once it clicks, it changes how you think about design problems entirely. Not just in Grasshopper. In everything.
If you're starting from zero, the ArchAdemia complete beginner guide to Rhino is the structured path through everything covered in this article — with video walkthroughs, downloadable files, and a sequence that builds Grasshopper-ready skills from the first lesson. That's the logical next step. Take it.