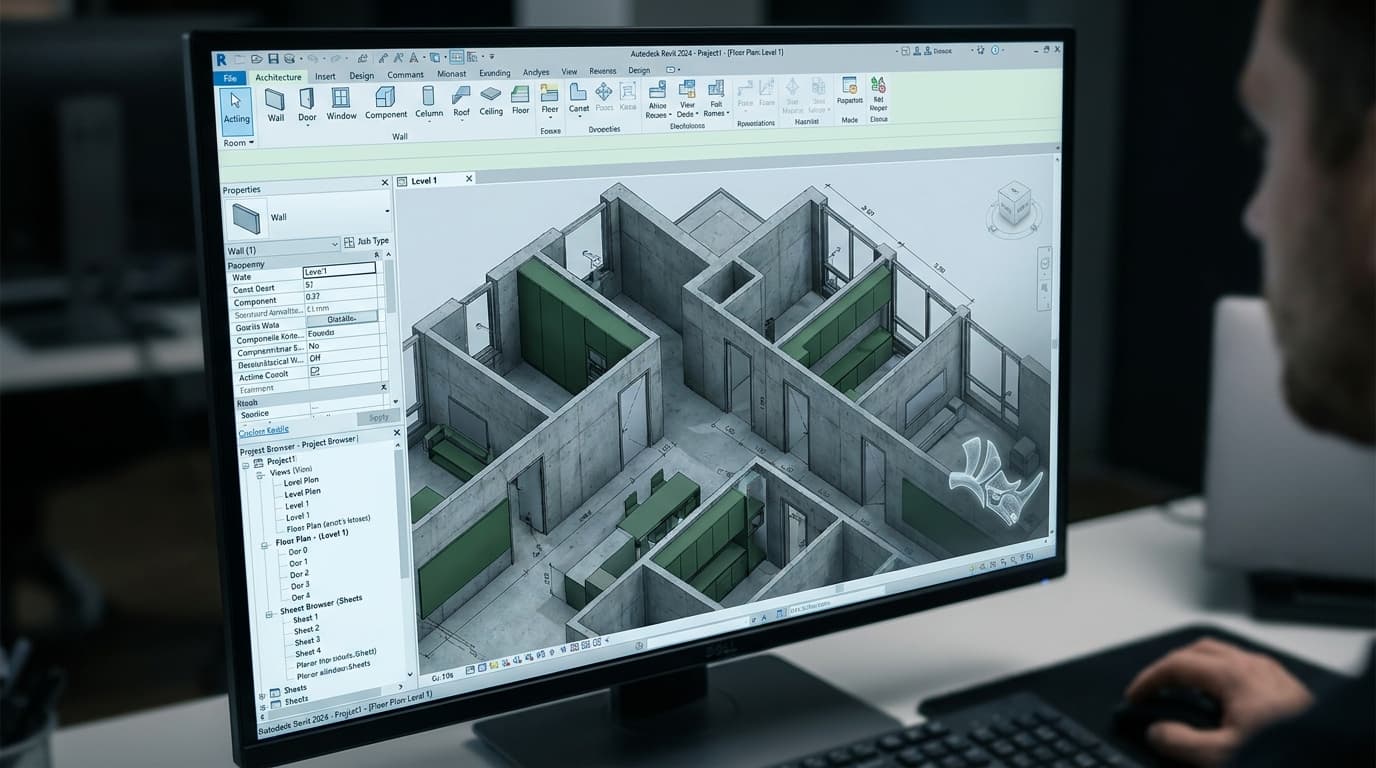
The Rhino to Revit workflow breaks down at one predictable point: when NURBS geometry meets Revit's object-based BIM environment without a proper translation strategy. You've spent weeks building something genuinely beautiful in Rhino — a parametric facade, a complex roof form, a curving structural shell — and then someone asks for the Revit model. That's when the project starts haemorrhaging time.
Rhino and Revit speak fundamentally different languages. Rhino works with NURBS surfaces and free-form geometry. Revit works with intelligent BIM objects that carry parameters, categories, and relationships. Neither is wrong. They're just designed for entirely different moments in the design process. The problem is that most parametric architects learn this the hard way, mid-project, with a deadline approaching.
This article is specifically about the parametric handoff — the moment a Grasshopper-driven or NURBS-heavy Rhino model has to become a coordinated Revit deliverable. It covers the two viable transfer routes (SAT export and Rhino.Inside.Revit), the exact settings that determine whether the transfer works, and the gotchas that eat hours if you don't know they're coming. If you're looking for a broader introduction to Revit itself, or to Rhino as a standalone tool, those are different articles. This one is for architects who already work in both and need the handoff to stop breaking.
This is aimed at parametric architects, computational designers, and anyone who designs in Rhino but has to deliver in Revit. Which, increasingly, is most of us.
Before transferring geometry from Rhino to Revit, run the Check command in Rhino to validate surfaces — naked edges and non-manifold geometry will cause the import to fail or produce unusable solids in Revit. Sort this here. You will not fix it in Revit.
Software versions that actually play nicely
The combination that works reliably in 2026: Rhino 7 or Rhino 8 (Rhino 8 introduced SubD improvements that matter for complex organic forms) paired with Revit 2025 or 2026. Rhino.Inside.Revit is compatible with Revit 2020 and later, with Rhino 7 or Rhino 8 required on the same machine. Earlier Revit versions technically work but you'll encounter stability issues that aren't worth tolerating.
Geometry preparation in Rhino — the step most people skip
This is where the workflow either succeeds or quietly sets itself up to fail later.
Mismatched units account for an estimated 60% of failed geometry imports between Rhino and Revit, based on community forum analysis across the Rhino and Autodesk forums in 2025–2026. Set your Rhino document units to match your Revit template before you export anything. If your Revit template is in millimetres, your Rhino file needs to be in millimetres. Feet-to-millimetres mismatches produce geometry that imports at a scale so wrong it looks like a rounding error.
Beyond units:
Run Check. If Rhino flags naked edges or non-manifold geometry, fix them with MergeAllFaces, Cap, or RebuildEdges before touching the export dialogue.
Organise layers by intended Revit category. A suggested naming convention: RVT_Wall, RVT_Floor, RVT_Roof, RVT_GenericModel. This saves significant rework once you're in Revit trying to remember what belongs where.
Explode any nested blocks. Revit does not handle Rhino blocks gracefully. Explode them before export.
Geometry preparation is genuinely the most overlooked step in this entire workflow. The architects who skip it spend twice as long on the Revit side compensating.
Route One: The Direct Export Method (SAT and DWG)
SAT (ACIS) format is the most reliable direct export from Rhino to Revit for solid geometry, offering better volumetric fidelity than DWG for curved and complex architectural forms. If your geometry is finalised and you need it in Revit without setting up a live link, SAT is where you start.
When to use SAT vs DWG
SAT is best for: closed polysurfaces, structural elements, massing volumes you intend to use as Revit mass families, anything with volumetric integrity that needs to read as a solid in Revit.
DWG is better for: 2D linework, reference geometry, site context, survey data — anything that stays as a reference layer rather than becoming a BIM element. DWG for 3D complex forms is a frustrating experience. Don't do it to yourself.
Export settings that actually matter
In Rhino, go to File > Export Selected and choose SAT as the file type. The settings that matter:
Tolerance: match your Rhino document tolerance. For architectural work this is typically 0.001mm. Don't change it at export — consistency is what keeps geometry clean.
ACIS version: export as ACIS 7.0 for maximum Revit compatibility. Newer ACIS versions occasionally produce import failures in Revit that ACIS 7.0 avoids.
That's genuinely it. The export dialogue for SAT is simple. The preparation work you did earlier is what makes it successful.
Importing into Revit without losing your mind
When importing SAT geometry into Revit, load it as a Generic Model family rather than a direct CAD import — this prevents file bloat and allows parameter assignment. Here's the distinction that matters:
Import CAD (Insert > Import CAD): drops the geometry into the project as a locked import instance. You can't assign Revit parameters to it. You can't schedule it. It's essentially a dumb object sitting in your model.
Generic Model family via Family Editor: open a Generic Model template, import the SAT into the family, save it as an .rfa file, and load it into the project. Now it's a proper Revit family — you can add parameters, assign materials, duplicate types, and schedule it.
The second route takes an extra ten minutes. It saves hours of rework when the project coordinator asks why your fancy facade panels don't appear in the material schedule.
One genuine gotcha: Revit will triangulate complex curved surfaces on import. This is cosmetic within the model view but it affects render quality and IFC export fidelity. The fix is to increase the tessellation density in your SAT export settings — under the export options, increase the surface deviation tolerance. It increases file size marginally. It's worth it.
In-place families are a trap worth naming explicitly. They're seductive because they're quick, but in-place families created from imported geometry are non-transferable between projects and contribute to file bloat in ways that become painful on large coordination models. Avoid them for anything that might be reused.
Route Two: Rhino.Inside.Revit — The Live Link Worth Learning
Rhino.Inside.Revit is a free plugin from McNeel that embeds Rhino and Grasshopper within the Revit environment, enabling live geometry transfer without manual file export. It runs as a Revit add-in tab — Rhino loads inside the Revit process, and Grasshopper components can create native Revit elements directly.
This is the superior workflow for parametric projects where the design is still evolving.
What Rhino.Inside actually does (and doesn't do)
The core capability: Grasshopper components in Rhino.Inside can create native Revit elements — walls, floors, adaptive components, generic models — not just reference geometry. When you update a parameter in Grasshopper, the Revit elements update. That's the thing that changes how parametric projects are delivered.
What it doesn't do: it won't automatically assign Revit parameters, set up schedules, or handle MEP coordination. It transfers geometry and basic properties. The BIM intelligence — shared parameters, keynotes, material specifications, view templates — still has to be added in Revit. Think of Rhino.Inside as a very good translator, not a full BIM author.
Setting up the connection
Download Rhino.Inside.Revit from Food4Rhino (it's free). Install it, open Revit, and you'll find a new Rhino.Inside tab in the ribbon. Click the Rhino button to launch Rhino within the Revit session. Grasshopper opens from within that embedded Rhino instance.
The key Grasshopper components to know:
Add Element components for creating Walls, Floors, Roofs, and Generic Models
Category components for assigning Revit categories
Type components for assigning Revit family types
Parameter components for reading and writing Revit parameters
If you're new to Grasshopper itself, ArchAdemia's Grasshopper course covers the foundational logic you'll need before Rhino.Inside makes sense — the Revit-side components are intuitive once you understand how Grasshopper data trees work.
Baking geometry into Revit elements
The workflow for a parametric facade panel: build the panel geometry in Grasshopper, use the Rhino.Inside Add Generic Model component (or Add Adaptive Component if you've built an adaptive family template in Revit), connect your geometry, and set the category. The panels appear in Revit as native elements — visible in views, schedulable, and updatable when the Grasshopper definition changes.
Running Rhino.Inside.Revit simultaneously with a complex Revit model requires a minimum of 32GB RAM — on 16GB machines, limit live-baking to individual components rather than full building geometry. This isn't a soft recommendation. On a 16GB machine with a large Revit model, running both simultaneously will either crash or become so slow it defeats the purpose. Be honest about your hardware before committing to this workflow on a tight deadline.
Rhino.Inside.Revit is the best workflow for parametric facade design where geometry is still iterating — it eliminates the re-export cycle entirely. A medium-complexity parametric facade of 50–100 panels can be transferred from Rhino to Revit and fully categorised in under 3 hours using Rhino.Inside.Revit, compared to 6–8 hours across multiple SAT re-export cycles.
The Five-Stage Workflow: Start to Finish
A reliable Rhino to Revit workflow follows five sequential stages: geometry validation in Rhino, layer organisation by Revit category, transfer method selection, BIM categorisation in Revit, and coordination documentation. Follow them in order. Skipping stages two and four is how projects end up with a Revit model that looks right but can't be coordinated, scheduled, or issued.
Stage 1 — Design and validate in Rhino
Keep the design phase entirely in Rhino and Grasshopper. Don't attempt partial transfers mid-design — wait for a stable geometry state before touching Revit. Partial transfers create two versions of the truth, and reconciling them later costs more time than the early transfer ever saved.
Stage 2 — Organise and prepare geometry
Apply the layer naming convention (RVT_Wall, RVT_Floor, RVT_Roof, RVT_GenericModel). Run the Check command. Explode nested blocks. Confirm units match the Revit template. This stage takes 20–30 minutes on a well-organised model. It takes 3 hours on a model that's been built without layer discipline.
Stage 3 — Choose your transfer route
Decision tree:
Geometry is finalised, no further design changes expected: use SAT/DWG export.
Design is live, parametric, and still iterating: use Rhino.Inside.Revit.
If you're unsure, SAT export is the lower-risk starting point. You can always set up Rhino.Inside later if the design continues to evolve.
Stage 4 — Assign Revit categories and parameters
This is where the geometry becomes BIM. Assign imported elements to the correct Revit categories. Set material parameters. Add shared parameters for any properties that need to appear in schedules. If you've used Rhino.Inside, some of this will already be in place — but verify it. Don't assume the transfer populated everything correctly.
Stage 5 — Coordinate and document
Link the Revit model into the coordination model. Run clash detection via Navisworks (ArchAdemia's Navisworks course covers this if it's new territory). Set up sheets and views. The Rhino geometry is now a functioning part of the delivery package — not a beautiful orphan sitting outside the BIM workflow.
Comparison: SAT Export vs Rhino.Inside.Revit
SAT export is the best Rhino to Revit method for finalised geometry with minimal setup; Rhino.Inside.Revit is the best method for live parametric workflows where design is still evolving. Both are free. The cost difference is time, RAM, and learning curve — not software licensing.
Rhino.Inside.RevitPartial — element types and categories
CriteriaRevit element types
SAT ExportGeneric Model, Mass families
Rhino.Inside.RevitWalls, Floors, Adaptive Components, Generic Model
CriteriaLearning curve
SAT ExportLow
Rhino.Inside.RevitMedium-high
CriteriaCost
SAT ExportFree
Rhino.Inside.RevitFree
CriteriaDesign change cycle
SAT ExportRe-export required
Rhino.Inside.RevitUpdate Grasshopper, propagates to Revit
CriteriaFile stability
SAT ExportHigh
Rhino.Inside.RevitModerate (depends on model complexity)
Choose SAT if: your geometry is signed off, you're working on a machine with under 32GB RAM, or you need a quick, reliable transfer without setting up a live link.
Choose Rhino.Inside if: the design is still parametric and iterating, you're working on a facade or complex element with repeated geometry, and you have the hardware to support it.
Don't Let the Handoff Kill the Design
The Rhino-to-Revit handoff has ended more good projects than bad design decisions have. Not because the tools don't work — they do, increasingly well — but because the workflow isn't taught anywhere systematically. You learn it by breaking it on a live project, which is the worst possible classroom.
The five-stage workflow above is repeatable. Use it on the next project before the deadline pressure arrives, not during it. Get the geometry preparation habits in place. Decide your transfer route before you start the Revit model, not after you've already imported a broken SAT file and started compensating.
If you want to see the full workflow demonstrated step by step — including the Grasshopper setup for Rhino.Inside and the exact Revit family configuration for imported SAT geometry — ArchAdemia's Rhino to Revit workflow course covers it in full, with real project examples rather than toy geometry. It's the practical version of this article, with someone walking you through every click.
The tools exist. The workflow works. There's no reason to keep losing parametric designs at the handoff.
FAQ
What is the best method for transferring geometry from Rhino to Revit?
The best method depends on your design stage. SAT (ACIS) export is the most reliable option for finalised geometry, offering clean volumetric transfer with minimal setup. Rhino.Inside.Revit is the best method for live parametric workflows where the design is still iterating, as it eliminates the re-export cycle entirely.
Is Rhino.Inside.Revit free?
Yes. Rhino.Inside.Revit is a free plugin developed by McNeel, available to download from Food4Rhino. It requires a licensed copy of Rhino 7 or Rhino 8 and Revit 2020 or later — both of which you'll already have if you're working in a professional parametric architecture environment.
What Revit versions are compatible with Rhino.Inside.Revit?
Rhino.Inside.Revit is compatible with Revit 2020 through Revit 2026. Rhino 7 or Rhino 8 is required on the same machine. Earlier versions of Revit are not supported by current releases of the plugin.
Why does my SAT geometry import at the wrong scale in Revit?
This is almost always a units mismatch. Mismatched units account for an estimated 60% of failed or incorrectly scaled geometry imports between Rhino and Revit. Before exporting from Rhino, confirm that your Rhino document units match the units in your Revit template — typically millimetres for UK architectural practice.
What RAM do I need to run Rhino.Inside.Revit?
Running Rhino.Inside.Revit alongside a complex Revit model requires a minimum of 32GB RAM. On machines with 16GB, limit live-baking to individual components rather than full building geometry to avoid crashes or performance degradation severe enough to make the workflow impractical.
Can Rhino.Inside.Revit create native Revit walls and floors, or just reference geometry?
Rhino.Inside.Revit can create native Revit elements including walls, floors, roofs, and adaptive components — not just reference geometry. However, it transfers geometry and basic properties only; BIM intelligence such as shared parameters, keynotes, and material specifications must still be added manually within Revit.
What is the correct SAT export version for Revit compatibility?
Export SAT files from Rhino as ACIS version 7.0 for maximum compatibility with Revit. Newer ACIS versions can produce import failures in Revit that ACIS 7.0 avoids. Set the export tolerance to match your Rhino document tolerance — typically 0.001mm for architectural work.
Should I use in-place families or loadable families for imported Rhino geometry in Revit?
Use loadable Generic Model families, not in-place families. In-place families created from imported SAT geometry are non-transferable between projects and contribute to file bloat in large coordination models. Loading imported geometry as a proper .rfa family via the Family Editor gives you parameter control, schedulability, and a clean project file.