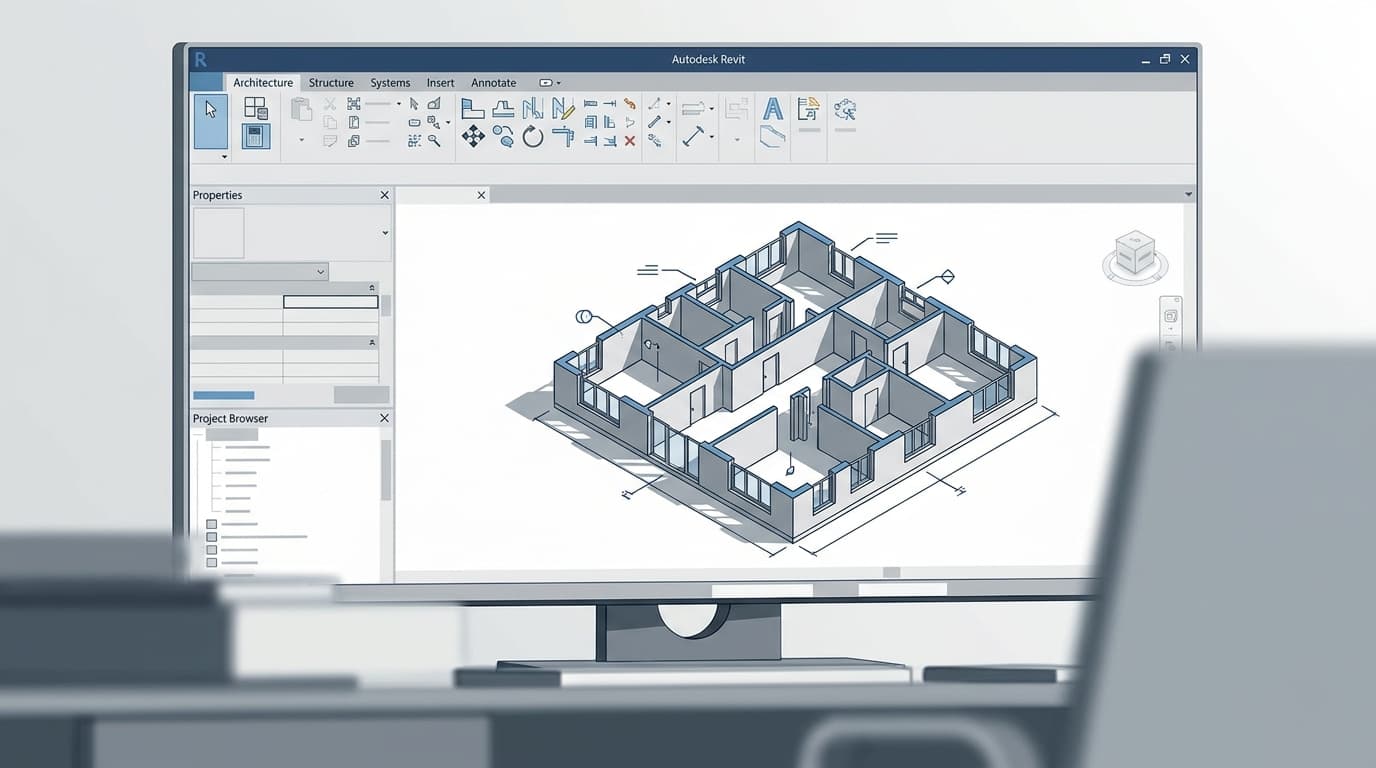
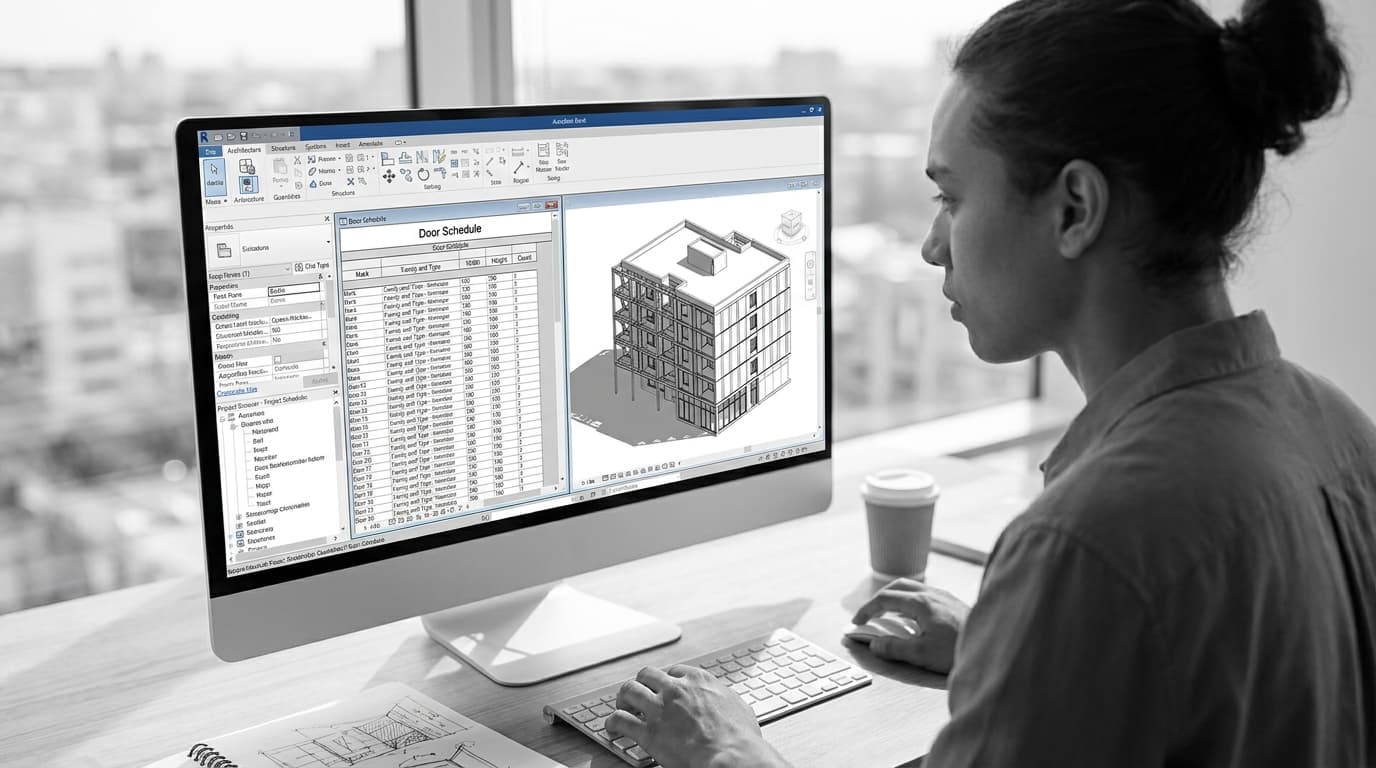
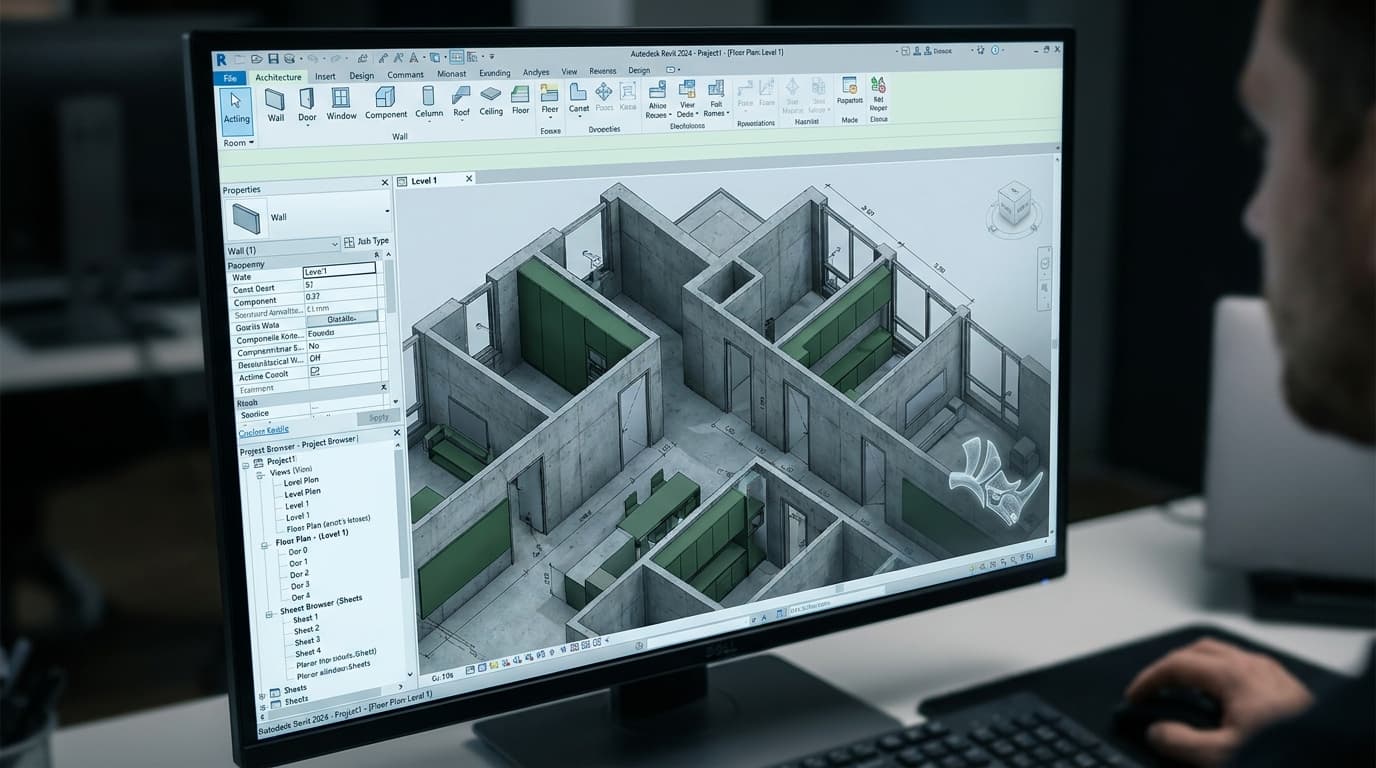
Importing a Rhino NURBS surface directly into Revit without preparation creates faceted meshes that Revit cannot schedule, dimension, or use in construction documentation. The geometry looks plausible in a 3D view. It is, in every practical sense, useless. That is the trap — and it catches architects at every level, from students submitting competition entries to BIM managers handing off concept packages to delivery teams.
The biggest failure in a Rhino-to-Revit workflow is importing NURBS geometry directly — Revit converts it to a faceted mesh that cannot be scheduled, dimensioned, or used in construction documentation. A clean Rhino-to-Revit handoff requires geometry preparation in Rhino before any file is exported, not after it arrives in Revit.
This article covers two specific scenarios. First: concept design completed in Rhino, being handed to a Revit-based delivery team who need to document it. Second: a single architect using both tools on the same project — designing in Rhino, documenting in Revit — and trying not to rebuild everything twice. The workflow differs depending on geometry complexity: a parametric facade needs a different strategy to a simple massing model or an interior fit-out. We'll cover all three.
If you want to go deeper on either tool individually, ArchAdemia has dedicated courses for both — the Rhino beginner guide and the Revit beginner course are the right places to start before attempting any cross-platform workflow.
Understand What Revit Actually Wants (Before You Export Anything)
Revit is a BIM authoring tool built around parametric families and a database model — it is not a mesh renderer. Geometry it receives from external tools must conform to its object hierarchy or it becomes a dead import with no data. Geometry imported into Revit from Rhino without preparation becomes a Generic Model with no parameters — it cannot be scheduled, tagged by category, or used in construction documentation.
Revit's geometry model vs Rhino's geometry model
Rhino is a NURBS modeller. It represents curved surfaces as mathematical curves that stay smooth at any scale. Revit is a parametric solid modeller. It represents geometry as a database of objects — walls, floors, roofs, generic models — each carrying type parameters, instance parameters, material assignments, and schedule data. The two systems speak fundamentally different languages. The translation layer between them is where projects fall apart.
When you import geometry into Revit, it defaults to the least useful category available: Generic Model. A Generic Model has no wall type, no floor finish, no structural layer. It appears in a 3D view and convinces you everything is fine. Then you try to cut a section and the lines are wrong. You try to tag it. Nothing. You try to add it to a schedule. It isn't there.
What Revit can and cannot receive
Revit supports direct import of SAT, DWG, DXF, SKP, and IFC formats — but only SAT and STEP reliably preserve closed solid geometry for complex curved forms. DWG works well for flat 2D linework and simple extruded forms. IFC is useful when the source model carries data intent — typically when Rhino has been modelled using VisualARQ or a similar BIM-aware plugin. STL is never appropriate for documentation workflows. It creates triangle mesh geometry that Revit cannot work with beyond basic visual reference.
The key decision you must make before touching the export button is this: are you importing for reference only (site context, massing, competition geometry) or for documentation (walls, structure, envelope that need to appear in drawings and schedules)? For reference imports, almost any format works. For documentation, you need a proper translation strategy. The rest of this article is that strategy.
The Five-Step Workflow That Actually Works
The most reliable Rhino-to-Revit workflow in 2026 follows five stages: geometry audit in Rhino, surface repair, format-matched export, controlled import into a dedicated Revit link file, and selective rebuilding of documentation-critical elements as native families. Each step is non-negotiable. Skip one and you pay for it later, usually at the worst possible moment.
Step 1: Decide What Crosses the Border and What Stays Behind
This is a strategic decision, not a technical one. Make it before you open the export dialogue.
Context, site, and massing geometry can be imported as reference. Nobody needs to schedule a site boundary. Walls, floors, structure, and envelope components must be rebuilt natively in Revit — full stop. The imported Rhino geometry becomes a scaffold to build against, not a finished product to hand in.
A useful mental filter: if it needs to appear in a schedule, carry a material, or be dimensioned in a construction drawing, it must be native Revit. Everything else can be an import.
Step 2: Clean and Close Your Rhino Geometry
Run the Check command in Rhino before you export anything. It identifies open polysurfaces, naked edges, and duplicate surfaces. Every open surface will import into Revit as a mesh fragment — an untrimmed surface that will not extrude, cannot be used as a floor boundary, and cannot receive a material from the Revit material library. An open polysurface in Rhino imports into Revit as an untrimmed surface fragment — it will not extrude, cannot be used as a floor boundary, and cannot receive a material in the Revit material library.
Use Join, Cap, and MergeAllFaces to create closed polysurfaces — what Rhino calls a "solid". Every piece of geometry that needs to cross into Revit should report as a closed solid in the Check output. This step takes twenty minutes. Skipping it costs days.
Also at this stage: move your model to the world origin (0,0,0). This matters more than most people realise. We'll come back to why under the mistakes section.
Step 3: Choose the Right Export Format for the Geometry Type
Not all geometry is the same, and not all formats handle it equally. Here is the decision tree:
SAT (.sat) — best for complex curved solids. Rhino NURBS surfaces export cleanly as SAT and Revit can read them as closed solids, which means they can be used with mass face tools. This is the workhorse format for curved building envelopes.
DWG — best for flat 2D geometry, site plans, and simple extruded forms. Do not use it for curved surfaces — the NURBS-to-mesh conversion is unpredictable.
IFC — best when the Rhino model has been built with data intent using VisualARQ or similar. The IFC carries object classification that Revit can read, meaning geometry arrives with some category information already attached.
STL — never. Triangle meshes are useless in Revit documentation. If someone tells you to export STL for Revit, they are thinking of a rendering workflow, not a documentation one.
Step 4: Import Strategy Inside Revit
Never import directly into your working Revit model. This is the rule that most people break once and then never break again.
Create a dedicated 'Import' or 'Reference' Revit file and link it into your working model. This keeps the host model clean. When the Rhino design changes — and it will change — you update the linked file rather than re-importing into a model full of native families that are now competing with the new geometry.
Use Import CAD for one-time reference geometry that will not change. Use Link CAD for geometry that will be updated as the design develops. Use Link IFC only when the source file genuinely carries meaningful data — linking an IFC that contains no more information than a DWG is just adding file size for no benefit.
When importing, always select "Centre to Centre" or "Origin to Origin" as the positioning option. Never "Auto - By Shared Coordinates" unless you have explicitly set up a shared coordinate system between the two files. That misalignment issue mentioned earlier? This is where it bites.
Step 5: Rebuild the Critical Elements as Native Revit Families
Any geometry that needs to appear in schedules, be dimensioned in construction drawings, or carry material data must be rebuilt as a native Revit element. This is not optional. The imported geometry is your reference — you build on top of it.
For complex curved walls, Revit's Wall by Face tool is the fastest legitimate bridge between Rhino form and Revit documentation. It lets you select an imported surface and generate a Revit wall that follows its profile. You get a real Revit wall — with layers, materials, and schedule data — without manually retracing every curve. Revit's 'Wall by Face' tool is the fastest method for generating documentation-ready walls from imported Rhino surface geometry, eliminating manual retracing for curved building envelopes.
For complex roofs and floors, the equivalent tools are Roof by Face and Floor by Face, both found in the Massing & Site tab. For truly bespoke components — parametric cladding panels, custom structural nodes — you will need in-place families or loadable families built from scratch, using the imported geometry as a dimensional reference.
The Plugins That Remove Half the Pain
Rhino.Inside.Revit: What It Actually Does
Rhino.Inside.Revit (RiR) is the most capable tool for live Rhino-to-Revit geometry transfer in 2026, allowing Grasshopper definitions to push geometry directly into Revit families without any file export. It is free, open-source, maintained by McNeel — Rhino's developer — and compatible with Revit 2022 through Revit 2026.
RiR runs Rhino as a subprocess inside Revit. Grasshopper definitions create and modify Revit elements in real time. This is not an import. It is a live parametric bridge. Change the Grasshopper script, the Revit model updates. For parametric facades, complex roof geometry, and repetitive components that would take days to rebuild manually, this is transformative.
The limitation is real, though. RiR requires solid Grasshopper competency. The Revit elements it creates are sometimes difficult to edit manually afterwards — they exist in a kind of parametric limbo where the Grasshopper script is the only reliable way to modify them. If your Grasshopper knowledge is shaky, the Grasshopper course at ArchAdemia is worth doing before attempting an RiR production workflow.
Geometry Gym: For IFC-Heavy Workflows
Geometry Gym is the best Rhino-to-Revit plugin for structural and IFC-heavy workflows, enabling data-rich round-tripping between Grasshopper and Revit without geometry degradation. Where RiR is optimised for visual geometry, Geometry Gym is built for data fidelity — structural member classifications, material properties, analytical model data. If you are working on a project where the structural engineer is in Revit and the architect is designing in Rhino, Geometry Gym is the right tool for the handoff.
When Plugins Are Overkill
If you are transferring a massing model for a competition, a SAT export takes ten minutes and requires no plugin knowledge. Reserve RiR for production workflows on complex projects where the parametric relationship between Rhino and Revit genuinely needs to be maintained. For everything else, the five-step workflow above will get you there faster.
Comparison Table: Rhino-to-Revit Transfer Methods
Method
Best For
Geometry Types
Skill Level
Time Investment
Output Quality
Recommended For
MethodSAT Export
Best ForComplex curved solids, envelopes
Geometry TypesNURBS solids
Skill LevelBeginner
Time InvestmentLow (10–30 min)
Output QualityGood — closed solids usable with Face tools
Recommended ForStudents, Junior Architects
MethodDWG Export
Best ForFlat linework, simple extrusions
Geometry Types2D + basic 3D
Skill LevelBeginner
Time InvestmentLow (5–15 min)
Output QualityModerate — reliable for flat geometry
Recommended ForAll roles (unavoidable for key elements)
For architects without Grasshopper experience, SAT export from Rhino combined with Revit's Wall by Face tool is the fastest documented method for transferring complex curved geometry into a construction-ready Revit model.
The Mistakes That Will Cost You a Week
The three most common Rhino-to-Revit errors that cause downstream rework are: importing into the wrong Revit category, mismatched units between the two files, and assuming that geometry that looks correct in a 3D view is usable for documentation.
Importing into the Wrong Revit Category
If you import a Rhino wall as a Generic Model, it will not appear in wall schedules, cannot be tagged with a wall type tag, and will not be cut correctly in section. It looks fine in the 3D view. Open a section and you will see why it matters — the geometry cuts through incorrectly, or not at all.
The fix is to import into the correct category from the start, or rebuild natively. You cannot retroactively change the category of imported CAD geometry in any meaningful way. This is one of those Revit rules that feels arbitrary until you understand the database model underneath it, at which point it makes complete sense. If your Revit fundamentals need reinforcing, the Revit intermediate guide covers the family and category system in detail.
Ignoring Units and Origin Point
Rhino defaults to millimetres in UK practice. Revit projects are often set up in millimetres, but with a Project Base Point that bears no relationship to the Rhino world origin. A mismatched origin point places your building 50 kilometres from the Revit grid. Not slightly off. Fifty kilometres.
The fix is simple but must be done before export. In Rhino, move your model to the world origin (0,0,0) before exporting. In Revit, import using "Origin to Origin" positioning. If the project involves civil or survey data, set up a shared coordinate system between both files before any geometry crosses.
Check both files are in the same units before export. A model built in metres exported as millimetres will arrive in Revit at 1/1000th scale. Revit will not warn you. It will just quietly place a very small building.
Trusting the Visual Result
This is the subtlest and most expensive mistake. Geometry that looks correct in Revit's 3D view may be completely broken for documentation purposes. Surfaces that appear solid are open. Walls that appear to meet are not joined. Geometry that appears to have a material is using a default grey with no actual material assignment.
The test is not the 3D view. The test is: does it appear in a schedule? Does it cut correctly in section? Does it accept a tag? Run those three checks on any imported geometry before you build anything else on top of it. If it fails any of them, the geometry needs to be rebuilt natively before the project moves forward.
FAQ: Rhino to Revit Workflow
What is the best file format for exporting from Rhino to Revit?
SAT (.sat) is the best format for exporting complex curved NURBS geometry from Rhino to Revit. It preserves closed solid geometry that Revit can use with mass face tools like Wall by Face and Roof by Face. DWG is better for flat 2D linework and simple extruded forms.
Can you import Rhino geometry directly into Revit?
You can, but you should not — at least not into your working model. Imported geometry becomes a Generic Model with no parameters, which cannot be scheduled, tagged, or used in construction documentation. Always link imported geometry via a dedicated reference file and rebuild documentation-critical elements as native Revit families.
What is Rhino.Inside.Revit and is it free?
Rhino.Inside.Revit is a free, open-source plugin maintained by McNeel that runs Rhino as a subprocess inside Revit, allowing Grasshopper definitions to create and modify Revit elements in real time. It is compatible with Revit 2022 through Revit 2026 and is the best tool for parametric facade workflows where Grasshopper geometry needs to drive Revit family creation.
Why does my Rhino model appear in the wrong location when imported into Revit?
A misaligned origin point is the most common cause — a mismatch between the Rhino world origin and the Revit Project Base Point can place geometry tens of kilometres from the Revit grid. Move your Rhino model to the world origin (0,0,0) before exporting and use "Origin to Origin" positioning when importing into Revit.
What Rhino geometry should never be imported into Revit?
STL files should never be imported into Revit for documentation purposes — they create triangle mesh geometry that Revit cannot schedule, dimension, or use with face-based tools. Open polysurfaces (surfaces with naked edges) should also be closed in Rhino before export, as they arrive in Revit as unusable surface fragments.
How does the Rhino-to-Revit workflow differ for a BIM manager vs a student?
A student transferring a competition massing model can use a SAT export and Wall by Face in under an hour — no plugins required. A BIM manager coordinating a live project with a parametric facade should invest in a Rhino.Inside.Revit workflow, which maintains a live parametric link but requires significant Grasshopper competency to set up correctly.
Is Geometry Gym better than Rhino.Inside.Revit?
They serve different purposes. Rhino.Inside.Revit is better for architectural geometry and parametric facade workflows. Geometry Gym is better for structural and IFC-heavy workflows where data fidelity — member classifications, analytical properties — matters as much as geometric accuracy. Most architectural practices will only need one; which one depends on the project type.
Can Revit's Wall by Face tool work with any imported surface?
Wall by Face works with closed solid mass faces — it requires the imported geometry to be a valid closed solid in Revit's mass environment. Open surfaces, mesh geometry, and Generic Model imports will not work with Wall by Face. This is why surface repair in Rhino (Step 2 of the workflow) is non-negotiable before export.
Stop Rebuilding. Start Preparing.
The Rhino-to-Revit workflow is not a technical problem. It is a preparation problem. Every hour spent cleaning geometry in Rhino before export saves three hours of rework in Revit. Every decision made upfront — what crosses the border, what format it travels in, where it lands — is a decision you do not have to make under deadline pressure with a confused delivery team asking why the walls are not in the schedule.
The five-step workflow above works. SAT for curved solids, Link rather than Import, Wall by Face for envelope geometry, native rebuild for anything that needs to be documented. That is the entire thing. Rhino.Inside.Revit is available when the project complexity justifies it, and Geometry Gym exists for the structural data workflows that need it.
If you want to see the workflow in action — geometry prep in Rhino, format selection, import strategy, Wall by Face, and the common failure points — ArchAdemia's Rhino to Revit workflow course walks through a real project from concept model to documented Revit file. No rebuilding from scratch. No 50-kilometre buildings. Just a workflow that actually holds together.