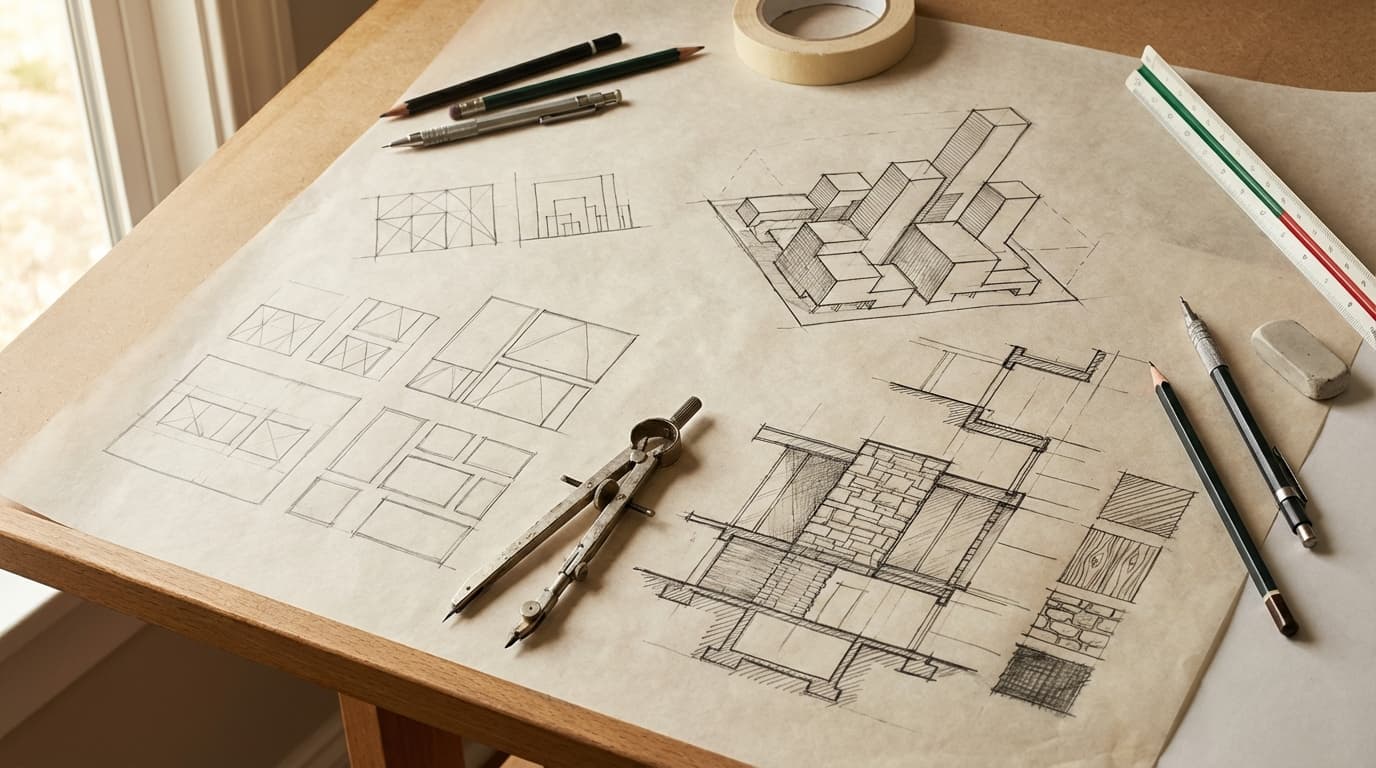
The Process Is the Work
Good buildings and good drawings of bad buildings require roughly the same effort. The difference isn't talent — it's process. Specifically, it's whether the architect understood the design process as a decision-making framework rather than a sequence of tasks to tick off.
The architecture design process runs from client brief (RIBA Stage 0) through to planning submission (Stage 3), with each stage producing specific deliverables that inform the next. Skipping or compressing early stages — particularly Stage 1 Preparation and Briefing — is the single most common cause of abortive work and fee overruns on architectural projects.
Most guides describe the RIBA Plan of Work stages accurately enough. What they skip is the decision-making logic inside each one — why you hold certain information back from clients at Stage 2, how to manage consultant input at Stage 3 without losing the concept, and what a Design and Access Statement actually needs to say to influence a planning officer's recommendation.
This is a practical walkthrough of Stages 0 through 3 for practising architects. Residential, commercial, conservation — the same logic applies. By the end, you'll be able to structure any project from first client contact to planning submission without the usual mid-project chaos. ArchAdemia's architectural design courses cover these stages in depth if you want to go further than a single article allows.
Stage 0–1: Get the Brief Right or Pay for It Later
RIBA Stage 0 (Strategic Definition) establishes whether a project should proceed and in what form. Stage 1 (Preparation and Briefing) defines what the client actually needs — which is rarely what they first say they want. Together, these two stages should produce a signed-off Initial Project Brief before any design work begins. If they don't, you're designing in the dark and charging for the privilege.
What a Good Brief Actually Contains
A complete architectural brief covers spatial requirements, budget, planning constraints, programme, and the client's underlying aspirations — not just room sizes and a target cost. That last element is the one most architects underweight.
There's a consistent pattern in residential work: a client says they want a bigger kitchen. What they actually need is a space the family uses together — which might mean reconfiguring the ground floor entirely rather than extending the back of the house. The stated brief gets you a bigger kitchen. The underlying brief gets you a better project. The difference between those two outcomes is a conversation you have at Stage 1, not Stage 2.
A robust brief contains:
- Spatial requirements — rooms, areas, adjacencies, and the relationships between them
- Budget — realistic, inclusive of fees and contingency, not a number pulled from a property programme
- Programme — when the client needs to be on site, working backwards through the stages
- Planning constraints — conservation area, listed building, Green Belt, permitted development restrictions
- Aspirations — what the project should feel like, not just what it should contain
- Non-negotiables — the things that cannot move regardless of design development
Strategic Definition vs. Preparation and Briefing — The Difference Matters
Stage 0 is a feasibility question. Should this project proceed, and in what form? A client who wants to extend a listed farmhouse in a flood zone needs to understand what they're taking on before you start measuring rooms. Stage 0 is where you establish whether the project is viable — financially, technically, and in planning terms.
Stage 1 is where you define what viable actually looks like in practice. This is where site appraisal happens — not as a separate activity, but as integral to brief development. What the site allows shapes what the brief can demand. You cannot write a meaningful brief for a constrained urban backland plot without understanding the rights of light implications, the party wall situation, and the overlooking angles from neighbouring windows.
Questions to Ask Before You Put Pen to Paper
Before any design work: Has the client owned a building project before? What went wrong last time? What does success look like in five years — not at practical completion? Who else has a stake in the outcome (partners, family members, business co-directors)? What's the real budget, including the contingency they haven't mentioned?
These aren't soft questions. They're risk management.
According to ArchAdemia member feedback across 4,000+ architects and designers globally, projects where the brief is formally signed off before Stage 2 are substantially less likely to require scope changes mid-design — the most expensive kind of change there is, because you're redesigning work you've already charged for.
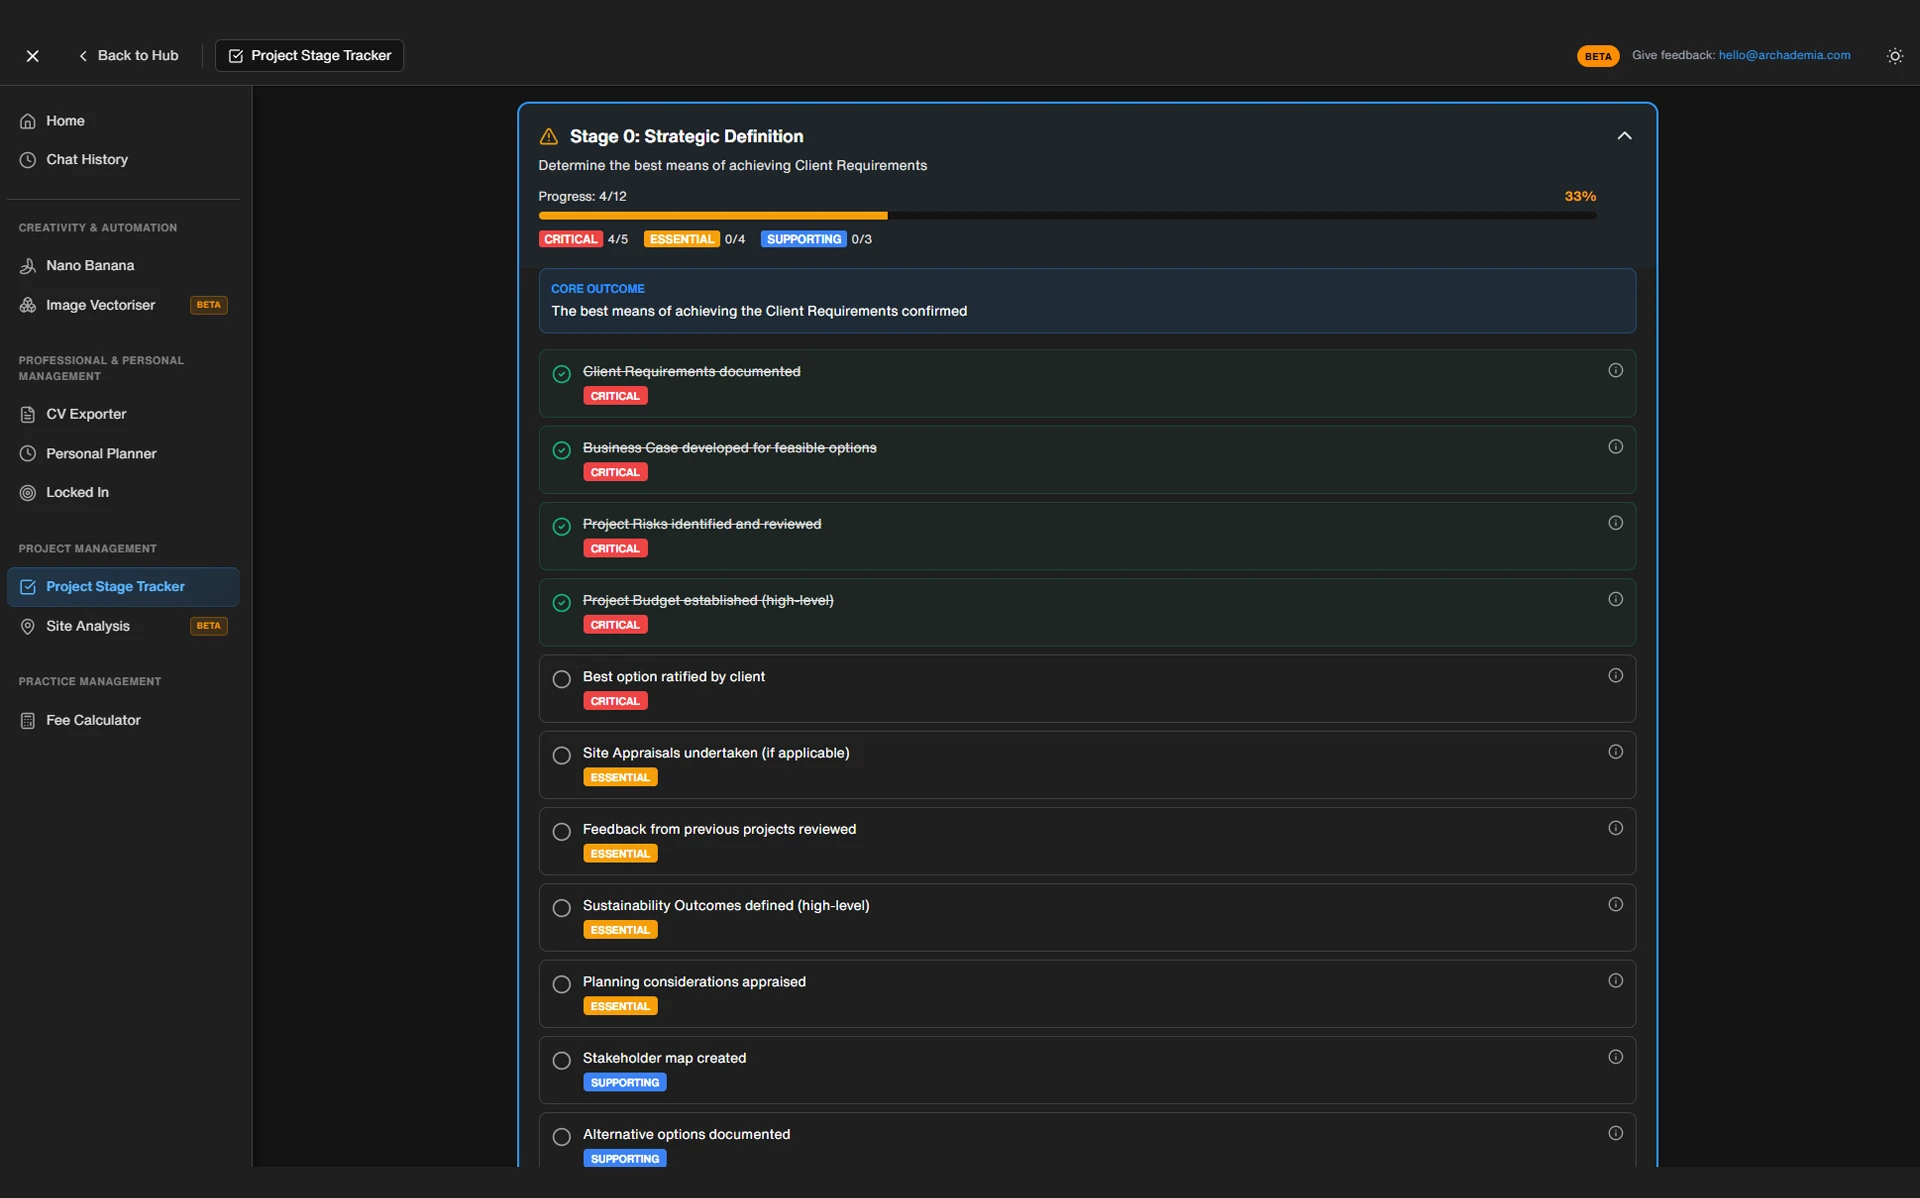
ArchAdemia's Toolkit includes a fee calculator and project tracker purpose-built for architects managing multiple commissions — useful at this stage for scoping fees accurately against a brief that's still in development. Getting the scope right at Stage 1 is what makes the fee sustainable at Stage 3.
Stage 2: Concept Design Is Not About Being Creative. It's About Being Right.
RIBA Stage 2 (Concept Design) is where the architectural response to the brief takes form — the output is a Concept Design report, not a finished scheme. The distinction matters more than most architects treat it.
Concept design is not about inspiration. It's a structured process of testing spatial, environmental, and contextual constraints against the brief until a coherent spatial hypothesis emerges. The creativity is real, but it operates within a framework. Architects who treat Stage 2 as a free creative exercise tend to produce schemes that are visually interesting and functionally compromised.
How to Generate Concepts That Are Grounded, Not Decorative
Precedent research is not copying. It's understanding why certain spatial strategies work — why a top-lit circulation spine solves a daylighting problem in a deep-plan building, why a split-level section resolves a sloping site without expensive retaining structures. Precedent gives you a vocabulary of tested solutions to draw from when the brief presents a problem you've seen before in a different form.
Every concept at Stage 2 should pass three tests before it advances:
- Does it satisfy the brief? Not approximately — specifically. Can you map every spatial requirement from the brief onto the concept and account for it?
- Does it respond to the site? Orientation, topography, context, access, overlooking. A concept that ignores these isn't a concept — it's a diagram.
- Does it have preliminary planning viability? You don't need a planning consultant at Stage 2, but you need to know whether the concept is working with or against local policy.
Testing the Brief Against the Site
On a conservation project — say, a new-build infill adjacent to a Grade II listed terrace — the concept cannot begin with spatial planning. It has to begin with the listed building constraints. What scale is acceptable? What materials will the conservation officer expect? What relationship to the existing building is the planning authority likely to support? These questions define the envelope within which the concept can operate. Spatial planning follows from that, not the other way around.
This is the sequence most architects invert, and it's why conservation projects generate disproportionate amounts of abortive work at Stage 3.
What to Present to Clients at Stage 2 — and What to Hold Back
Show massing models, spatial diagrams, and mood references. Do not show detailed drawings. Detailed drawings invite clients to comment on window proportions and worktop heights when the question at Stage 2 is whether the building is in the right place, at the right scale, facing the right direction.
The best tool for rapid massing studies at Stage 2 is SketchUp — it produces client-readable 3D models quickly without the commitment of a fully developed BIM model. Clients can read a SketchUp massing model intuitively. They cannot read a Revit section at 1:100 without architectural training. ArchAdemia's SketchUp Complete Guide covers massing, site modelling, and the client presentation workflows that practising architects use at this stage.
Stage 3: Developed Design — Where Good Ideas Go to Die (If You're Not Careful)
RIBA Stage 3 (Developed Design) requires coordinating architectural, structural, and building services design into a single coherent scheme — this is where most design quality is lost if the process isn't managed tightly. The concept that passed Stage 2 review can be unrecognisable by the time it reaches planning submission if the coordination process isn't driven by the architect.
Coordinating Structure, Services, and Architecture Without Losing the Concept
Structural engineers want columns where they're structurally efficient, which is rarely where they're architecturally convenient. M&E consultants want ceiling voids that kill room heights and riser routes that cut through the spaces you've been trying to protect. This is not bad faith — it's each discipline optimising for their own constraints. The architect's job is to hold the concept while absorbing these pressures.
The way to do that is to establish design intent clearly and early. A one-page design intent statement at the start of Stage 3 — covering the key spatial moves, the critical dimensions, and the non-negotiables — gives consultants a framework to work within rather than around. It also gives you a document to refer back to when someone proposes a downstand beam that destroys the ceiling plane you've been designing around for three months.
On commercial and larger residential projects, Revit is the best platform for multi-discipline coordination at Stage 3, allowing federated models and clash detection across architectural, structural, and MEP packages. The ability to identify a clash between a structural beam and a ductwork run before it appears on site is not a marginal efficiency gain — it's the difference between a variation order and a design decision made at the right time. ArchAdemia's Revit BIM Collaboration course covers federated model workflows specifically.
The coordination meeting is where design quality is won or lost. Come prepared with the design intent statement, a clear agenda, and specific questions for each consultant. Do not run open-ended coordination meetings — they produce action lists that nobody owns and decisions that drift.
When a consultant proposes a change that conflicts with the concept, the response is not automatic resistance. It's a question: what's the alternative? Engineers are problem-solvers. If you frame the constraint clearly — "the ceiling height in this space cannot drop below 2.7m because of the relationship to the clerestory" — most structural engineers will find a solution. If you don't frame it, they'll optimise for their own constraints and you'll be left managing the consequences.
The Planning Pre-Application — When to Use It and When to Skip It
Pre-application planning advice is most valuable on sites in conservation areas, Green Belt, or where a departure from local policy is being sought. On standard residential extensions, it often adds programme without proportionate benefit.
The calculus is straightforward: pre-application advice costs money and time. On a complex scheme where a refusal would mean months of redesign, that investment is clearly justified. On a straightforward rear extension in a non-designated area, you're paying a planning officer to tell you what the NPPF and your local authority's design guide already say.
Pre-application advice reduces planning refusal rates meaningfully on complex applications — RTPI research suggests refusal rates on schemes with pre-application engagement are significantly lower than those without. The Stage 3 cost plan is the other critical checkpoint here. If the scheme is over budget at Stage 3, redesigning at Stage 4 costs more than redesigning now. The cost consultant needs to be engaged at Stage 3, not after planning permission is granted.
Planning Submission: The Art of Telling the Right Story
A planning application in England requires a completed application form, site location plan, block plan, existing and proposed drawings, and a Design and Access Statement for most applications — the quality of the DAS significantly influences the officer's recommendation. The drawings are the evidence. The DAS is the argument.
What a Planning Application Actually Needs to Contain
The mandatory documents for a full planning application in England are: completed application form (via the Planning Portal), ownership certificates, site location plan at 1:1250 or 1:2500, block plan at 1:500, existing and proposed floor plans, sections, and elevations, and a Design and Access Statement. Householder applications require a subset of these. Since the 2024 planning fee increases, a householder application in England costs £258 and a full application for a new dwelling costs £578 per dwelling — fees that have risen significantly and are worth building into client fee discussions early.
Common drawing mistakes that generate planning officer queries — and delay determination — include: incorrect scales (particularly mixing metric and imperial), missing north points, insufficient context shown on elevations (neighbouring buildings not indicated), and proposed drawings that don't clearly distinguish new work from existing.
Design and Access Statements That Planners Actually Read
A Design and Access Statement for planning must explain how the design responds to site context, local planning policy, and the client brief — not simply describe what the drawings show. The DAS that describes what the drawings show is a waste of everyone's time. The planning officer can see the drawings.
A persuasive DAS tells a story in four movements: the site and its context, the policy framework that applies, the design process that led to this response, and how the scheme satisfies the relevant policies. Each section should be concise. A DAS that runs to forty pages for a residential extension is not thorough — it's a liability, because it gives the planning officer more material to find objections in.
Structure it as: Site Analysis → Policy Response → Design Evolution → Compliance Summary. Keep it under ten pages for householder and minor applications. Use annotated images, not just text.
Visualisations for Planning — What Works and What Wastes Money
For planning visualisations on major applications, V-Ray produces the highest-quality context-accurate renders and integrates directly with both Revit and SketchUp workflows. For planning presentations where fast iteration and client walkthroughs matter more than photorealistic output, Enscape is the best real-time rendering tool — it renders within Revit and SketchUp without a separate export workflow.
Not every planning application needs a CGI. A householder extension application does not need a photorealistic render. A fifty-unit residential scheme going to design review does. The question is whether the visualisation helps the planning officer understand the scheme better than the drawings alone — if it does, commission it. If it's decorative, save the money.
For architectural planning visualisations in 2026, V-Ray delivers the highest render quality at approximately £600/year, Enscape offers the fastest real-time workflow at approximately £700/year, and Lumion is best for landscape-heavy schemes at approximately £1,500/year.
| Tool |
Render Quality |
Speed |
Revit/SketchUp Integration |
Learning Curve |
Approx. Annual Cost |
Best For |
| ToolV-Ray |
Render QualityHighest |
SpeedSlower (offline) |
Revit/SketchUp IntegrationBoth |
Learning CurveSteeper |
Approx. Annual Cost~£600/year |
Best ForMajor planning applications, design review panels, photomontages |
| ToolEnscape |
Render QualityHigh |
SpeedReal-time |
Revit/SketchUp IntegrationBoth (+ Rhino, ArchiCAD) |
Learning CurveLow |
Approx. Annual Cost~£700/year |
Best ForClient presentations, straightforward planning submissions, fast iteration |
| ToolLumion |
Render QualityHigh |
SpeedFast |
Revit/SketchUp IntegrationSketchUp (via LiveSync) |
Learning CurveModerate |
Approx. Annual Cost~£1,500/year |
Best ForLandscape-heavy schemes, large residential developments, context renders |
Verdict: For most architectural practices handling a mixed planning portfolio, Enscape offers the best balance of speed, quality, and workflow integration. It requires minimal training, integrates directly into your existing Revit or SketchUp workflow, and produces planning-quality output without a separate rendering pipeline. ArchAdemia has dedicated courses for Enscape, V-Ray for SketchUp, and Lumion — each covering the specific workflows relevant to planning and client presentation work.
Try This on Your Next Project
The architecture design process isn't a sequence of deliverables. It's a sequence of decisions, each one narrowing the range of possible outcomes until a planning application is the logical conclusion of everything that came before it.
A Practical Stage-Gate Checklist from Brief to Planning
Use this before advancing between stages. If you can't tick every item, you're not ready to move on — and moving on anyway is where the abortive work starts.
Stage 0 → Stage 1:
- Project viability confirmed (budget, planning context, programme)
- Client's underlying brief identified, not just stated requirements
- Site appraisal complete (constraints, opportunities, planning history)
- Fee scope agreed and documented
Stage 1 → Stage 2:
- Initial Project Brief signed off by client
- Budget confirmed inclusive of fees, contingency, and VAT
- Planning constraints identified and risk-assessed
- Consultants identified (structural, M&E, planning if required)
Stage 2 → Stage 3:
- Concept passes three tests: brief, site, planning viability
- Client sign-off on Concept Design report
- Structural and M&E consultants appointed
- Pre-application advice decision made (proceed or skip)
Stage 3 → Planning Submission:
- Structural and services coordination complete
- Cost plan reviewed and within budget
- All planning drawings complete and checked (scales, north points, context)
- DAS drafted and reviewed against local policy
- Visualisations commissioned if required
How to Adapt the Process for Residential, Commercial, and Conservation Projects
The stages are the same. The weighting shifts.
On residential projects, Stage 1 is disproportionately important — client relationships are personal, briefs evolve, and the gap between stated and underlying requirements is widest. Spend more time here than the fee suggests you should.
On commercial projects, Stage 3 coordination is where the project lives or dies. Multiple consultants, complex services, cost plans that need to hold. The architect who manages this process well produces a better building. The one who treats it as an administrative task produces a building that works on paper and disappoints in person.
On conservation projects, planning viability has to be established before concept design begins. The listed building constraints and conservation area policies are not a filter applied at the end — they are the starting conditions. Treat them as such from Stage 0.
The architecture design process is learnable. Not the stages — those are documented everywhere. The decision-making logic inside them. That's what separates architects who produce buildings from architects who produce planning applications that happen to get built.
If you want to work through these stages on a real project with structured guidance, ArchAdemia's Architectural Design in Practice course covers the full process from brief to planning with worked examples across residential and commercial typologies. Over 4,000 architects and designers are already using it. The process is the work. Might as well learn it properly.
Frequently Asked Questions
What are the stages of the architecture design process?
The architecture design process follows the RIBA Plan of Work, running from Stage 0 (Strategic Definition) through Stage 7 (Use). For most projects, the critical path to planning permission covers Stages 0–3: Strategic Definition, Preparation and Briefing, Concept Design, and Developed Design. Each stage produces specific deliverables that must be signed off before the next begins.
What is a Design and Access Statement and when is it required?
A Design and Access Statement is a document submitted with a planning application explaining how the design responds to site context, local policy, and the client brief. It is required for most full planning applications in England, all major applications, and applications in designated areas including conservation areas and World Heritage Sites. Householder applications in non-designated areas typically do not require one, though local authorities can request them.
How long does the architecture design process take from brief to planning permission?
For a straightforward residential extension, Stages 1–3 typically take three to five months before planning submission, with a further eight weeks for determination. For a new-build dwelling, allow six to nine months from brief to submission. Complex or sensitive sites — conservation areas, listed buildings, Green Belt — can add three to six months depending on pre-application engagement and the level of consultant input required.
What is the difference between RIBA Stage 2 and Stage 3?
RIBA Stage 2 (Concept Design) produces a tested spatial hypothesis — a massing, a section strategy, a planning approach — that satisfies the brief and responds to the site. Stage 3 (Developed Design) takes that concept and coordinates it with structural, building services, and cost information to produce a fully resolved scheme ready for planning submission. Stage 2 is about getting the idea right. Stage 3 is about making the idea buildable.
What software do architects use for the design process?
Architects typically use SketchUp for rapid massing and concept studies at Stage 2, Revit or ArchiCAD for developed design coordination at Stage 3, and V-Ray, Enscape, or Lumion for planning visualisations. AutoCAD remains common for 2D drawing production. The specific tools depend on practice size, project type, and whether BIM coordination with consultants is required.
What should a planning application include?
A full planning application in England must include: a completed application form, ownership certificates, a site location plan (1:1250 or 1:2500), a block plan (1:500), existing and proposed floor plans, sections and elevations, and a Design and Access Statement. Additional documents — heritage statements, flood risk assessments, ecological surveys — are required depending on site constraints. Application fees from 2024 are £258 for householder applications and £578 per dwelling for new residential development.
What is pre-application planning advice and is it worth it?
Pre-application advice is a paid consultation with the local planning authority before submitting a formal application. It is most valuable for complex sites — conservation areas, listed buildings, Green Belt, or departures from local policy — where a refusal would require significant redesign. For straightforward residential applications in non-designated areas, it typically adds time and cost without proportionate benefit. RTPI research indicates pre-application engagement significantly reduces refusal rates on complex applications.
How do you write a good architectural brief?
A good architectural brief covers spatial requirements, budget (inclusive of fees and contingency), programme, planning constraints, the client's underlying aspirations, and non-negotiables. The most important element is identifying the underlying brief — what the client actually needs, which is often different from what they initially request. The brief should be formally signed off before any design work begins at Stage 2 to avoid abortive work and fee overruns.