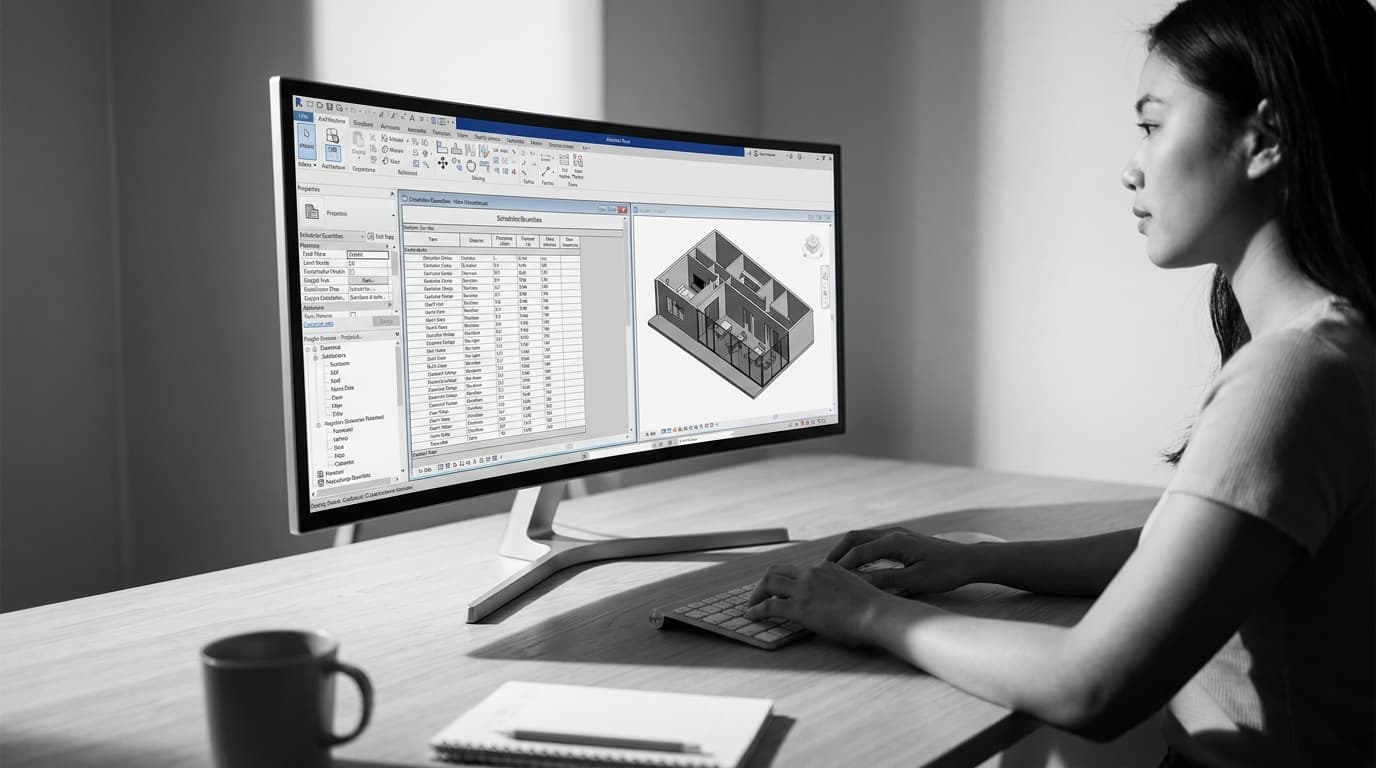
Open Manage > Materials in the model you're about to render, pick the first wall finish in the list, and click the Appearance tab. That panel — not the Graphics tab next to it, the one with the little sphere preview — is what Enscape reads. If the Appearance asset is a default generic with a flat colour and nothing in the bump or reflectivity slots, then no amount of fiddling inside Enscape's material editor is going to stop you doing it again next week.
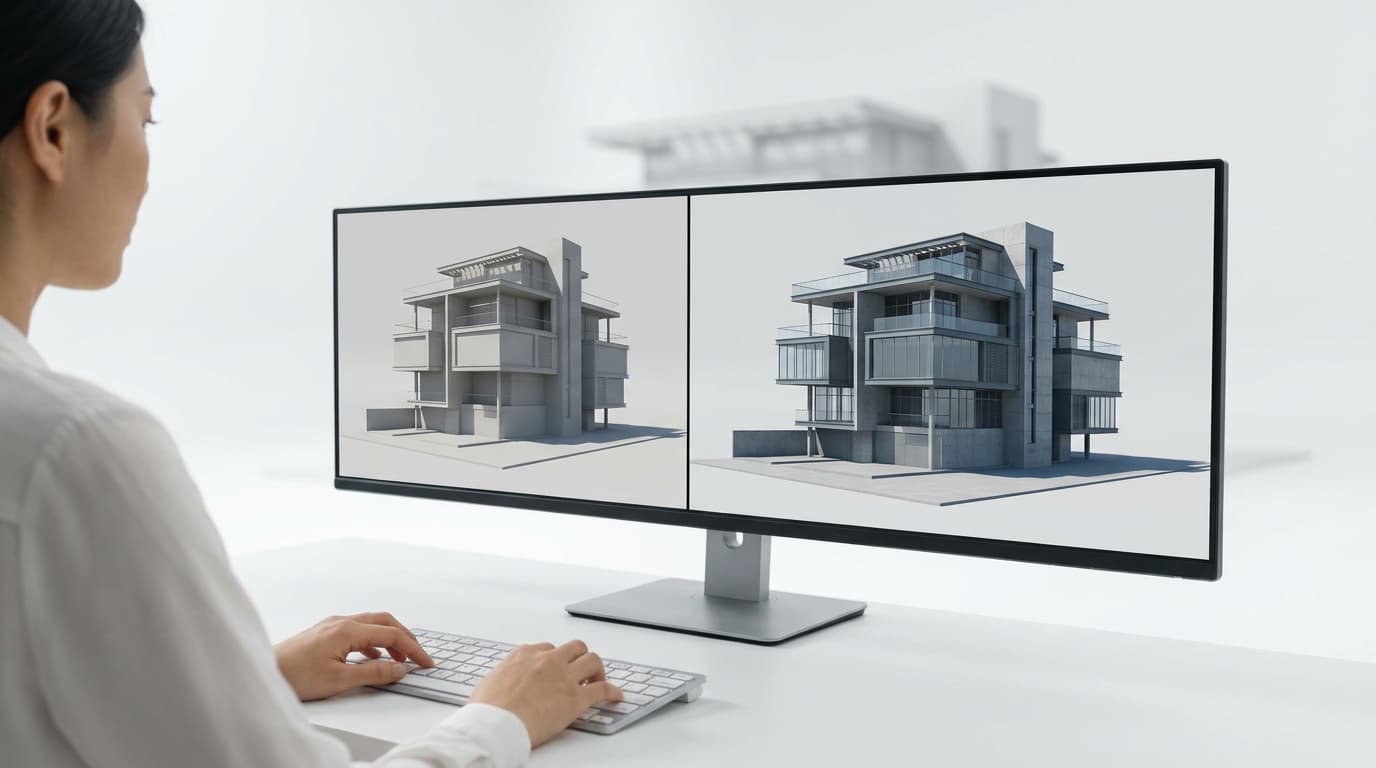
That's the whole shape of this problem. Everything you keep re-fixing at render time is something Revit is perfectly capable of storing, and you just haven't told it to. Views, sun, materials, visibility — all of it lives upstream. Fix it there once and Enscape becomes a button you press, not a scene you rebuild.
Revit keeps two descriptions of every material. Graphics is for your drawings: the shading colour, the surface pattern, the cut pattern. Appearance is the physical description — colour map, bump, reflectivity, transparency — and that's the one that reaches the renderer. You can have a perfectly tuned brick hatch on your sections and a material that arrives in Enscape as grey putty, because those two tabs don't talk to each other unless you tick "Use Render Appearance" in the Graphics tab.
So build the Appearance assets properly. Download a texture set — colour, normal, roughness. Revit's asset editor doesn't label them that way, so the mapping is: albedo goes in the image slot, the normal map goes into the bump/height slot, and the roughness map drives reflectivity or glossiness depending on the asset type you started from. Enscape reads all three and gives you the surface variation that stops a wall looking like it was moulded in one piece.
Set the real-world scale in the asset at the same time. A 1200×1200mm texture on a brick wall is the single most common reason a render looks like a computer game, and it is a two-field fix inside Revit that then applies to every view, forever.
Build the library once, then stop building it
Here's the move almost nobody makes: create a separate Revit file that contains nothing but materials. Not a template with sheets and families — a materials file. Build your twenty or thirty real finishes in it, with proper Appearance assets, proper scale, proper reflectivity. Name them the way you'd name them on a finishes schedule.
Then in any live project, Transfer Project Standards > Materials, from that file. Your whole palette arrives, correctly configured, ready for Enscape.
What we've found in practice is that this one habit removes about three quarters of the repeat work people associate with Enscape. You stop tweaking materials at render time because the material was already right when you placed the wall. It also means the person doing the documentation and the person doing the visual are, for once, using the same definition of "off-white render".
One caveat worth knowing: edits you make inside Enscape's own material editor get written back into the Revit project, which is good — they travel with the file. But they're written against the material, not the view. Brighten a timber for one interior shot and you've brightened it in every shot. Do the broad setup in Revit, use Enscape's editor for the last 5%, and know which one you're touching.
Your shadows are wrong because you rotated the building
The classic failure: somebody drew the model square to the screen and then rotated the geometry to suit the site plan. Or worse, didn't rotate anything at all and the whole project is sitting at an arbitrary angle with Revit still convinced north is up.
Revit holds two norths. Project North is a drafting convenience so your plans sit neatly on a sheet. True North is where the sun thinks it is. Manage > Position > Rotate True North, and spin that — not the building. Then Manage > Location, type the actual address, and let it pull the coordinates. Enscape's sun is calculated from location, date, time and True North. Get any one of those wrong and your shadows are confidently, precisely incorrect.
Sun settings themselves are a view property in Revit, which is the part that makes them useful. Open the Sun Settings dialogue, make a named Still preset — something like "Summer 3pm" with date and time set — and save it. Named presets live in the project; applying one is a per-view action. So your entrance approach view can hold a low winter sun and your courtyard view can hold midday in June, and both persist through saving, syncing and reopening, because they're attached to the views rather than to a session of the renderer.
In practice, drag the sun around inside Enscape and you override the Revit setting for that session. Fine for exploring. Just go back and set the date and time in Revit once you've found the angle you like, otherwise you're hunting for it again tomorrow.
A view is a container, and yours is leaking
Stop rendering from the live 3D view. Make a 3D view per shot, name it, and lock it.
For interiors, set the section box in that view and then right-click the ViewCube and lock the orientation. That stops a stray orbit from quietly redefining the shot you spent twenty minutes composing. Section box extents are a property of that view alone — they don't travel through a view template, so a template won't restore a box someone has dragged. Locking the view and telling people not to work in it is the only real protection.
View templates are still worth applying, as long as you're honest about what they carry. Visibility/graphics, detail level, discipline, sun path settings, whether the section box is shown — yes. Camera position, section box extents, crop region — no. So the template gives you consistent visibility across a set of render views, and you set the camera yourself. That division of labour is fine. Expecting a template to recreate the shot is where people get disappointed.
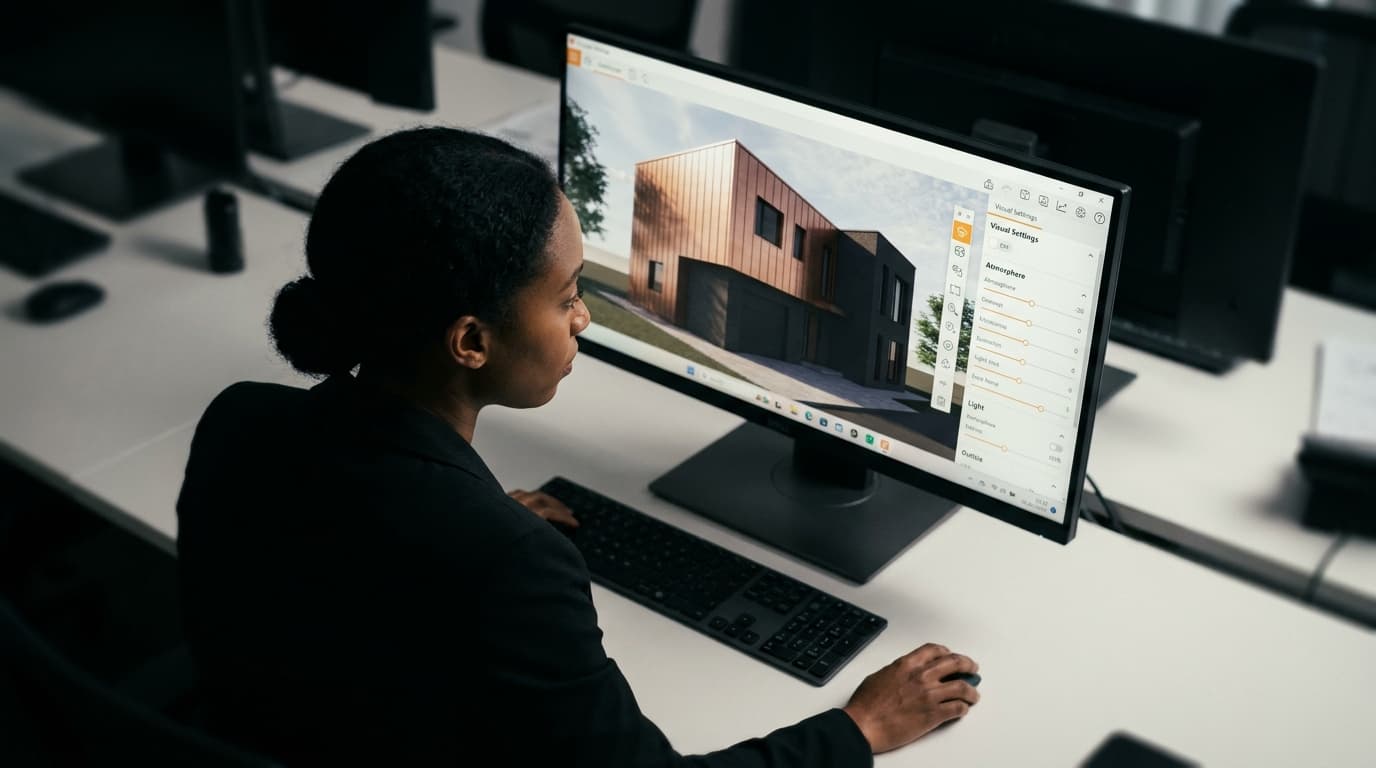
On the Enscape side, saving a view in View Management stores the camera and links a Visual Preset to it. Make a preset per shot type — interiors need a different exposure to exteriors, and two-point perspective for interiors is non-negotiable if you don't want your door jambs fanning out. Then the trap: duplicate an Enscape view and the preset link does not always come with it. Re-open the duplicated view, edit it, and re-select the preset. It takes four seconds and it prevents the thing where shot six comes out two stops brighter than shots one to five.
While you're in the presets: bloom off. It's always horrible. A little fog, shadow sharpness up around 80, vignette only if you're not going to touch the image again afterwards. If your renders are coming out flat even with all this right, the causes are a different list — I've written about why Enscape renders look flat elsewhere.
Worksets and links: the visibility you can't see
Put Enscape assets — trees, cars, people, furniture you'd never document — on their own workset. Everyone says that bit. What they don't say is that unchecking "Visible in all views" on the workset only sets the default. Any view where someone has already opened or closed that workset explicitly keeps its own override, and the override wins. So you'll uncheck the box, reopen a section, and the Cybertruck is still parked in your detail drawing. Check Visibility/Graphics > Worksets in the offending view, not just the workset dialogue.
Linked models are their own country. A consultant's structural model or a context model brings its own materials, and you can't edit those Appearance assets from the host file — you'd have to open the link and edit them there. If the site context in your render looks like grey clay, that's why. Either accept it as massing, override the link's graphics in the host view, or get the link's materials sorted at source.
Link visibility also has a setting people forget: Visibility/Graphics > Revit Links > Display Settings, where you choose By Host View, By Linked View, or Custom. If a link looks right in one render view and wrong in the next, that's almost always the culprit rather than anything Enscape is doing.
Name the views like a client pack, not like a modeller
This is where the setup pays you back. Enscape will batch render your saved views, and in my experience it names the output files after the views. So the naming convention isn't housekeeping — it's the deliverable.
Use a prefix, a number and a plain-English description: EN_01_Approach_From_North, EN_02_Entrance_Canopy, EN_03_Reception_Interior. The prefix groups all render views together in the project browser and keeps them out of the way of your documentation views. The number controls the order the client reads them in, because the files land sorted. The description is what you'd write in the email anyway.
Match the preset names to the shot types — VP_Interior, VP_Exterior_Dusk — so when you open a view's settings you can tell at a glance whether the right one is attached.
Do that, and the Friday afternoon job becomes: open the file, hit batch render, go to a meeting, come back to a folder of correctly ordered, correctly exposed images with sensible filenames. No re-fixing. That's the entire point of the upstream work.
The one that genuinely isn't solved
On worksharing, be straight with yourself: saved Enscape view settings and sun positions can get overwritten or lost when multiple people sync to a central model. It's a long-standing complaint, it's unresolved, and anyone selling you seven tips that prevent it is guessing.
What you can do is reduce the blast radius. One person owns the visualisation views. Export your visual presets to a file so a wipe costs you a re-import rather than a re-tune. Keep the sun in Revit's named settings rather than dragged inside Enscape, because Revit's version lives in the project and survives better. And before a version upgrade, export the presets — migrations are the other moment saved settings quietly vanish.
None of that is elegant. It's just cheaper than rebuilding six views the morning of a client meeting.
Do this today
Pick your current project. Transfer a proper materials set in, or build one if you haven't got it. Set the location and rotate True North. Make one named sun setting. Make three 3D views with locked orientation, named with a prefix and a number. Attach a preset to each.
That's an afternoon. After it, Enscape stops being a thing you fight and goes back to being what it's good at — a fast, honest look at the model you already built.