Black Friday•30% off annual plans•Win an iPad + Apple Pencil•Ends in --d --:--:--•Black Friday•30% off annual plans•Win an iPad + Apple Pencil•Ends in --d --:--:--•Black Friday•30% off annual plans•Win an iPad + Apple Pencil•Ends in --d --:--:--•Black Friday•30% off annual plans•Win an iPad + Apple Pencil•Ends in --d --:--:--•Black Friday•30% off annual plans•Win an iPad + Apple Pencil•Ends in --d --:--:--•Black Friday•30% off annual plans•Win an iPad + Apple Pencil•Ends in --d --:--:--•Black Friday•30% off annual plans•Win an iPad + Apple Pencil•Ends in --d --:--:--•Black Friday•30% off annual plans•Win an iPad + Apple Pencil•Ends in --d --:--:--•
Black Friday•30% off annual plans•Win an iPad + Apple Pencil•Ends in --d --:--:--•Black Friday•30% off annual plans•Win an iPad + Apple Pencil•Ends in --d --:--:--•Black Friday•30% off annual plans•Win an iPad + Apple Pencil•Ends in --d --:--:--•Black Friday•30% off annual plans•Win an iPad + Apple Pencil•Ends in --d --:--:--•Black Friday•30% off annual plans•Win an iPad + Apple Pencil•Ends in --d --:--:--•Black Friday•30% off annual plans•Win an iPad + Apple Pencil•Ends in --d --:--:--•Black Friday•30% off annual plans•Win an iPad + Apple Pencil•Ends in --d --:--:--•Black Friday•30% off annual plans•Win an iPad + Apple Pencil•Ends in --d --:--:--•
Ignore the asset library. Ignore the custom sky, the grass scatter, the animation tab and the VR headset in the office drawer. For your first image the job is five things, in this order: fix what Enscape physically cannot fix, set the sun, compose one view and save it somewhere safe, adjust four material properties, export at the right size. Everything else is day two.
That order isn't arbitrary. It's sorted by payoff per minute. The things at the top change every pixel in the image; the things at the bottom change a corner of it. Beginners reliably do this backwards — two hours placing furniture from the asset library into a scene lit at midday by a sun pointing the wrong way — and then wonder why the render looks like a video game from 2009.
Enscape renders what you modelled. It does not quietly correct it. So the first pass is in your host software, not in the render window, and it's the pass with the highest return in the whole process.
Reversed faces. In SketchUp, flip to View > Face Style > Monochrome and look for blue. Blue is a back face. Enscape will happily render it, but it renders it as the default back material, so your beautifully textured wall shows up as a flat grey patch for no apparent reason. Select, right-click, Reverse Faces. Takes a minute, saves you twenty minutes of confusion later.
Holes and missing faces. An unfilled gap at the junction of wall and slab is invisible in a shaded SketchUp view and brutally obvious in a rendered interior, because daylight pours through it. If your render has an unexplained bright seam, it is almost never a lighting bug. It's a hole.
Z-fighting. Two coplanar surfaces occupying the same space — a floor finish drawn on top of a slab, a duplicated wall from a careless copy — produce a flickering, stripey mess in the live window. It doesn't settle down in the export. Delete one of them.
Texture sizes. This is the one that bites people with a new install. Downloading 6K maps is a reasonable habit for the floor plane that fills half your image. It is a stupid habit for a door handle. Big textures live in VRAM, and when VRAM runs out Enscape gets slow, then ugly, then it stops. Reserve the heavy maps for the surfaces that earn them.
On the Revit side the failure modes are different: materials with a sensible render appearance never assigned, linked files switched off in that particular 3D view, imported CAD junk sitting in the model. That's a longer checklist than this article wants to be, and we've written it out properly in our Revit-side setup piece. Do that pass once, before you touch Enscape.
Set the Sun Before You Touch a Single Material
The sun is a model setting, not a render setting, and getting it right costs about ninety seconds.
In SketchUp, Model Info > Geo-location, and either pick the site or type the latitude and longitude in. In Revit, Manage > Location. Enscape reads it directly. Without it you are lighting a building in Manchester with a sun positioned for wherever the template defaults to, and the shadows will be subtly, unfixably wrong — wrong length, wrong direction, wrong mood.
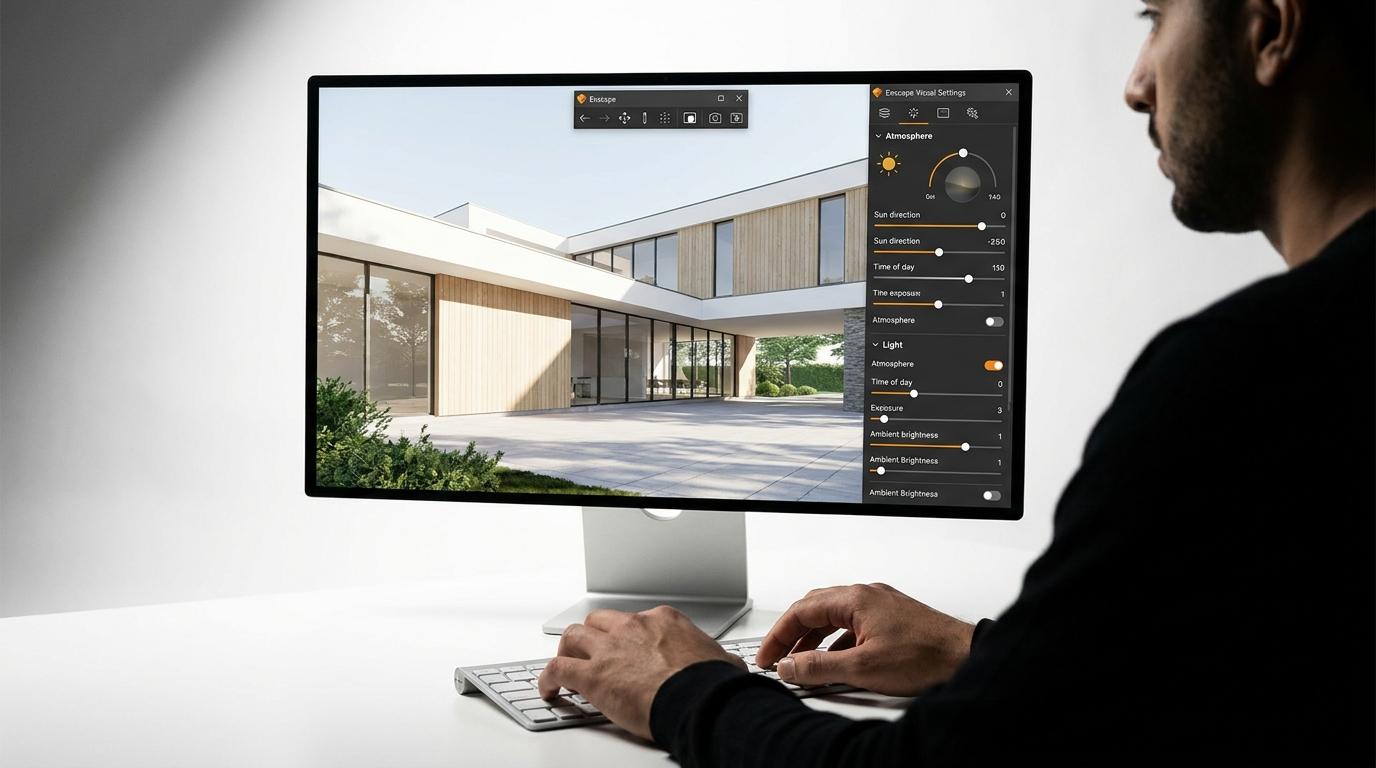
Then set the time of day. Shift and right-drag in the Enscape window moves the sun live, which is the single most satisfying control in the software. Resist noon. A sun directly overhead gives you flat top-lighting, short stubby shadows and no modelling on any vertical surface. Drop it low enough that light rakes across your main elevation and you get shadow length, surface texture and a reason for the eye to move around the frame.
Do this before materials, because every material judgement you make under the wrong light is a judgement you will reverse. You'll darken a floor that only looked pale because the sun was blasting it, then find it reads as a cave once you fix the time of day.
One View, Saved Where It Survives
The live window is a toy until you commit to a camera. Commit early, because once you have a fixed frame you can judge everything else against it — you know which materials fill the image and which ones you can safely ignore.
Compose in the host, not in Enscape's floating window. A SketchUp scene or a Revit 3D view is a container that survives you going back into the model to patch a hole, reverse a face and come out again. Enscape's own view list is useful too, but what we've found is that beginners lose cameras constantly — one stray orbit and the shot you spent ten minutes finding is gone. Save it in the host, name it something like R-01 Garden Elevation, and move on.
Three things while you're composing. Eye height: stand the camera where a person stands, somewhere around 1.5 to 1.6 metres, not at the drone altitude SketchUp leaves you at. Field of view: Enscape's camera has a FOV slider and the temptation is to crank it wide so everything fits. Don't. Wide angles bend verticals and make rooms look like estate agent photography. If the space won't fit, step back or accept a tighter crop. Two-point perspective: there's a toggle in Enscape's camera settings that locks verticals upright. For any image with a building in it, turn it on. It is the difference between a render and a photograph of a building.
Four Properties, Then Stop
Open Enscape's material editor and the number of sliders is intimidating. You need four, and only on the handful of materials that occupy real estate in your one frame. Floor, dominant wall finish, glazing. That's usually it.
Texture and its real-world size. The albedo map plus the dimension it tiles at. Get the size wrong and a 2m-square concrete panel reads as a 200mm tile, and no amount of lighting rescues it. Quixel Bridge tells you the physical size of its scans; use it rather than guessing.
Roughness. The single biggest lever between "material" and "plastic". Nothing in a real building is perfectly glossy or perfectly matt, and if every surface in your scene has the same roughness value, your render will look computer-generated no matter how good the textures are.
Bump or normal. Gives you the micro-shadow that makes brick read as brick at a glance. Apply it, then dial it back — overdone normal maps look embossed, like a plastic moulding of a wall.
Reflection. Restrict it to the things that genuinely reflect: glass, metal, a polished floor, a wet terrace. For glass, start from Enscape's glass preset rather than stacking transparency onto a textured material and hoping.
That's it. Do not rebuild forty materials. Fix the three that fill the frame and leave the rest on defaults — nobody looking at your image is going to notice the soffit.
Export: Pixels, Not Vibes
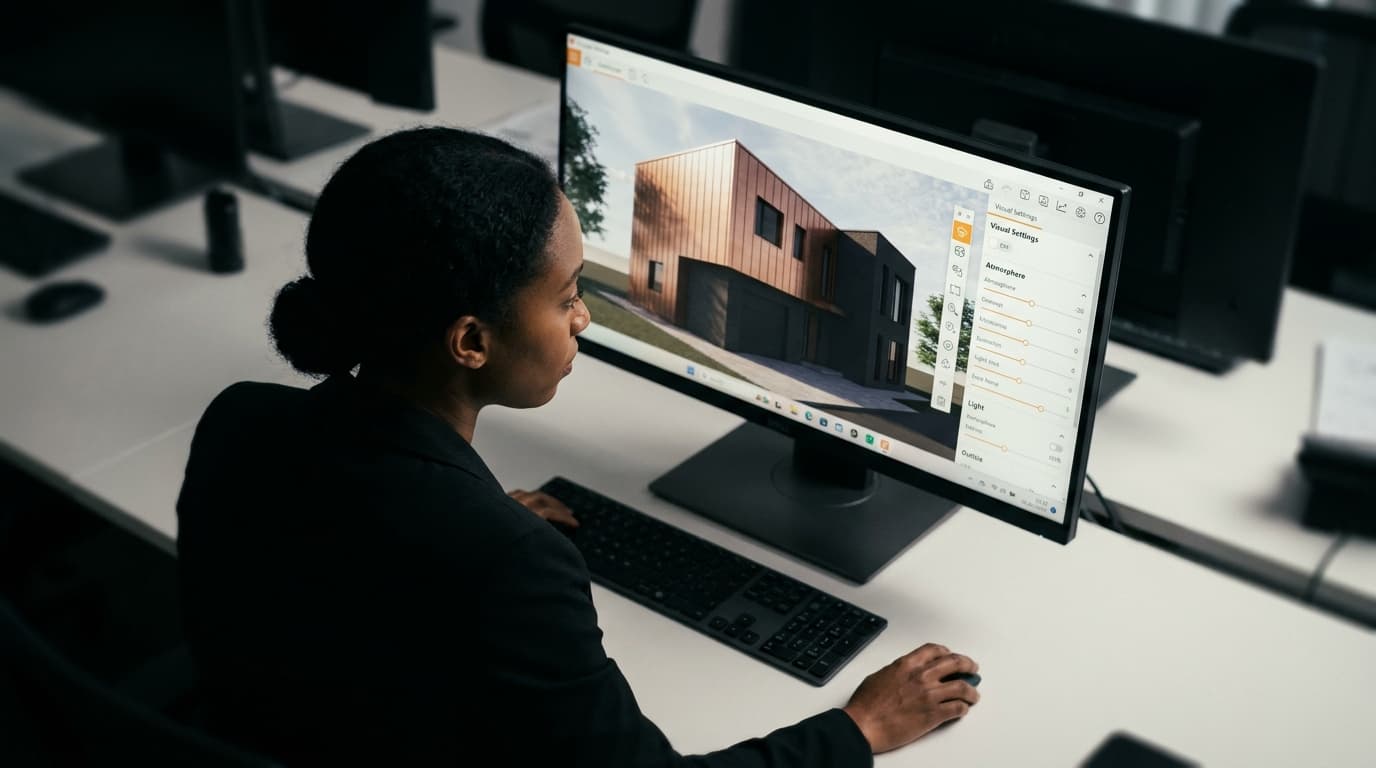
The screenshot button in the toolbar is not the export. Go to Visual Settings > Capture and set the resolution deliberately.
What "client-ready" means depends entirely on where the image lands. On a laptop screen in a meeting or in a PDF that will be viewed on screen, full HD is genuinely enough and anything larger is wasted render time. If it's going into a printed A3 board at 300dpi, that's roughly 3500 by 4950 pixels — do the arithmetic for your sheet rather than guessing, because an image upscaled after the fact looks soft and everyone can tell.
Set the render quality for the export rather than leaving it where you had it for smooth navigation. Because Enscape is a real-time engine, a still at a sensible resolution is a short wait rather than the overnight job you might remember from older renderers — but the wait scales with resolution, so set it once and don't sit there repeatedly exporting at print size to check a material.
PNG if the image is going into a layout with anything behind it, JPG if it's going straight into a slide. And before the meeting: check your licence state and look at the exported file, not the live window. Finding a watermark the morning of a presentation is a specific and avoidable kind of misery.
What You Are Not Doing Today
This is the part the tutorials never say out loud, so here it is.
You are not browsing the asset library. Two scale figures at most, placed where they explain the space, and nothing else. An empty, well-lit model reads as a confident design study; a model stuffed with mismatched library furniture reads as a mess.
You are not downloading a custom HDRI sky. Enscape's built-in sky is fine and the sun position matters ten times more than the clouds.
You are not making a video. Animation is a different discipline with its own failure modes — camera easing, timing, frame-rate judgement — and it will eat your remaining day.
You are not doing panoramas, VR or the executable export. All three are brilliant and all three are the reason to come back next week when there's no deadline.
Does It Need Photoshop?
A levels adjustment, maybe. A slight contrast lift. That's a legitimate finish, and it's the same thing a photographer does to a RAW file.
What you should not be doing is compositing in a sky, painting out artefacts or masking a wall that came out grey. If your render needs that much rescuing, the problem is upstream — a reversed face, a missing material, a sun in the wrong hemisphere — and Photoshop is just the expensive way of not fixing it. Go back, spend four minutes in the model, re-export. It is faster, and the image will be better.
That's the honest route. The second image you make will take a fraction of the time, because the sun, the camera and the floor are already right — and that is the whole point of doing it in this order.