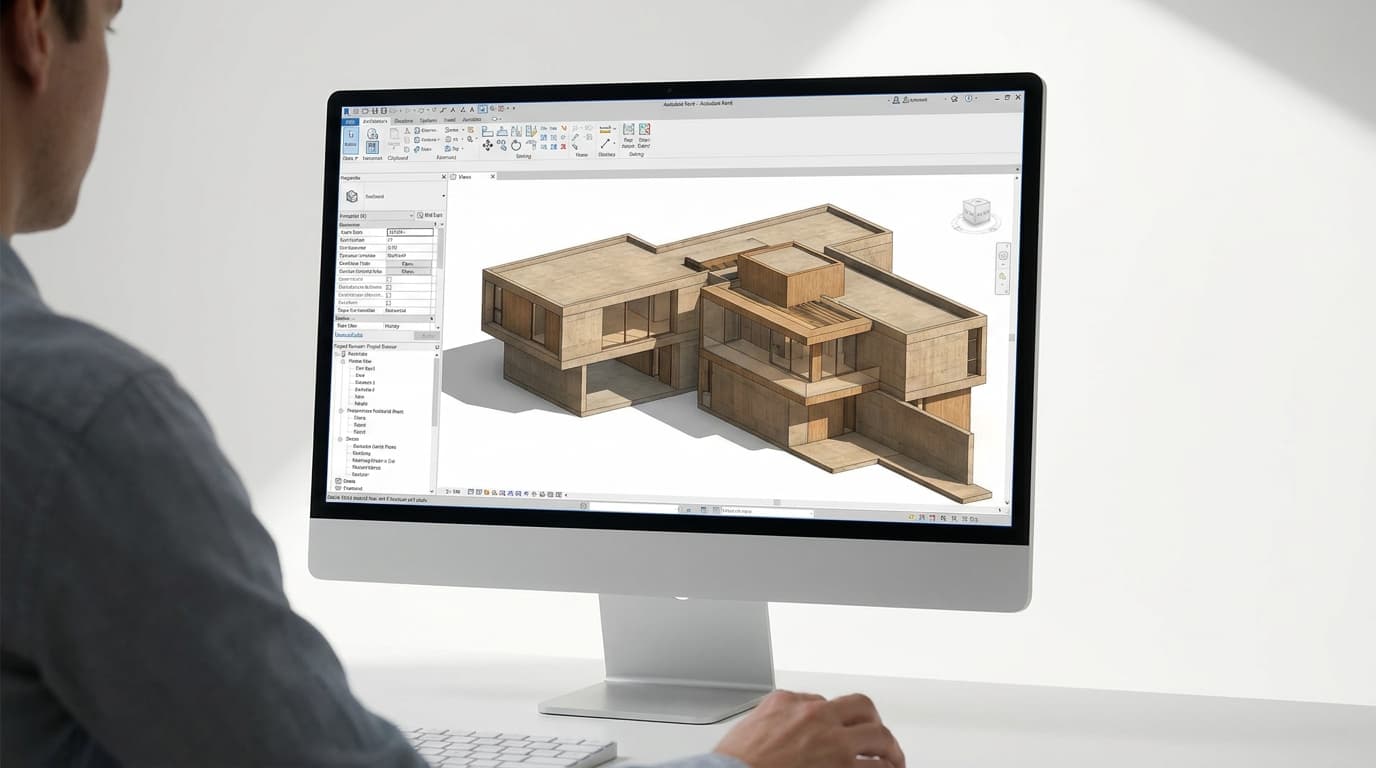
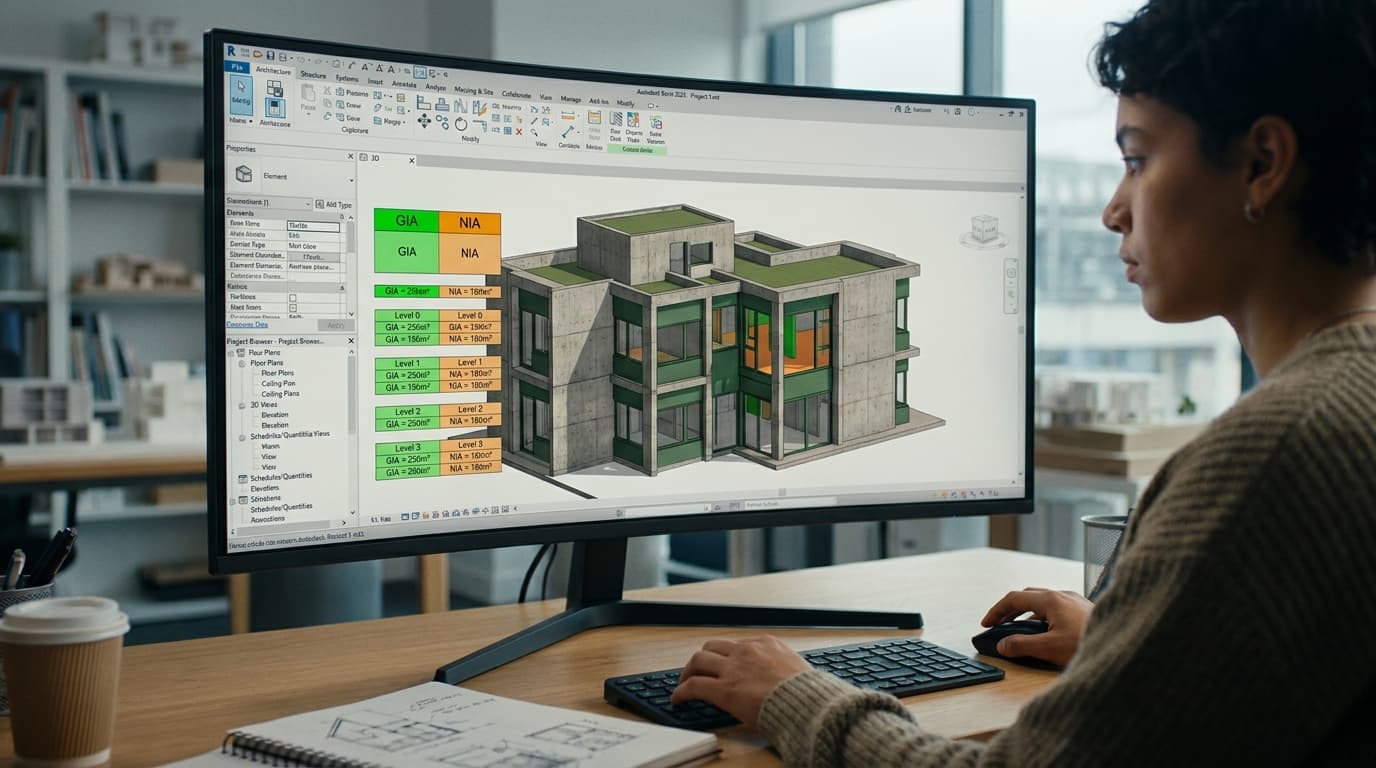
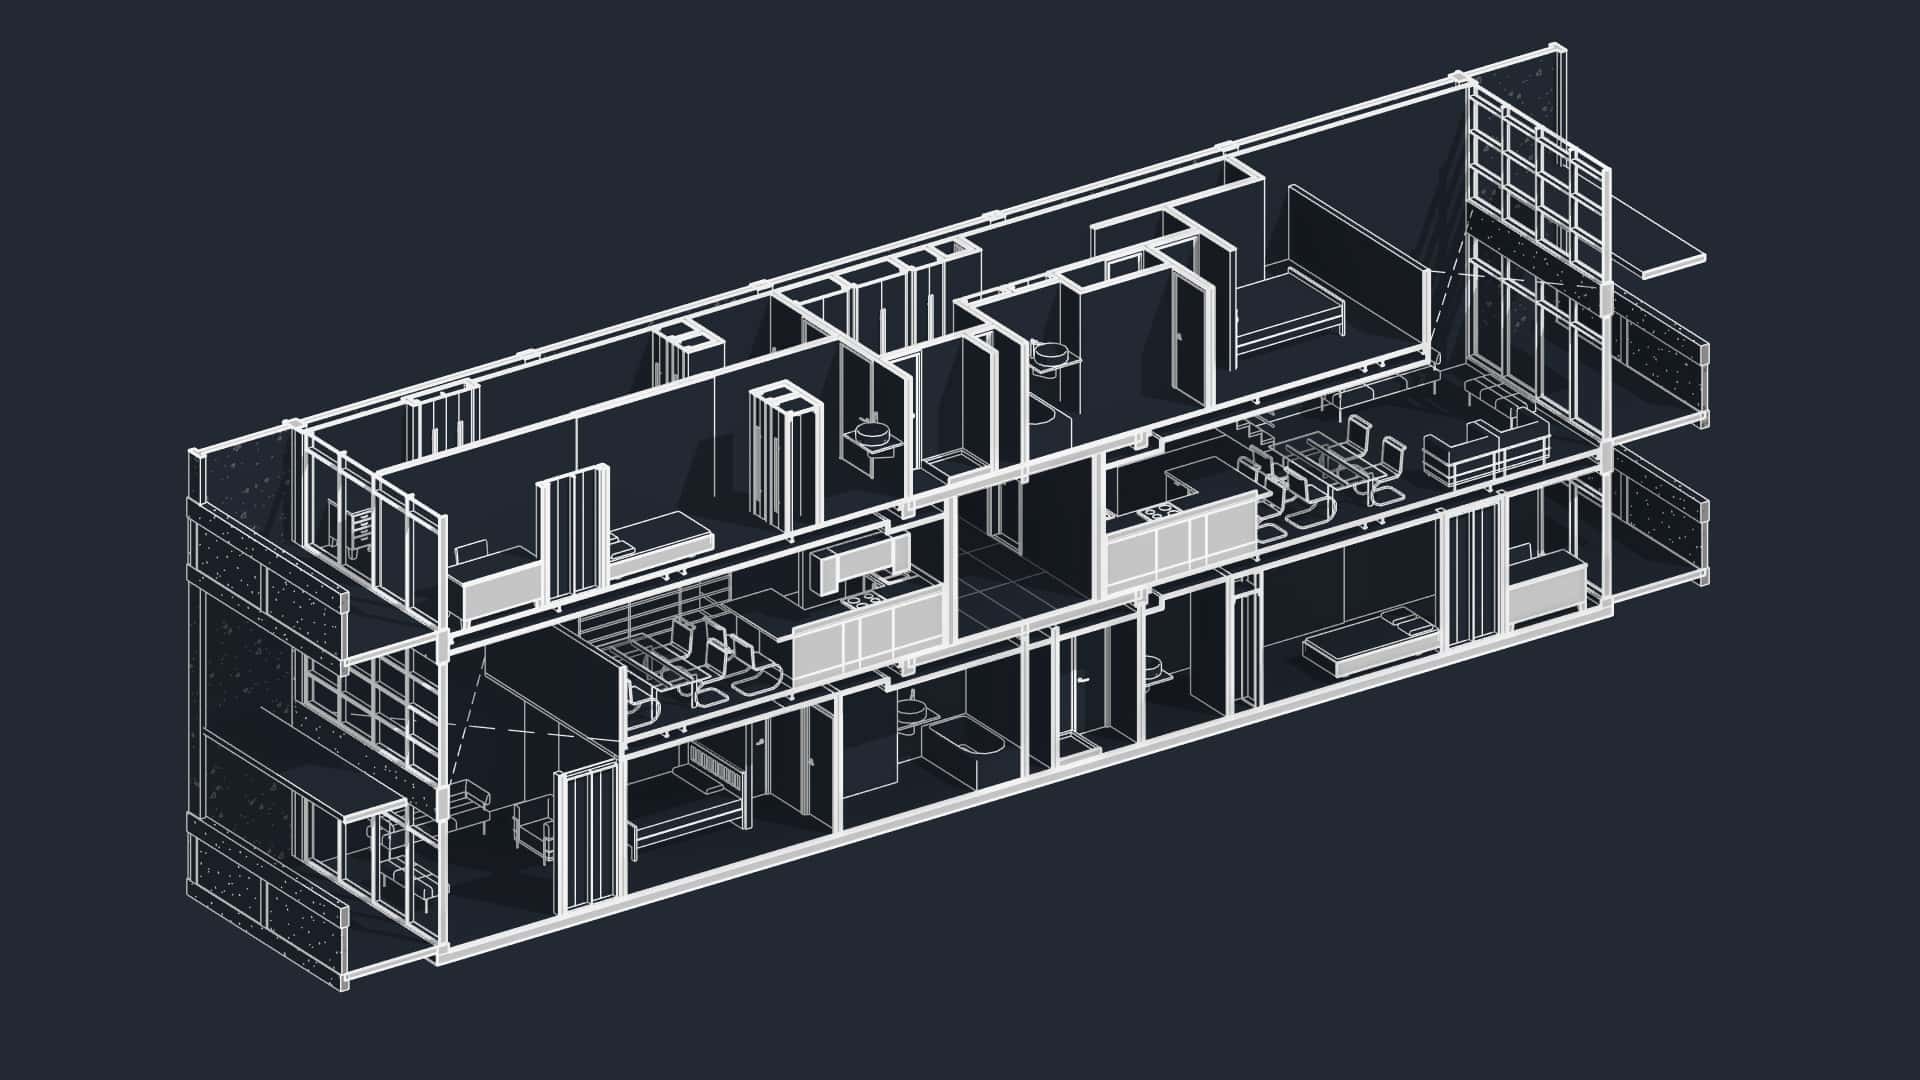
There's a window in your model that refuses to cut the wall. You downloaded it from a manufacturer's site at half four on a deadline day, dropped it in, and it sat on the wall like a sticker. So you drew an opening by hand next to it, moved on, and now there are fourteen of them and a schedule that counts the frames but not the holes.
The fix isn't a better download site. It's twenty minutes in the Family Editor with the right template open, because almost every misbehaving RFA fails for one of three boring reasons: the wrong category, no host relationship, or geometry that was never tied to anything. None of those are geometry problems. They're decisions made before anyone drew a line — which is why this piece is about the decisions, not about which button makes an extrusion.
The reason people avoid the Family Editor isn't difficulty. It's that the first attempt usually explodes when you change a dimension, and an exploding family feels like proof you shouldn't have tried. It isn't. It's proof the skeleton came after the geometry instead of before it.
Before anything else, work out which of the three kinds of content you're actually making. Get this wrong and everything downstream is a workaround.
System families are the ones Revit builds itself: walls, floors, roofs, ceilings, stairs, pipes. You can't author them in the Family Editor and you can't save them as an RFA. You duplicate a type and edit its structure. If the thing you want is a build-up — a different insulation thickness, a new floor make-up — you are not making a family, you are making a type, and you should stop reading about family authoring and go edit the type. We've covered that side of it in Getting Started with Wall and Floor Design in Revit.
Loadable families are everything else worth making: doors, windows, furniture, sanitaryware, columns, light fittings, bespoke bits of joinery, parapet copings, your practice's title block. Separate file, own template, loads into any project, schedules properly, updates everywhere when you reload it. This is where you should be spending your time.
In-place families are modelled directly inside the project and belong to that project alone. And here is the blunt position: in practice, an in-place family is almost always the wrong answer. Not because it's technically shameful, but because of what it costs later. It can't be reused in the next project. Every copy you make is effectively fresh geometry rather than another instance of the same type, so the file grows in a way that's hard to audit. It behaves oddly in schedules. And when the design changes, you edit the same lump twenty times.
The test we use is simple: does this thing exist exactly once, in this building, forever? A weird transition piece where a soffit meets an existing party wall — fine, in-place it, get on with your day. Anything that appears twice, or might appear on another job, or needs to be scheduled or tagged — loadable. What we've found is that the fifteen minutes you save going in-place gets repaid with interest the first time the grid moves.
Pick the Template Like It's Permanent, Because Mostly It Is
When you start a new family, Revit asks you to choose a template. This is the single most consequential click in the whole process and people treat it like choosing a file format.
The template sets the category. The category is what drives, all at once: which schedules the family can appear in, which tags will attach to it, what it does in Visibility/Graphics, whether it can be turned off per-view, what it does in a cut plane, and how it exports. A tea point modelled as a Generic Model will never appear in your furniture schedule and will never be caught by a furniture tag — not because the geometry is wrong, but because Revit is doing exactly what you told it.
You can change a family's category after the fact in Family Category and Parameters, and sometimes that rescues a download. What you cannot change is the hosting behaviour, and that's the second thing the template decides.
A door or window template carries built-in host behaviour: the family knows it lives in a wall, and the void in it cuts the wall automatically. A face-based template will also cut its host, provided the void is set to cut when the family is loaded — which is what makes face-based so useful for things like extract grilles or wall-mounted boxes that need a genuine hole. A wall-based template ties the family to a specific wall for life. A standalone template hosts nothing and cuts nothing, which is perfect for a chair and useless for a rooflight.
So the decision, in order, before you draw:
What category does this need to be, for scheduling, tagging and visibility?
Does it need to cut its host, sit on its host, or stand on its own?
Does it need to be face-based so it can go on a wall, a ceiling or a slab soffit without three separate families?
Answer those three and open the matching template. Answer them afterwards and you'll be rebuilding.
This is also, incidentally, the diagnosis for most broken downloads. A manufacturer's RFA authored as a Generic Model, standalone, with free-floating geometry, will place, look convincing in a 3D view, and fail at every single job you actually need it for.
Build the Skeleton, Then Hang the Geometry Off It
Here's the discipline that turns family authoring from gambling into engineering. Reference planes first. Geometry second. Never the other way round.
Open a fresh template and you'll see two reference planes crossing at the origin. That intersection is the insertion point — it's what you're clicking when you place the family in a project, and it's what the family rotates around. Treat it as sacred and build outwards from it.
Then draw reference planes for every dimension that will ever need to change. Width. Height. Frame depth. Sill position. Give each one a name in its properties, because a named plane can be picked as a work plane later, and "Reference Plane 7" is nobody's friend at eleven at night. Set the important ones to be strong references so that when someone places the family in a project, the dimension tool snaps to the face they actually want to dimension to.
Only now do you make geometry — extrusion, sweep, blend, whatever the form needs — and you sketch it onto those planes rather than into empty space.
Constrain It, Then Try to Break It
Three moves, in this order.
Dimension between reference planes. Not between the edges of your extrusion — between the planes. The geometry follows the planes; the planes follow the parameters.
Label the dimensions. Select a dimension, use the Label box, create a parameter. That's the moment a dumb dimension becomes a driving one. The rule of thumb we teach: if every instance of this type will share the value, make it a type parameter; if two of them sitting side by side on the same drawing might legitimately differ, make it an instance parameter. Door leaf width is a type parameter. Sill height above finished floor is arguably an instance one. Guess generously in favour of type parameters — a family with forty instance parameters is a family nobody wants to place.
Align and lock. Use Align, pick the reference plane, pick the geometry edge, then click the padlock shut. Every padlock you leave open is a piece of geometry that will politely stay where it is while everything around it moves. A padlock you didn't close is a future support call from whoever inherits the model.
Then flex it, and flex it rudely. In the family types dialogue, change the width to something absurd — 50mm, then 5000mm — and hit Apply. Then the height. Then both at once. You are not checking whether it looks nice; you are checking whether anything detaches, inverts, or throws a constraint error. If it survives values it will never see in real life, it will survive the ones it will.
Flexing in the Family Editor isn't enough on its own, though. Load it into a sandbox project — a scratch file, not the live model — and place it for real. On a curved wall. On a wall that's thicker than you expected. In a plan view at 1:50 and again at 1:200. In a section, so you can see what it does when it's cut. Put it in a schedule and check it turns up under the right category with the right values. What we've found is that families pass the editor and fail the project, and the failure is nearly always host-related rather than geometric.
A Family Isn't Finished When It Looks Right
It's finished when someone who has never spoken to you can place it, tag it, schedule it and turn it off, without guessing.
That's a higher bar than "the geometry is correct", and it's the bar that separates your content from the stuff you've been downloading. Three things carry most of the weight.
Subcategories decide whether the reader of your drawing can tell the frame from the glass. Assign geometry to subcategories inside the family and the project can then control line weight and colour per subcategory, per view template — so the ironmongery stops fighting the wall lines at 1:100. Without subcategories, every part of your family inherits one graphic setting and your drawings look flat.
Shared parameters decide whether the information you've bothered to enter can ever leave the family. A plain family parameter is private to that family; it won't schedule alongside other families and it won't tag. If a value needs to appear in a schedule or in a tag — a product reference, a fire rating, an acoustic value — it has to be a shared parameter, written to a shared parameter file that lives somewhere the whole office can reach. A single file, backed up, not on your desktop.
And materials should be parameters, not hard-coded. Bind the material to a type parameter and one family serves oak, painted MDF and powder-coated steel. Hard-code it and you'll have three near-identical families with three near-identical names and a coin toss over which one's current.
When the Geometry Genuinely Is Hard
Some things won't submit to a box on reference planes — folded envelopes, faceted soffits, curtain walling that follows a shifting floor profile. That's not an argument for going in-place and freehanding it. It's an argument for getting properly comfortable with massing, adaptive geometry and curtain systems, because the moment the form is complicated is precisely the moment sloppy authoring starts costing days. Our Complex Modelling in Autodesk Revit course works through the Dokk1 Library for exactly this reason: it's a building where the interesting bit is the geometry, and where the model only holds together because the components underneath it were built to move.
Start with something you'll actually use tomorrow. A door type your office keeps redrawing. A bespoke bench. Build it properly, flex it until it screams, and save it somewhere the rest of the team can find it.
The second one takes half the time. By the fifth, you'll stop downloading.