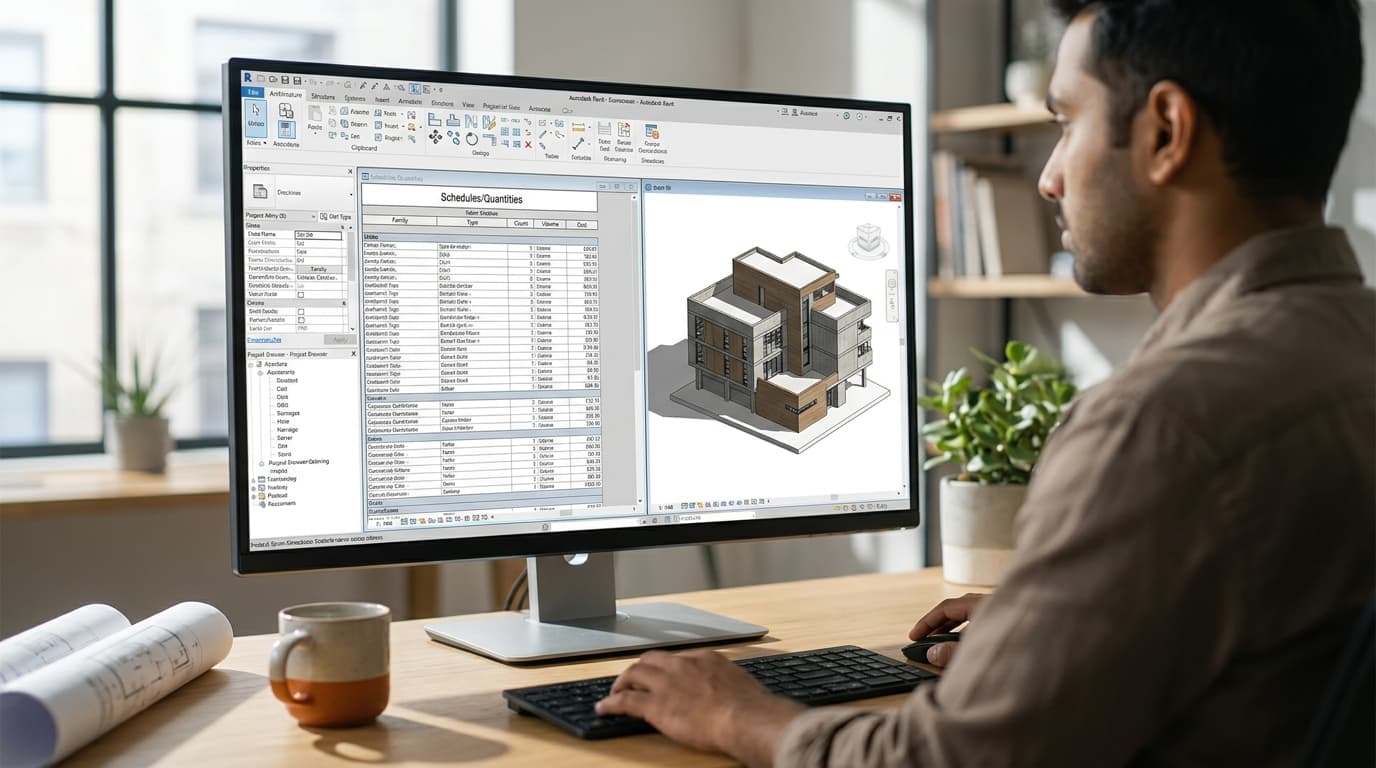
Delete two of the three models. Not this second — read the rest first — but that is where this ends: one model, one set of elements, and existing, demolition and proposed plans that all move together when the survey changes. Revit has had the machinery for this for years. The reason it falls over on real refurb jobs isn't the machinery. It's four places where phasing fails quietly, plus a graphics setup almost nobody bothers to drag into line with how a planning drawing is actually supposed to read.
8 min read
Revit Phasing for Refurb: One Model, Three Drawings

Free Lesson
Stairs, Ramps & Railings
Course
Revit Intermediate Guide
Demolition Is Not a Phase
Start here, because getting this wrong costs you a week later.
Phases in Revit are periods of time, not drawing types. A wall doesn't live in a "demolition phase". It is created in one phase and demolished in another, and the drawings are generated by asking a view to look at a particular moment through a particular filter. For a standard extension or conversion you need exactly two phases: Existing and New Construction. That's the whole setup.
The trap is creating a third phase called "Demolition" because the drawing is called a demolition plan. Do that and every retained wall now has to be created in Existing, survive Demolition, and persist into Proposed — and every filter, every schedule and every view template multiplies to cope with a period of time that doesn't exist on your programme. We teach two phases and only add a third when the building contract is genuinely sequenced: a wing staying occupied while the other half is built, a decant, a two-stage handover. If the client isn't moving out in stages, you don't need a stage.
With two phases, the three drawings fall out like this:
| Drawing | View Phase | Phase Filter |
|---|---|---|
| Existing | Existing | Show Complete |
| Demolition | New Construction | Show Previous + Demo |
| Proposed | New Construction | Show Complete |
The existing plan is standing in the past, so everything you've modelled reads as built. The demolition and proposed plans both stand in the future — the difference is only what the filter lets through. Nothing is duplicated. Nothing is drawn twice.
The Graphics You Want Are Hiding in a Tab You've Never Opened
Phase filters don't contain any graphics. All they do, per column, is choose between By Category, Overridden and Not Displayed. The actual appearance of "overridden" lives one tab across, in Manage > Phasing > Graphic Overrides, and it is project-wide. Set it once, in your office template, and every view behaves.
What we set, and why:
Existing — thin lines, grey, and crucially a light cut pattern or none at all. Halftone alone is a trap: a solid black cut fill at 50% still reads as a heavy grey slab and swamps the new work next to it. Screen the cut pattern as well as the lines, or the drawing looks like the existing building is the proposal.
Demolished — dashed cut and projection lines, same grey weight as existing, no cut fill. Dashed is the convention the reader's eye already knows. Don't make it bold and don't make it red unless you're producing a coloured set, because the planning officer prints in black and white and a red line at 2pt is just a thick black line.
New — leave it on By Category. Don't override it. The whole point is that new work looks like a normal Revit drawing, at full weight, and everything else recedes behind it.
Temporary — ignore it unless you're genuinely drawing props and scaffolding.
There is no single statutory line convention for this in the UK; what matters is that the hierarchy is legible at the scale you're issuing. In our experience, the test is to print the demolition plan at A3 in mono and hand it to someone who hasn't seen the project. If they can't tell you in five seconds what's going and what's staying, the overrides are wrong, not the drawing.

Break One: The Schedule That Counts Doors You Demolished
This is the one that ends up in a tender.
A schedule has its own Phase and Phase Filter, set in the schedule's properties, and it does not inherit anything from your views. Create a door schedule on a Tuesday afternoon and it'll arrive with whatever default your template carries — often one that shows everything that has ever existed. Your demolished doors are in the count. So is the existing door you're replacing, alongside its replacement.
Fix it properly rather than by hand. Set the schedule's Phase to New Construction and its Phase Filter to Show Complete and you get retained plus new, which is usually what the contractor is pricing. Better: add Phase Created and Phase Demolished as fields, group by Phase Created, and tick itemise. One schedule, three sub-totals, no manual filtering, and when somebody moves a door from the demolish list to the retain list the schedule follows.
Make this a pre-issue check. Any schedule that isn't explicitly set is lying somewhere.
Break Two: Rooms Don't Cross Phases, and They Never Will
Rooms are phase-specific objects. A room placed while you're in an Existing-phase view belongs to the Existing phase, full stop. It will not appear in your proposed plans, it will not appear in your proposed area schedule, and no amount of fiddling with the phase filter will drag it forward.
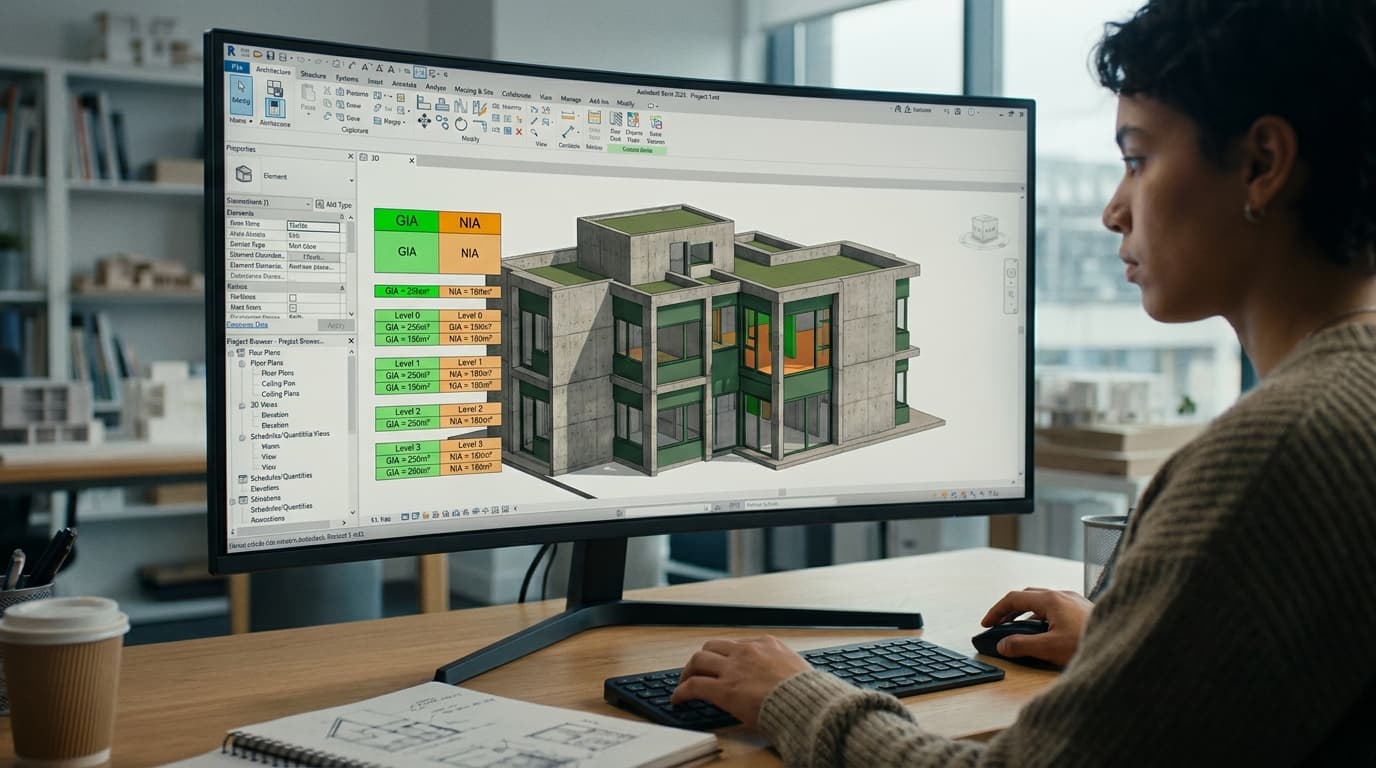
That means the existing GIA and the proposed GIA come from two separate sets of rooms, placed in two separate phases, tagged separately and scheduled separately. Which is correct, by the way — the existing floor area and the proposed floor area genuinely are different data, and the client will ask you for both.
Where it bites: you place rooms in the proposed plan, Revit finds the existing rooms already bounding the same space in a different phase, and you start collecting "redundant room" warnings and unplaced rooms in the browser. Ignore the warning and you'll find an unplaced room with a name you need still floating in the schedule months later. The discipline is simple and dull: place rooms once per phase, filter every area schedule by phase, and never copy-paste rooms between views.
If you're producing measured areas off the back of this for an agent or a valuation, the schedule side of it is a job in itself — we've covered the standards and the schemes in producing GIA and NIA area schedules in Revit.
Break Three: You Modelled the Extension in the Past
New elements inherit Phase Created from the view you drew them in. Not the active phase in some global sense — the view. So an hour spent happily modelling the rear extension in the existing survey plan produces an extension that is part of the Victorian building, invisible on your proposed drawing, and present on your existing plan where the garden used to be.
The cure is a habit: glance at the view's Phase in Properties before you model anything. The expensive version is catching it afterwards.
To catch it afterwards, build an audit schedule — a multi-category schedule with Family and Type, Phase Created, and a count, grouped by phase. Anything that is obviously new sitting under Existing is a stray. Select it from the schedule row, and Revit highlights it in the model.
The same technique retro-fits phasing to a model built without it, which is the situation if you learned Revit on new-build and have just inherited a refurb someone else started. Open a 3D view, select everything, and set Phase Created to Existing in one go — Properties will show the parameter as long as the selection contains elements that carry it, and levels, grids and annotation simply won't be affected. Then go back and reassign the genuinely new work. It's a blunt instrument and it takes an afternoon, but it is far quicker than re-modelling, and it is still quicker than maintaining three files.
Break Four: Your View Template Is Quietly Undoing All of It
Set the phase filter on your demolition plan, apply the office floor-plan template, and watch the phase filter revert.
View templates can include Phase and Phase Filter among their controlled properties. If yours does, and most inherited office templates do without anyone noticing, every phase setting you make by hand gets overwritten the moment the template reasserts itself. People then conclude phasing is broken and go back to three models.
Two ways out. Either untick Phase and Phase Filter in the template so views keep their own, or — better, and what we'd do — build three templates: Existing Plan, Demolition Plan, Proposed Plan, each carrying its phase settings, and assign the right one to each view. Then the setting can't drift, because it isn't being set by a person.
The second half of this is view filters. If your template carries a rule-based filter that overrides line weights on, say, all walls, what we've found in practice is that it wins over the phase graphic override — so your carefully dashed demolished walls come back solid and nobody can see why. Test it on a sacrificial view before you roll the template out. If the dashes vanish, the filter is the culprit, not the phasing.
The Bits That Phasing Can't Do For You
Linked existing models and point clouds. A link instance carries phase data as a whole object, and you can map the link's phases to the host's. What you cannot do is demolish an individual wall inside a link from the host file. So if any part of the existing fabric is coming out — and on a refurb, it is — the existing building needs to be modelled natively in the project, with the survey or point cloud as the underlay. Point clouds carry no phase at all; control them with visibility settings in the view, and turn them off before you issue.
Hosted families. Demolish a wall and the doors and windows hosted in it are demolished with it, in the same phase, which is the behaviour you want. The one that catches people is the opposite move: demolishing a door in a retained wall. Revit removes the door and leaves a hole, because it has no idea you intend to block it up. You model the infill as a new wall segment in the New Construction phase — and conversely, a new window in a retained existing wall will read as "new window", not "form new opening in existing wall". Phasing shows states, not operations. The instruction to cut the opening is a note, and it always will be.
Sheets. Duplicate the plan view for each drawing, but use plain Duplicate, not Duplicate with Detailing. Duplicate with Detailing brings your demolition tags onto the proposed plan, where they immediately start drifting out of step with the ones you're still editing. The annotation on each of these three drawings is genuinely different work. Let it be different.
One Model, Because the Survey Will Change
The argument for all of this isn't elegance. It's the email you get in week six saying the measured survey was out by 200mm on the party wall. With three models you fix it three times and get it wrong in one of them. With phases you fix it once, and the existing, demolition and proposed sheets are all correct before you've closed the view.
Set the two phases, set the graphic overrides in the office template, build the three view templates, and check your schedules' phase filters before every issue. That's the entire job. Everything else is just drawing the building.

Written by
About the team