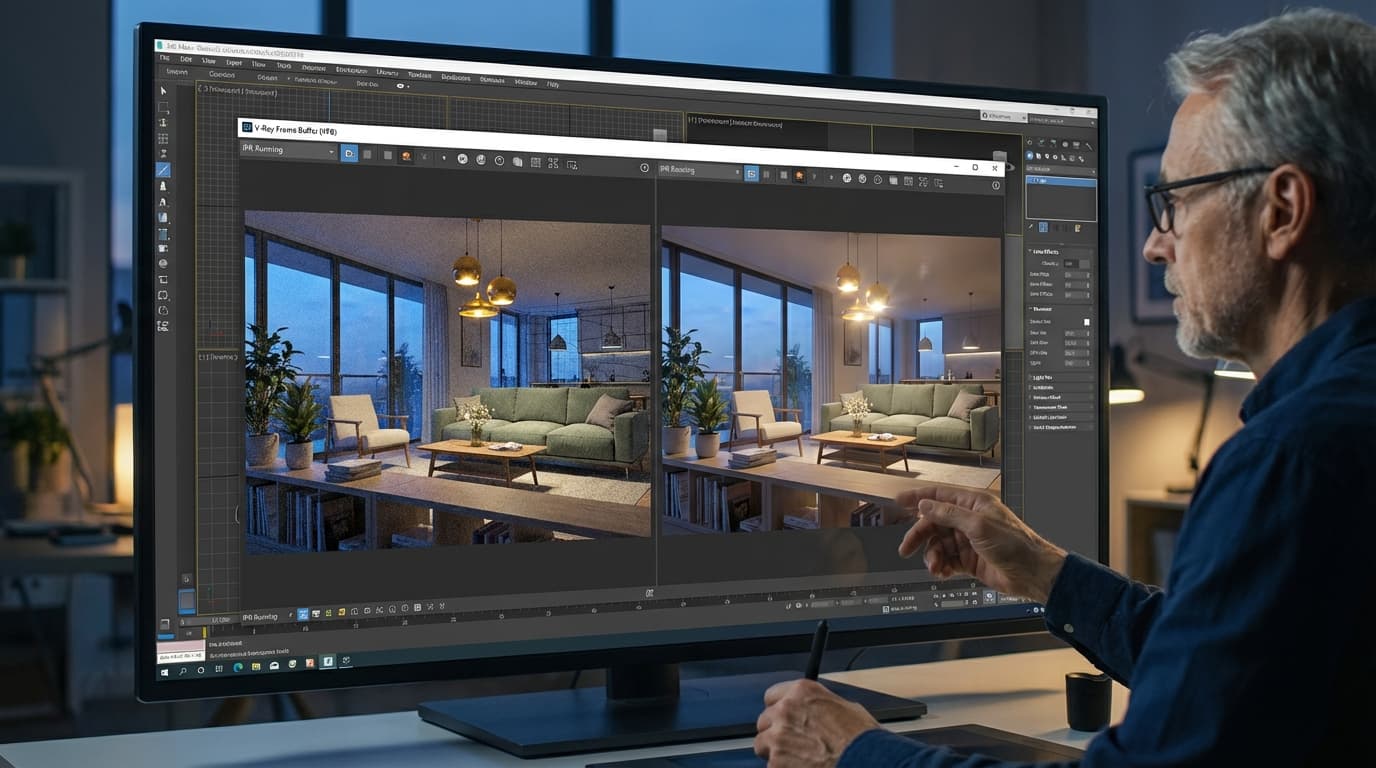
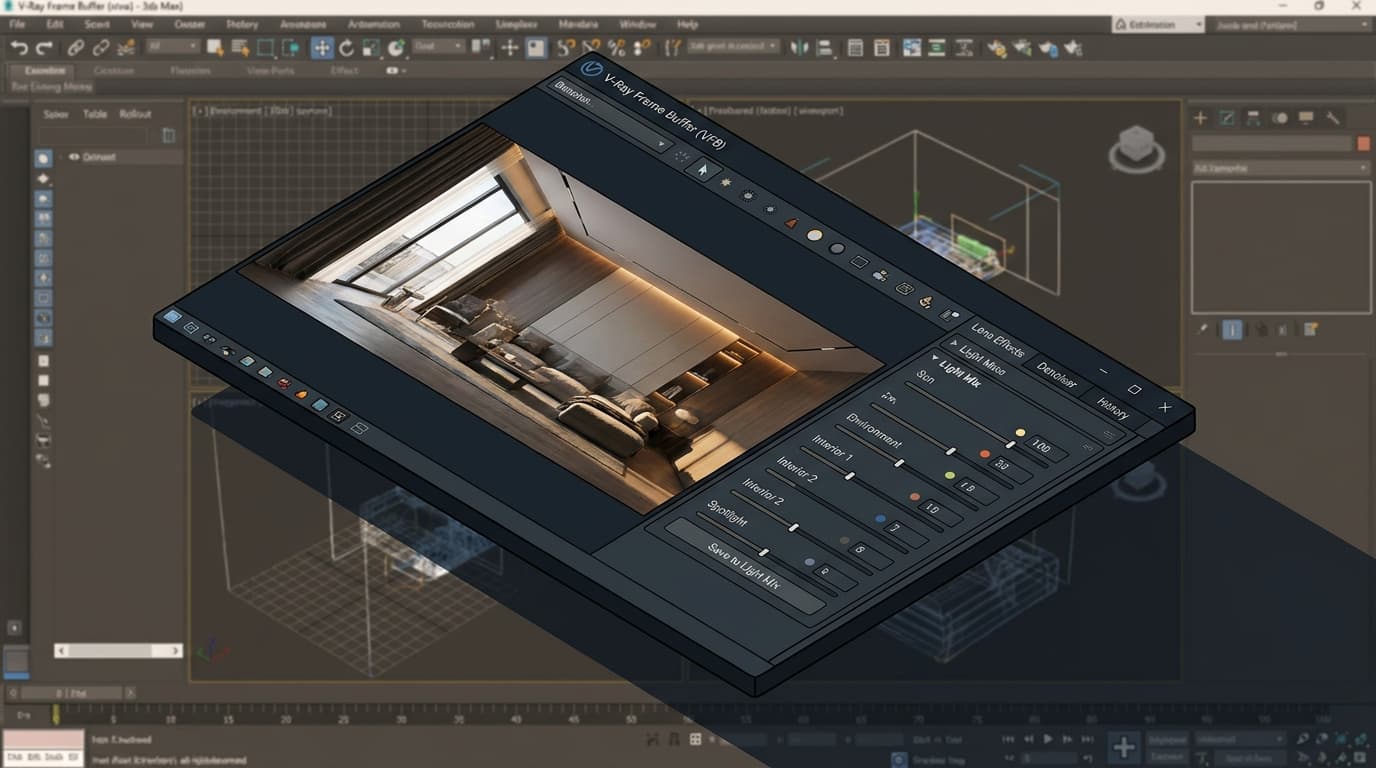
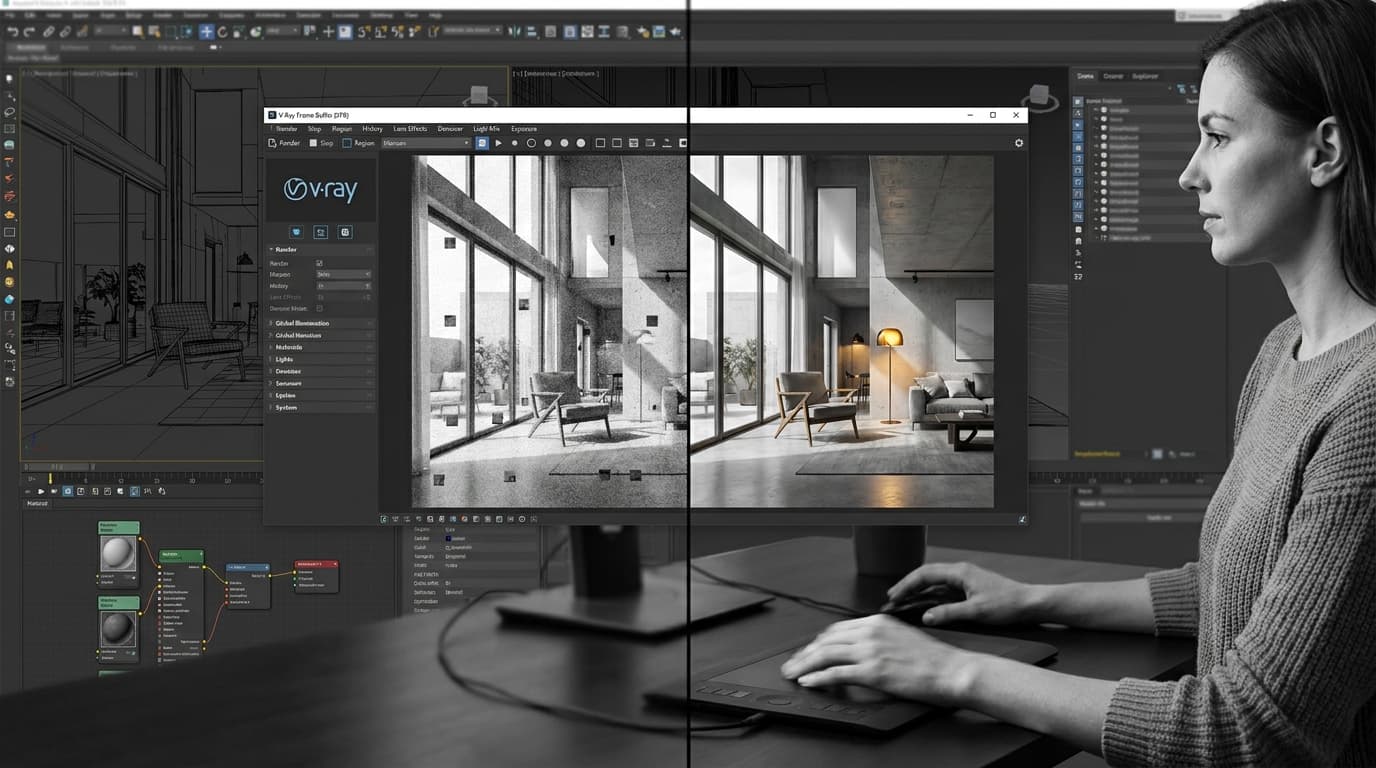
Lumion has revolutionized architectural visualization by making photorealistic rendering accessible to architects without requiring specialized technical expertise. This powerful software bridges the gap between architectural design and visual communication, enabling architects to create stunning presentations that effectively communicate design intent to clients and stakeholders.
This comprehensive tutorial will guide you through Lumion's essential features and workflows, from importing your first 3D model to creating professional-quality renderings and animations. Whether you're working with models from Revit, SketchUp, or other modeling software, Lumion's intuitive interface and extensive material library make high-quality visualization achievable.
For UK architects, effective visualization is increasingly important for planning applications, client presentations, and marketing materials. RIBA-validated courses now emphasize visualization skills, and many practices require rendering capabilities for both project development and business development activities.
Introduction to Lumion
Overview of Features
Lumion's strength lies in its real-time rendering engine and user-friendly interface:
Real-Time Visualization: See changes instantly as you adjust materials, lighting, and camera angles. This immediate feedback accelerates the design and visualization process significantly.
Extensive Material Library: Over 1,000 pre-built materials covering everything from concrete and timber to fabrics and metals. Materials include realistic surface properties like reflection, bump mapping, and weathering effects.
Landscape Tools: Create realistic outdoor environments with terrain modeling, vegetation placement, and weather effects. These tools are essential for contextualizing architectural projects.
Animation Capabilities: Produce smooth camera animations and object animations to create engaging project presentations. Walk-through animations help viewers understand spatial sequences and architectural experiences.
Effect Library: Add atmospheric effects like fog, rain, snow, and god rays to enhance mood and realism in your renders. These effects can dramatically improve the emotional impact of presentations.
Import Compatibility: Works seamlessly with models from SketchUp, Revit, ArchiCAD, Rhino, and other major architectural software platforms.
System Requirements
Understanding hardware requirements ensures optimal Lumion performance:
Graphics Card: Lumion is GPU-intensive and requires a dedicated graphics card with at least 6GB VRAM for professional work. NVIDIA RTX series cards provide excellent performance with ray tracing capabilities.
System Memory: Minimum 16GB RAM recommended, with 32GB or more preferred for complex scenes and animations. Large landscape models and detailed buildings require substantial memory resources.
Storage: SSD storage significantly improves loading times and scene navigation. Lumion projects can become quite large, so adequate storage space is essential.
CPU Requirements: While GPU-dependent, a modern multi-core processor supports smooth operation during model import and project management tasks.
Network Considerations: For team workflows, consider network storage solutions and collaboration requirements when specifying hardware configurations.
Proper hardware configuration ensures smooth operation and professional productivity in architectural visualization projects.
Importing Models
Lumion supports multiple file formats to accommodate different modeling workflows:
SketchUp Integration: Direct .skp file import maintains materials, components, and layers. SketchUp's intuitive modeling combined with Lumion's rendering creates an efficient workflow for many architectural practices.
Revit Workflow: Export Revit models as .fbx or .dae files to preserve materials and model hierarchy. BIM models from Revit often require material reassignment in Lumion for optimal rendering quality.
AutoCAD/3ds Max: .fbx and .dae formats work well for models from Autodesk software. Ensure proper material assignment and model optimization before export.
Rhino Integration: Rhino models export well through .fbx format. Grasshopper-generated complex geometries may require optimization for real-time rendering performance.
Universal Formats: .obj, .fbx, and .dae formats provide broad compatibility with various modeling software platforms, though material translation may require manual adjustment.
Understanding export workflows from your primary modeling software optimizes the import process and maintains design intent.
Preparing Models for Import
Model preparation significantly affects Lumion performance and visual quality:
Polygon Optimization: Reduce polygon count for elements that won't be seen closely. High-resolution models can slow performance without improving visual quality.
Material Organization: Group similar materials in your modeling software to simplify material assignment in Lumion. Clear material naming conventions facilitate efficient workflows.
Model Hierarchy: Maintain logical object groupings for efficient selection and editing in Lumion. Group related objects like furniture sets, landscape elements, or building components.
Scale Verification: Ensure models are correctly scaled before import. Lumion assumes models are built at real-world scale for proper material appearance and lighting behavior.
Texture Coordination: Include texture files and maintain proper file paths for custom materials. Missing textures require manual reassignment and may affect project schedules.
Level of Detail: Consider viewing distances when modeling detail levels. Distant buildings need less detail than foreground architecture.
Proper model preparation creates efficient Lumion workflows and professional rendering results.
Applying Materials and Lighting
Using Lumion's Material Library
Lumion's extensive material library accelerates visualization development:
Material Categories: Materials are organized by type (wood, metal, glass, etc.) and application (interior, exterior, landscape). This organization helps find appropriate materials quickly.
Material Properties: Each material includes multiple maps (diffuse, normal, specular) that create realistic surface appearance. Understanding these properties helps select appropriate materials for different applications.
Weathering Effects: Many materials include weathering options that add realism through aging, staining, and wear patterns. These effects are particularly effective for exterior visualization.
Custom Materials: Import custom textures and adjust material properties for project-specific requirements. This capability ensures brand consistency and accurate material representation.
Material Scaling: Adjust texture scale and rotation to match real-world material patterns. Proper scaling is crucial for realistic material appearance at different viewing distances.
Regional Preferences: Consider local material preferences and building traditions. UK audiences expect familiar materials like slate, brick varieties, and timber species common in British construction.
Effective material selection and application significantly impact rendering realism and viewer engagement.
Setting up Lighting for Realism
Lighting design determines mood, realism, and visual impact in architectural visualization:
Natural Lighting: Lumion's sun and sky system creates realistic daylight conditions. Adjust sun position, cloud cover, and atmospheric conditions to match project requirements.
Time of Day Studies: Create multiple renderings showing different lighting conditions throughout the day. These studies help evaluate architectural performance and aesthetic impact.
Interior Lighting: Combine natural and artificial lighting for realistic interior visualization. Balance window light with electric lighting to create comfortable, believable spaces.
Artificial Light Sources: Use point lights, spotlights, and area lights to simulate architectural lighting design. Proper artificial lighting enhances evening and night renderings.
Light Temperature: Adjust color temperature for different light sources. Warm interior lighting contrasts effectively with cool daylight for realistic mixed lighting scenarios.
Shadow Quality: Balance shadow quality with rendering performance. Soft, realistic shadows improve visual quality but require longer rendering times.
Seasonal Variations: Consider seasonal lighting conditions and vegetation states when creating project presentations. UK projects benefit from showing different seasonal conditions.
Thoughtful lighting design transforms architectural models into compelling visual narratives.
Creating Renderings and Animations
Camera Settings
Camera control determines composition and visual impact:
Viewing Angles: Choose camera positions that effectively communicate architectural design intent. Consider both exterior contextual views and interior spatial experience.
Focal Length: Adjust focal length to control perspective distortion and viewing angle. Wide-angle lenses capture more context but may distort building proportions.
Camera Height: Position cameras at realistic human eye heights for believable perspectives. Vary heights strategically to show different spatial experiences.
Composition Principles: Apply photographic composition rules like rule of thirds, leading lines, and framing to create visually compelling renderings.
Depth of Field: Use depth of field effects to focus attention and create photographic realism. Shallow depth of field can emphasize specific design elements.
Motion Blur: Add motion blur to animation sequences for cinematic quality and smooth movement representation.
Professional camera work distinguishes high-quality architectural visualization from amateur presentations.
Exporting Images and Videos
Output settings determine final presentation quality and file compatibility:
Image Resolution: Choose appropriate resolution for intended use. Print presentations require higher resolution than web use, but larger files take longer to render.
Image Formats: .jpg for general use, .png for images requiring transparency, and .tiff for highest quality applications. Consider end-use requirements when selecting formats.
Animation Settings: Balance quality and file size for video outputs. 1080p resolution suits most presentation needs while maintaining reasonable file sizes.
Rendering Quality: Lumion offers multiple quality levels. Higher quality settings produce better results but require longer rendering times.
Batch Rendering: Set up multiple camera views for overnight rendering. This approach maximizes productivity and ensures consistent quality across presentation sets.
File Management: Organize output files systematically for efficient project management and client delivery. Clear naming conventions prevent confusion and support professional presentation.
Format Compatibility: Consider client software capabilities when selecting output formats. Ensure clients can view and share presentation materials effectively.
Proper export workflows ensure professional presentation delivery and client satisfaction.
Professional Visualization Workflows
Project Planning
Successful visualization projects require careful planning and clear objectives:
Client Requirements: Understand presentation goals, target audience, and delivery requirements before beginning visualization work. This understanding guides all subsequent decisions.
View Selection: Choose camera positions that effectively communicate project benefits and address client concerns. Consider both design promotion and problem-solving perspectives.
Timeline Management: Allow adequate time for model preparation, material development, lighting setup, and rendering. Rush projects often compromise quality and client satisfaction.
Style Guidelines: Establish consistent visual style across multiple views. Maintain lighting, material, and compositional consistency for professional presentation coherence.
Iteration Planning: Build time for revisions and refinements into project schedules. Client feedback often requires material changes, camera adjustments, or additional views.
Technical Standards: Establish output standards for resolution, file formats, and naming conventions. Consistent standards support efficient project delivery and client communication.
Quality Control
Systematic quality control ensures professional visualization standards:
Technical Review: Check for modeling errors, material misalignments, and lighting inconsistencies before final rendering. Address technical issues early to avoid expensive re-rendering.
Composition Analysis: Evaluate each view for effective communication and visual appeal. Strong composition enhances message clarity and audience engagement.
Realism Assessment: Verify that materials, lighting, and proportions appear realistic and convincing. Unrealistic elements undermine presentation credibility.
Brand Consistency: Ensure visualization style aligns with practice brand and project requirements. Consistent style supports professional recognition and client expectations.
Client Alignment: Verify that presentations address client objectives and concerns effectively. Successful visualization supports project approval and client satisfaction.
Professional quality control distinguishes expert visualization services and builds client confidence in design proposals.
Integration with Design Process
Contemporary architectural practice integrates visualization throughout the design development process:
Early Design Support: Use Lumion for rapid design evaluation and client communication during schematic design phases. Quick visualization helps evaluate design alternatives efficiently.
Planning Applications: Create compelling visualizations for planning submissions that demonstrate design quality and contextual sensitivity. High-quality visualization can influence planning approval outcomes.
Client Engagement: Use real-time visualization capabilities for interactive design sessions with clients. Immediate visual feedback facilitates collaborative design development.
Marketing Materials: Develop project marketing materials including brochures, websites, and social media content. Professional visualization supports business development and project marketing.
Construction Communication: Create visualization materials that help contractors understand design intent and quality expectations. Clear visual communication reduces construction problems and improves outcomes.
Post-Occupancy Evaluation: Compare completed buildings with visualization predictions to refine future visualization accuracy and design expectations.
Visualization integration throughout architectural practice enhances design quality, client communication, and business success. Lumion's accessibility and quality make professional visualization achievable for practices of all sizes, supporting both design development and business development objectives.
Understanding Lumion's capabilities and professional workflows positions architects to leverage visualization effectively throughout their careers and practice development.