Rhino 3D Training | The Parametric Architecture Masterclass
Skill level
Intermediate
Duration
Approx. 5 hrs
Certificate
On completion
Closed Captions
English
About this course
Grasp the nuances of the tools and techniques that have brought masterpieces like Zaha Hadid’s Heydar Aliyev Centre to life. Over our detailed 15-lesson journey, we’ll delve into the renowned Rhino & Grasshopper software, breaking down the complex processes that underlie awe-inspiring architectural feats. The intriguing designs of famous parametric architects aren’t solely a result of their ingenuity, but also a deep understanding of the software tools that allow their imaginations to run wild.
What sets our course apart is our commitment to real-world application. Our focus isn’t limited to theoretical knowledge; instead, we guide you through the practical application of these advanced design methodologies. By the end, you’ll be well-equipped to craft your own fluid, intricate designs, mirroring the prowess of world-class parametric architecture.
For those considering furthering their education in this field, the masters in parametric architecture might be an obvious next step. However, before making that commitment, gaining hands-on experience through a course like ours can provide invaluable insights and a solid foundation. Our online parametric architecture course stands out as one of the best in its class. Why? Because we prioritize understanding over mere knowledge. We aim to kindle a passion for design, helping you see not just the “how,” but the “why” behind every curve and line.
For professionals and students alike, our course serves as a beacon of excellence. Whether you’re looking for the best parametric architecture course to refine your skills or simply aiming to delve into a new design realm, we cater to all your needs. And the best part? It’s accessible right from the comfort of your home. No more searching for a parametric architecture course near me. With our comprehensive online platform, top-tier parametric architecture training is just a click away.
And for those keen on recognition, the parametric architecture course certificate we provide at the end of the masterclass will be a testament to your expertise and dedication.
Join us in this exploration of architectural brilliance. Let’s redefine boundaries, challenge conventions, and step confidently into the future of design. Sign up today and become a part of the parametric design revolution!
To access Rhino 3d and Grasshopper to get started with our architecture tutorials please use the following links;
Skills you'll gain
- A complete understanding of creating any form of Parametric Architecture
- How to work between Rhino 3D & Grasshopper seamlessly
- A deep understanding of how parameters can create endless design options
Why ArchAdemia?
- 100% positive reviews
- Downloadable files with each course
- Access another 30+ courses
- On desktop, laptop, tablet & mobile app
Syllabus
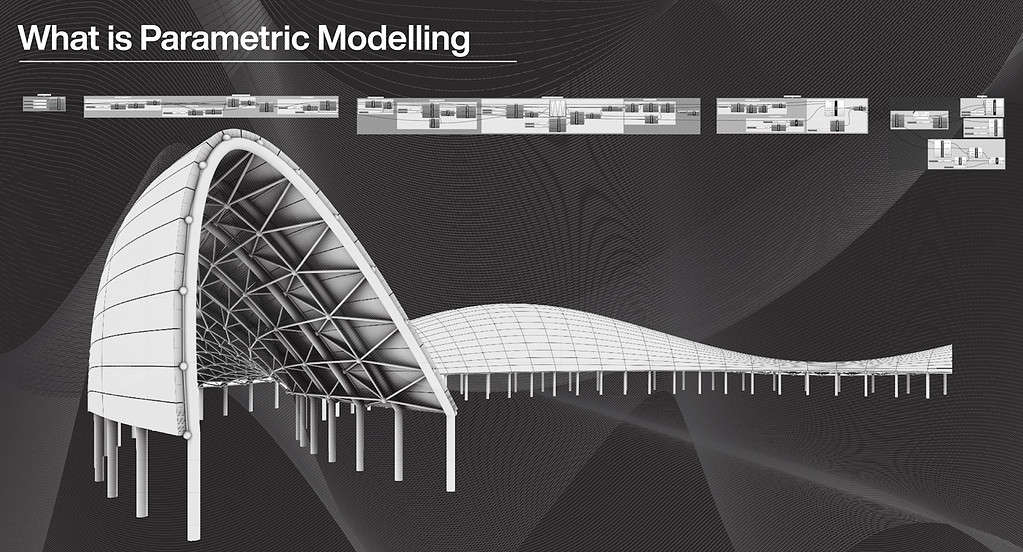
Lesson 1 – Introduction / What is Parametric Modelling (6:23). We open the course with a lesson outlining what Parametric Modelling really is and how to achieve it. We de-bunk some myths around this style of modelling and design and finish by breaking down Parametric Architecture into four key elements, setting us up perfectly to learn together in lesson 2.
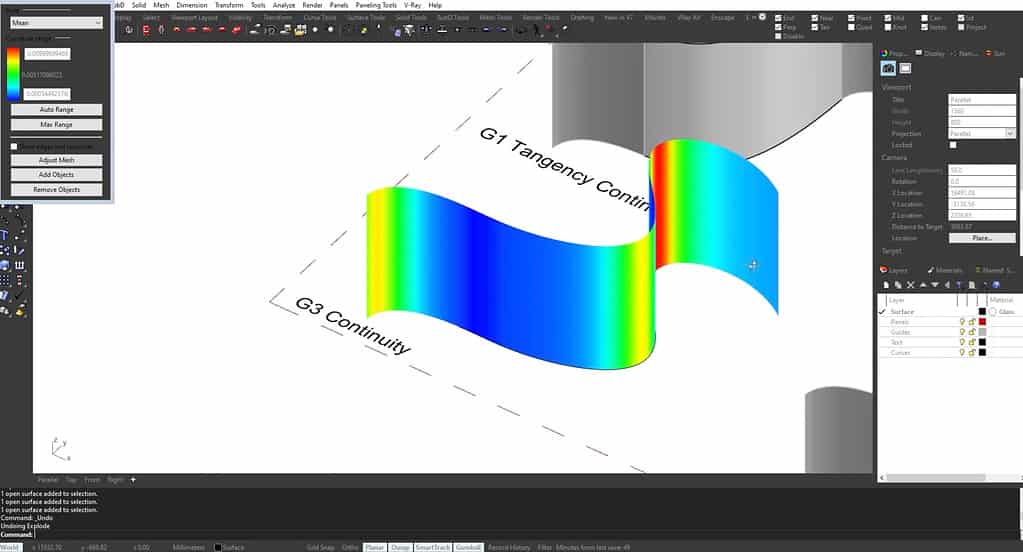
Lesson 2 – Parametric Curves (26:10). One key characteristic of parametric design is the use of beautiful curves and fluid forms. The first in a short series of theoretical lessons goes into the different types of curves, using NURBS, geometric continuity and analysis. All of this is in the aim of understanding how these different curves achieve varying results when designing something in a true parametric way.
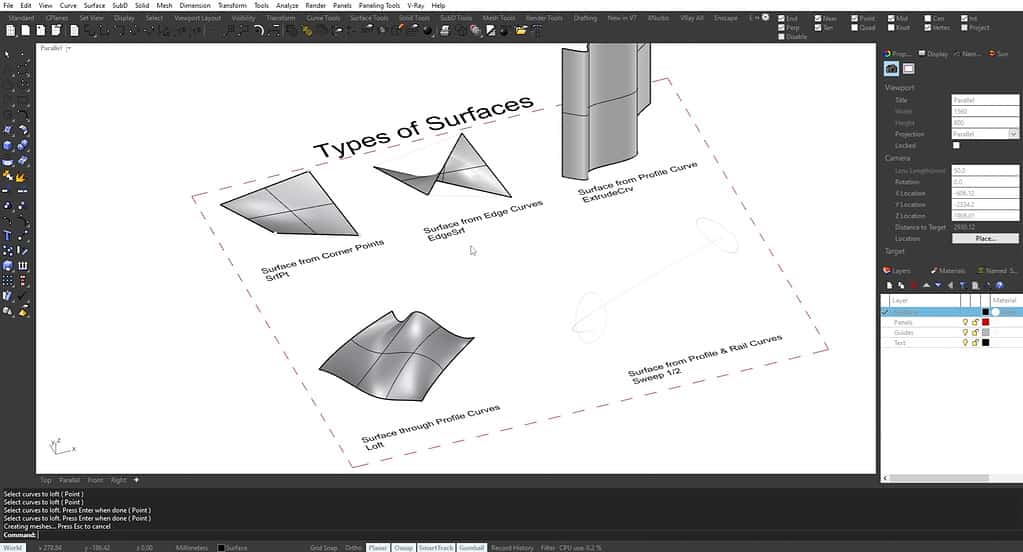
Lesson 3 – Parametric Surfaces (14:12). In this lesson we emphasise the importance of keeping things simple, as the potentially complex results of parametric architecture can overwhelm some. By breaking down the different types of surfaces that can be produced within Rhino & Grasshopper, we give you comfort that there’s a simple way to achieve apparently complex results, keeping your workflow efficient and adaptive to change. You’ll learn how to create some of these varying surfaces to ready you for the real-world example by Zaha Hadid.
Lesson 4 – Surface Analysis and Parameters (16:54). Getting the topology of your surfaces correct is crucial in creating free flowing surfaces and buildings, which is the calling card of parametric design. By analysing your surfaces through varying test methods, you can check whether you’re achieving a truly fluid piece of design. We also touch on parameters & tools to help you achieve smooth curves without harsh points and obvious seams.
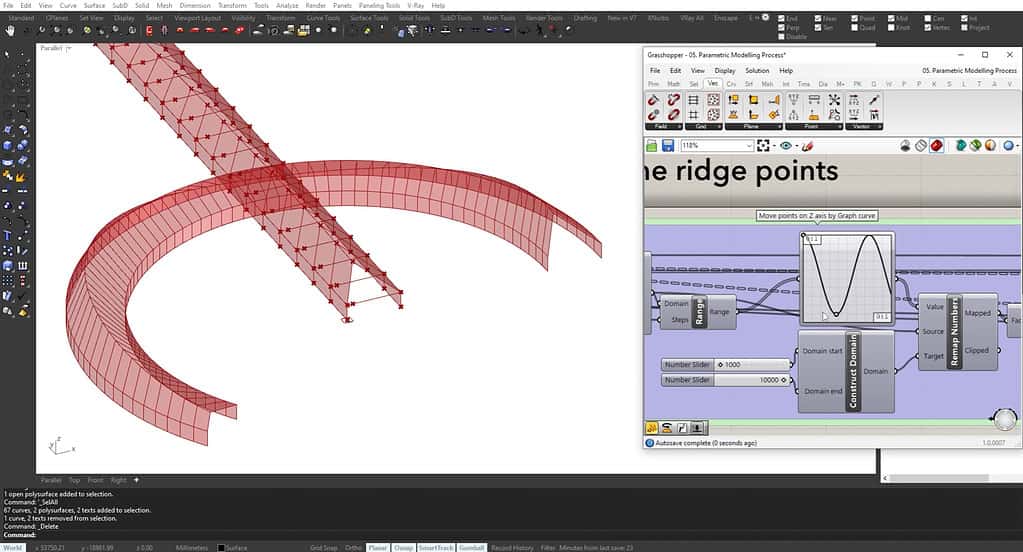
Lesson 5 – Parametric Modelling Process (15:24). Before diving into the iconic Heydar Aliyev Centre by Zaha Hadid, we use a simple example to walk you through a true parametric design process using Rhino & Grasshopper side by side. Once the simple forms are in place, you’ll learn how to make quick and wholistic changes using these parameters created earlier in the lesson, making it incredibly straight forward to create design options and completely varied design concepts for your projects.
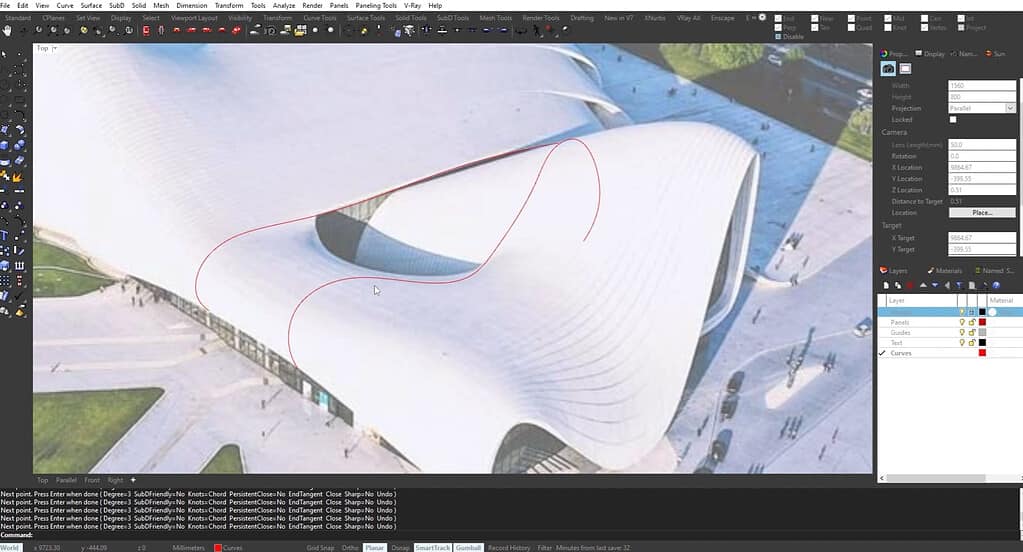
Lesson 6 – Heydar Aliyev Centre – Building Analysis (9:44). Now the fun begins! With the theory and concepts of parametric architecture covered and understood, we dive into one of Zaha Hadid’s most famous buildings, the Heydar Aliyev Centre in Baku, Azerbaijan. The opening lesson in this chapter walks you through how this amazing building was first designed, then created using various software. We finish by introducing a few curves overlaid onto the building to set the tone for how we’re going to approach the model as a whole.
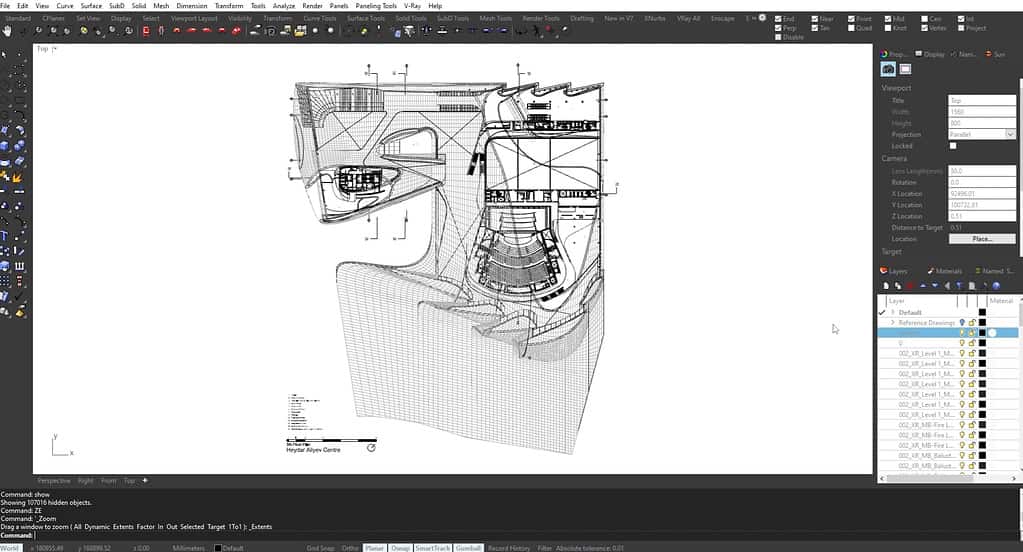
Lesson 7 – Reference Drawings (13:22). In order to model the building accurately we load in a series of reference drawings to Rhino 7. We scale & position them, so we can do this stunning building justice. This lesson applies to all kinds of buildings, even your own creations as you may begin to design in 2D and wish to load your drawings in for exploration in 3D, so a lesson not to be missed and will serve you for your entire career as a designer.
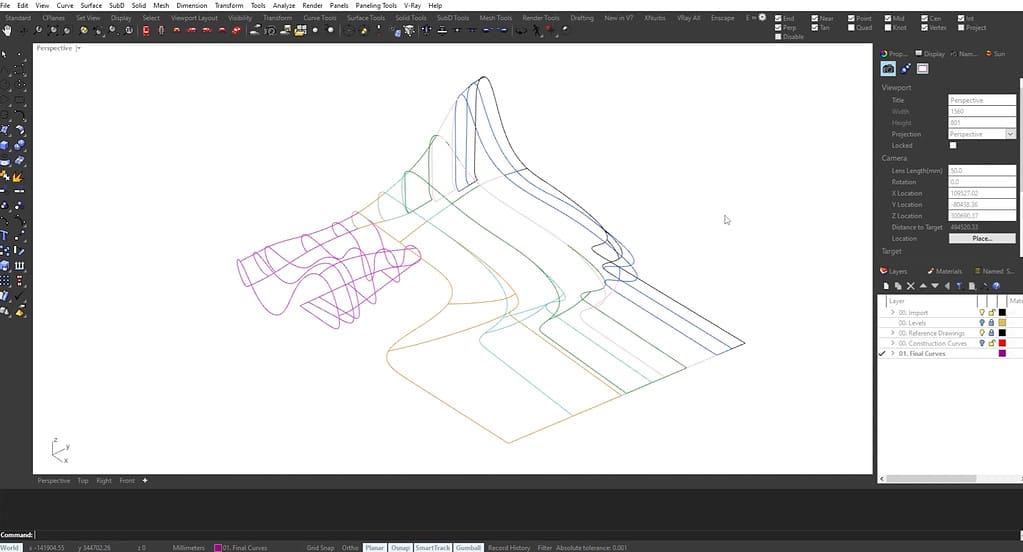
Lesson 8 – Principal shell curves & curve network (16:38). In this lesson we start to create the initial forms of the building, starting with the free flowing, curved shell of the envelope. In order to achieve this, we create profile curves that are traced over the reference drawings, creating a skeleton of the building to be later ‘skinned’.
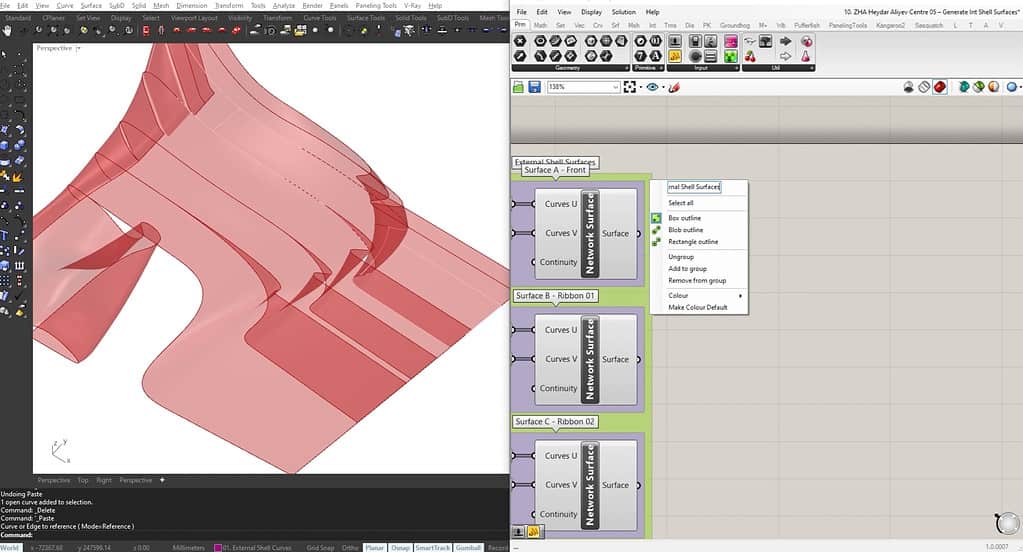
Lesson 9 – Generating the exterior shell (11:29). With the curves and overall skeletal form of the building in place, we can now create the shell as a skin. You’ll learn how to turn a series of basic curves into a full-blown shell of a building and start to analyse the surfaces of the shell to ensure it’s ready for parameters to be added to it, so we can turn the conceptual form into a recognisable building in later lessons.
Lesson 10 – Interior shell surfaces (8:37). The interior faces of Heydar Aliyev Centre aren’t quite a simple offset, as the interior curves weave in and out at varying thickness from the outer shell. So, to continue to honour this iconic building we use the reference drawings to create a separate interior shell of the building as constructed.
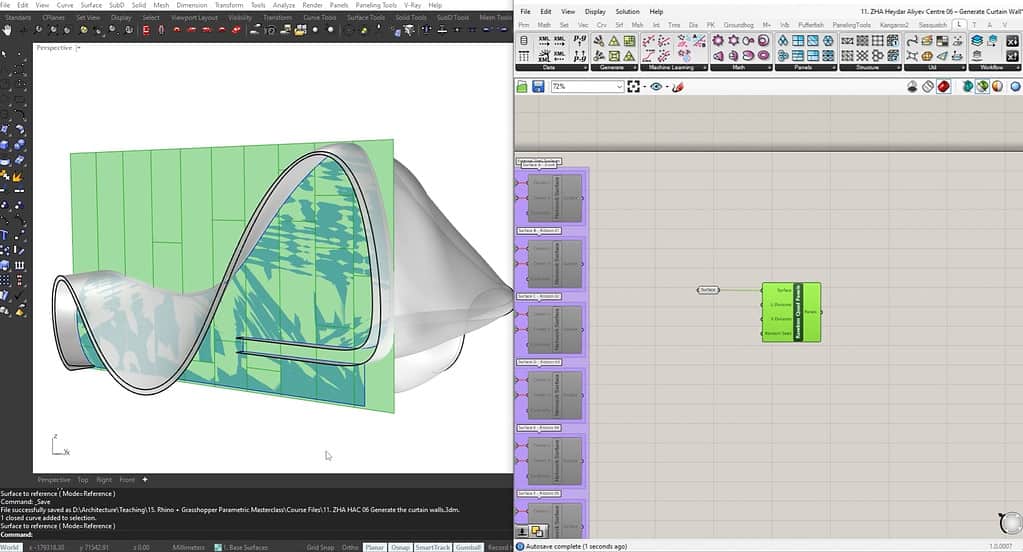
Lesson 11 – Curtain walling (20:30). A striking aspect of this building is the intersection of the fluid forms with the rigid, parallel forms of the curtain walling which provides the glazed areas of the project. Here, you’ll learn how to create the curtain walling perimeter within Rhino, moving into Grasshopper to create the framing, glazing and sub-dividing mullions & transoms.
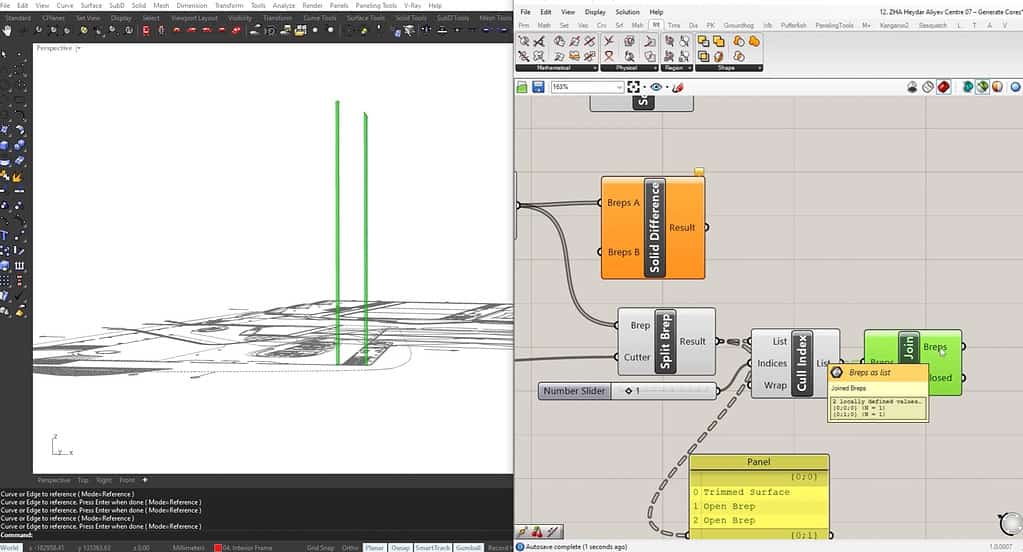
Lesson 12 – Structural elements (8:03). In this lesson we cover the key structural elements and circulation cores, generating them parametrically using Grasshopper. Populating the interior of such a complex and fluid form would ordinarily be a tedious task, but if you approach parametric design in the correct way, it can be efficient and quick. This approach allows for design iterations and the creation of various concepts & options.
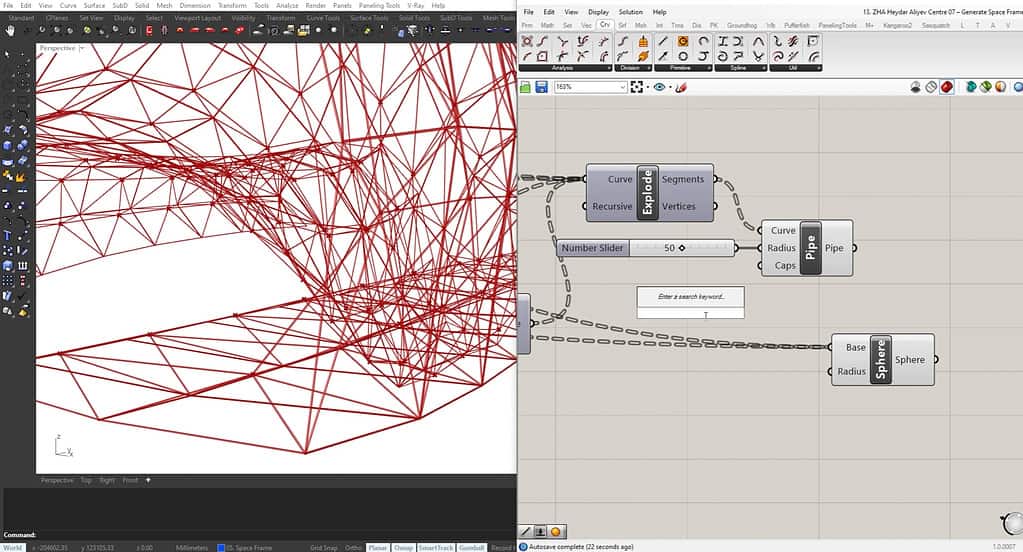
Lesson 13 – The space frame (17:08). The skin of the building is held together with a structural device known as a ‘space frame’, which is a rigid, lightweight structure made from interlocking struts in a geometric pattern. We infill the exterior and interior skins of the building with this space frame, which can be easily generated using Grasshopper and a methodical approach to parameters and scripts.
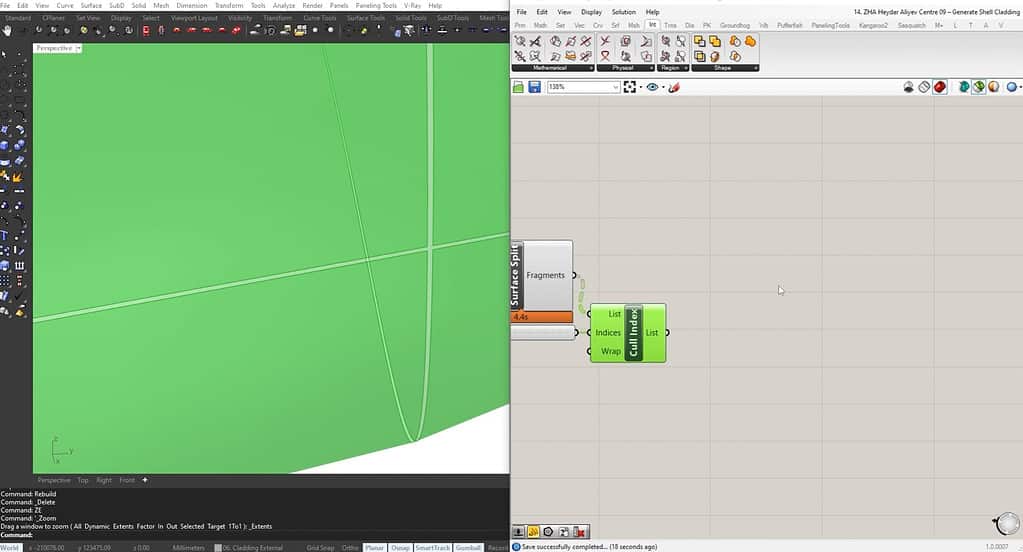
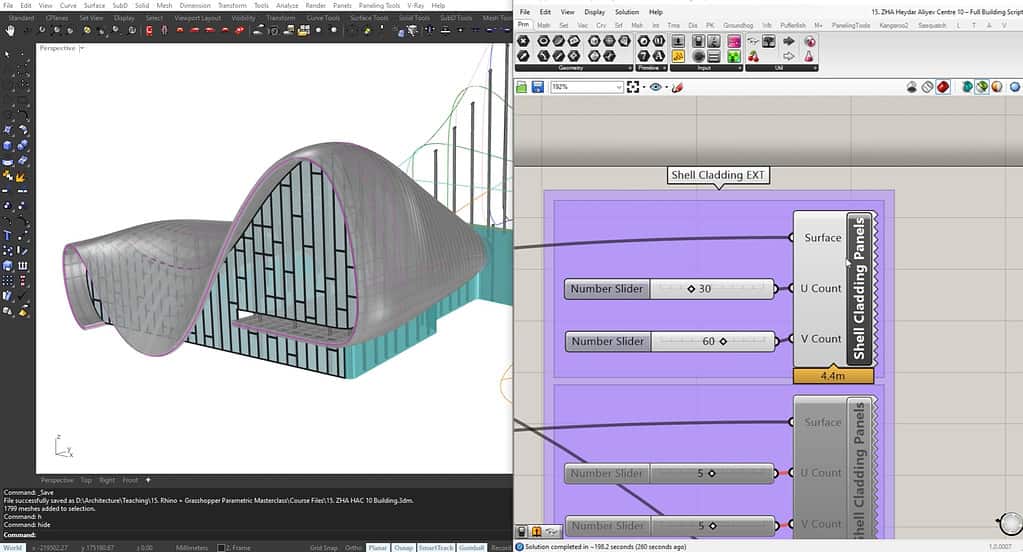
Lesson 14 – Shell cladding panels (15:20). The cladding of the building may appear simple at first glance, but if you look a little closer you’ll see that the joints of the panels perfectly follow the topology of the structure, meaning that no two panels are identical. Creating these panels and joints, manually, would be an incredibly tiresome task! Luckily for us, we have parametric tools within Grasshopper at our disposal to easily generate these panels for a realistic, true to life result.
Lesson 15 – Script overview & course conclusion (2:00). We finish the course by recapping the individual lessons learned and how this yields a full building and how you can utilise these tutorials for your own projects. We also explain how to use the scripts and models created within the course and apply them to your own work moving forward. Be sure to checkout the downloads area within the course dashboard to access these files. Lastly, we have one final walk around the finished model to ensure everything is as it should be and reflect and what has been discovered & created in this parametric masterclass.
The project you'll be working on.
It’s not just about the software, but also taking you on a journey through an iconic piece of architecture. That’s what makes ArchAdemia unique to other course providers.
“The design of the Heydar Aliyev Center establishes a continuous, fluid relationship between its surrounding plaza and the building’s interior. The plaza, as the ground surface; accessible to all as part of Baku’s urban fabric, rises to envelop an equally public interior space and define a sequence of event spaces dedicated to the collective celebration of contemporary and traditional Azeri culture. Elaborate formations such as undulations, bifurcations, folds, and inflections modify this plaza surface into an architectural landscape that performs a multitude of functions: welcoming, embracing, and directing visitors through different levels of the interior. With this gesture, the building blurs the conventional differentiation between architectural object and urban landscape, building envelope and urban plaza, figure and ground, interior and exterior.”
What will you learn?

Meet your tutor - Radu Fulgheci | Architect | BDP
Hi, I’m Radu. I’m an architect with over ten years of experience using many architectural design and modelling applications, for both professional and academic purposes. Working on challenging, high-profile projects, and international competitions, I’ve continually sought ways to optimise my workflow, from single to multiple applications, in order to achieve the best results in the shortest time. I believe in constant learning, so regardless of what knowledge level you may be, there is always something new that can help you improve. I want to teach you how to do the same.
Unlimited Content & Support with an ArchAdemia Membership.
Reviews from our students.
With 1000+ active members, we must be doing something right!
Freelance Architect
"I have always enjoyed and benefitted from all the content they provide for they are very useful and explained in exceptional detail. These guys are very passionate about what they do, and it shows. Keep up the great work! "
Practice Owner
"The tutors break the most complex software down into manageable and well organised learning plans. The customer support is also exceptional, with quick responses a star feature. No hesitations in recommending this platform to anyone."
Architecture Student
"I started using ArchAdemia for their extensive and cohesive courses and my I found my work excel to levels I did not think I could achieve! Couldn’t recommend a better website for students like me. "
Freelance Architect
"If you’re an Architect or an Aspiring Architect, the ArchAdemia community is something that you want to be a part of. They teach you based on experience in the real world. That’s what I love about it."
Practice Owner
"I recently started my own practice and wanted to get inspiration for how my fee letters and other documents should be set up. I got the Architects Tool Kit, and it was fantastic. I had my products immediately via email. Would recommend."
MD of Urbanist Architecture
"What makes this platform unique is the in-depth training videos designed for real life practice. We currently incorporate it for the training of our new colleagues, which also removes the tedious process of assembling content from different sources."
Architecture Student
"I joined to learn Revit, after looking at the options I realised if you sign up as an annual member all packs and future content is included in your membership. I wanted the Revit pack alongside the course, so this was the best option for me."
FAQs
We have two forms of membership, monthly and annual. Both can be cancelled at any time with no contractual obligations. Both include all course content that exists today and any future instalments, access to our community forum and monthly bonuses. Annual members benefit from two extra perks; the ability to contact us directly anytime to help with day to day issues, often resulting in a video call support session, and free access to all downloadable resources (currently worth £300 total).
Monthly memberships are £15 per month and our annual membership is £79 paid per year. Head over to our pricing page to find out exactly what’s included with each. FYI – both memberships auto-renew.
Once you’ve created your account you’ll be taken to the members area. There, you have easy access to your account information, where you’ll receive instructions on how to cancel if you wish to do so.

