Photoshop Training Course | Adobe Photoshop Complete Guide
Skill level
Beginner
Duration
Approx. 5 hrs
Certificate
On completion
Closed Captions
English
About this course
So, what makes our offering the Best Photoshop course available? ArchAdemia recognizes the versatility and depth of Photoshop. Our course isn’t a mere overview; it’s a deep dive. Spread across 15 meticulously curated tutorials, this training spans the gamut of Photoshop’s tools and capabilities. Every session is structured to deliver insights, techniques, and tips, ensuring learners extract the maximum potential from each feature.
For those who’ve often wondered, “Is there a comprehensive Online Photoshop course?” or “Where can I access top-tier Photoshop Training close to home?”, ArchAdemia’s platform emerges as the answer. Designed for global access, our training ensures that no matter where you are, mastery over Photoshop is just a few clicks away.
ArchAdemia’s Photoshop training course adopts a hands-on approach. Through our detailed Photoshop training videos, available on our YouTube channel, concepts aren’t just explained – they’re demonstrated. Witness real-time usage, application, and refinement as our experts guide you through each tool and technique, from basic operations to advanced manipulations.
For those keen to sample our offerings before delving deep, ArchAdemia’s YouTube channel offers a Free Photoshop course. It’s a testament to our quality and depth, serving as a precursor to the full-fledged experience that awaits in our premium program.
Completing ArchAdemia’s Photoshop Training is not just about skill acquisition – it’s a milestone in your design journey. Our Photoshop course certificate stands as a mark of your dedication, expertise, and readiness to harness the software’s vast capabilities for your projects. It’s not just a piece of paper; it’s a reflection of your commitment to excellence.
In conclusion, Adobe Photoshop, with its myriad tools and endless possibilities, can seem daunting. However, with ArchAdemia’s comprehensive training, its vastness becomes approachable, and its complexities, simple. Whether you’re crafting architectural diagrams, tweaking CGIs, or refining photographs, our course ensures you do it with flair, precision, and confidence. Join us on this transformative journey and let ArchAdemia guide you to Photoshop mastery.
To access Adobe Photoshop to get started with our architecture tutorials please use the following link;
Skills you'll gain
- A complete understanding of using Photoshop for Architecture & CGIs
- Photo re-touching to enhance photographs and visuals
- High-end post-production & colour grading techniques
Why ArchAdemia?
- 100% positive reviews
- Downloadable files with each course
- Access another 30+ courses
- On desktop, laptop, tablet & mobile app
Syllabus
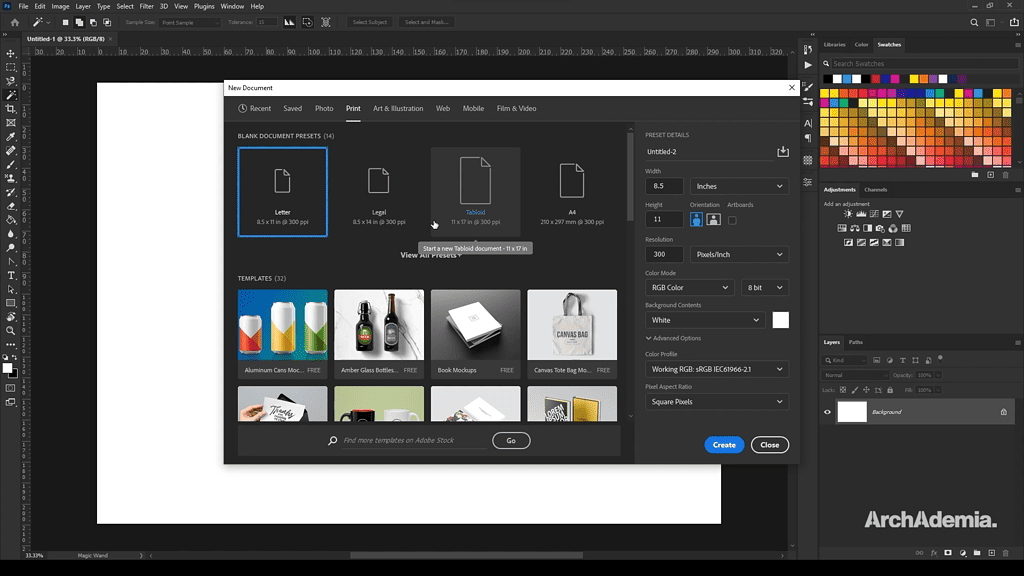
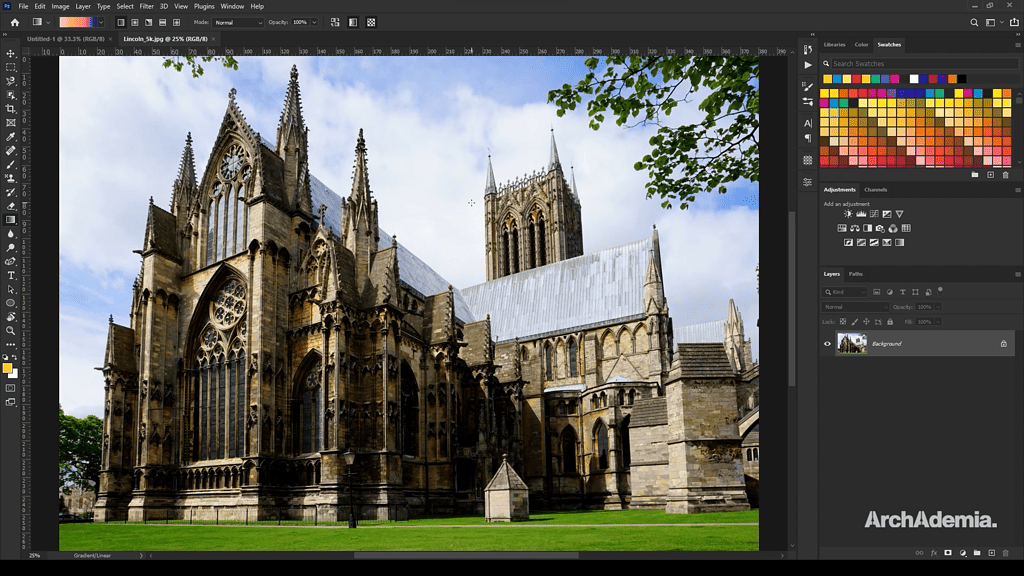
Lesson 1 – Intro & Interface (8:21). Photoshop is a massively useful piece of software for us architects. But, before we dive in we introduce the interface & it’s main applications so you know what it’s capable of.
Lesson 2 – Layers & Art boards (16:42). Organising your Photoshop files is crucial for making your workflow efficient & can improve the quality of your output if used correctly. Utilising layers correctly is your first step in mastering Photoshop. We then go a step further by using art boards, which contain a series of layers & groups to keep your documents perfectly neat & tidy.
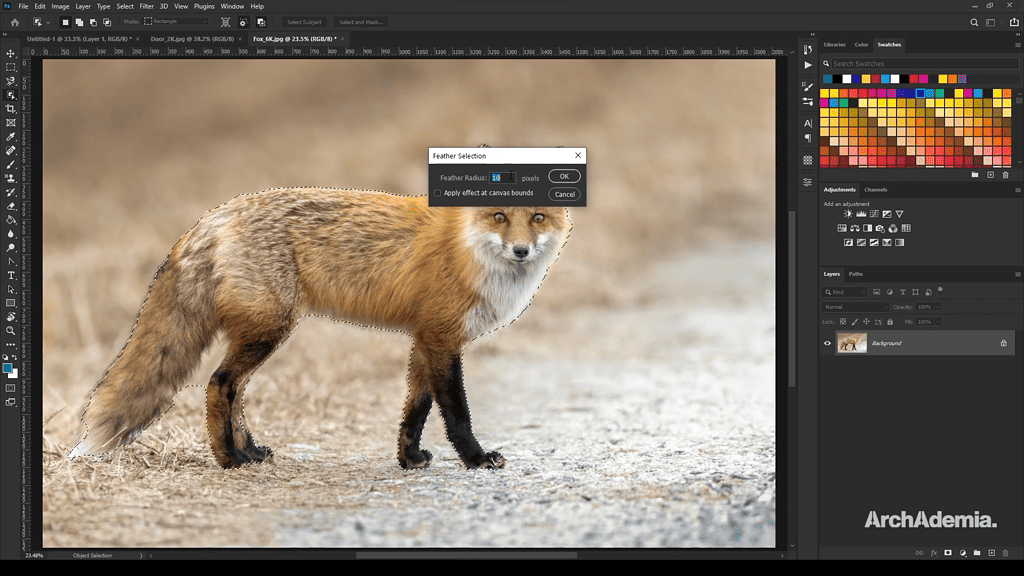
Lesson 3 – Move & Selection (20:20). This lesson gives you the ultimate understanding of using the move & selection tools in Photoshop, so that you can edit your renders, branding & anything else effectively.
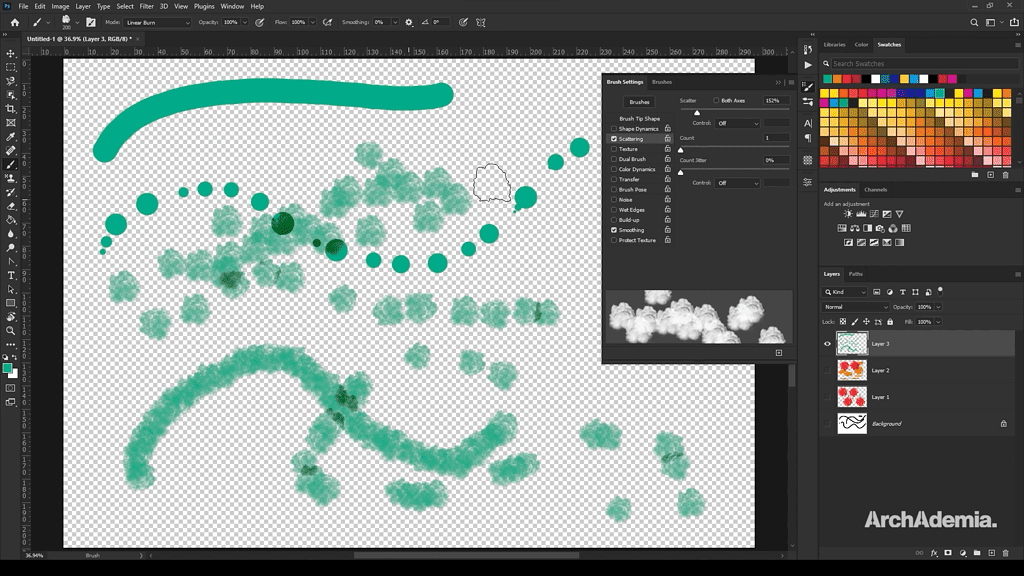
Lesson 4 – Brushes (17:06). You can use brushes to paint over your images or create bespoke images right in Photoshop. But, brushes can also be set to stamp a graphic, such as a tree, on your drawings. This method makes for VERY quick enhancements to your plans, sections & elevations. We cover everything you need to know on brushes in this lesson.
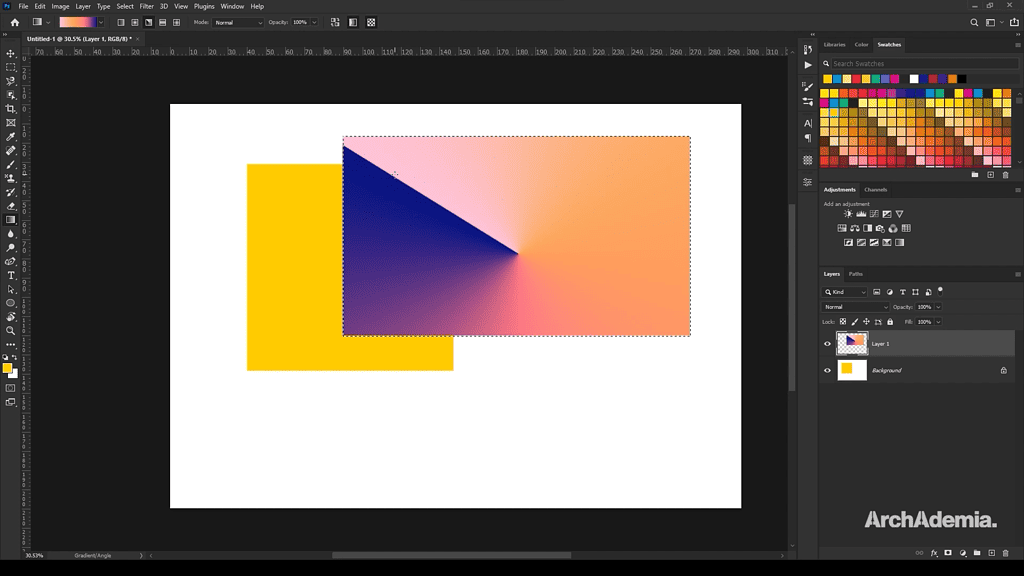
Lesson 5 – Shapes, Flood Fill & Gradients (25:16). To build on the previous lesson we explore other methods of drawing & content creation within Photoshop to give you an understanding of how you can produce pretty much anything you can imagine!
Lesson 6 – Importing Images & Smart Objects (19:12). Most of the time you’ll be importing images to edit in Photoshop, the first part of this lesson explains a range of techniques of working with images brought into the software. The lesson finishes by explaining how you can change imports into smart objects for the ultimate editing experience.
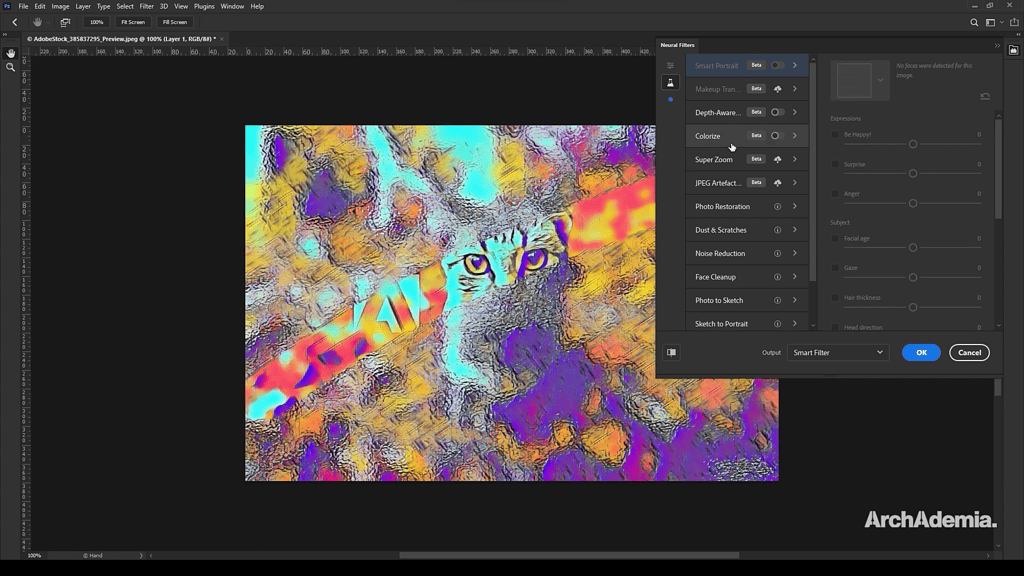
Lesson 7 – Adjustments, Masks & Filters (18:19). We start this chapter by explaining all of the options available to you for editing images in a non-destructive way.
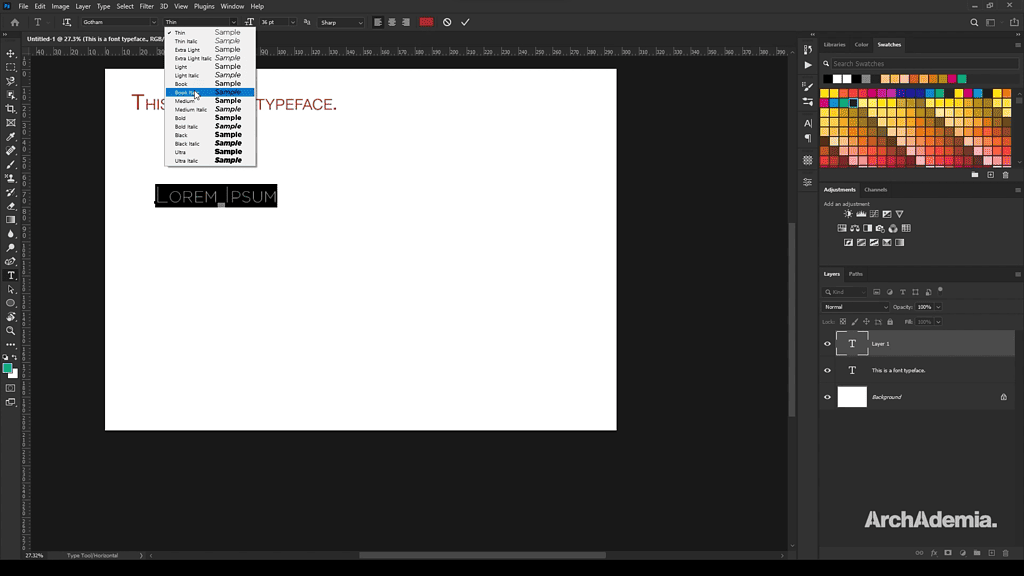
Lesson 8 – Text Formatting (15:15). Photoshop has a very powerful text formatting system, which can be utilised to label your drawings, diagrams &/or renders. This lesson explains everything you need to know on text.
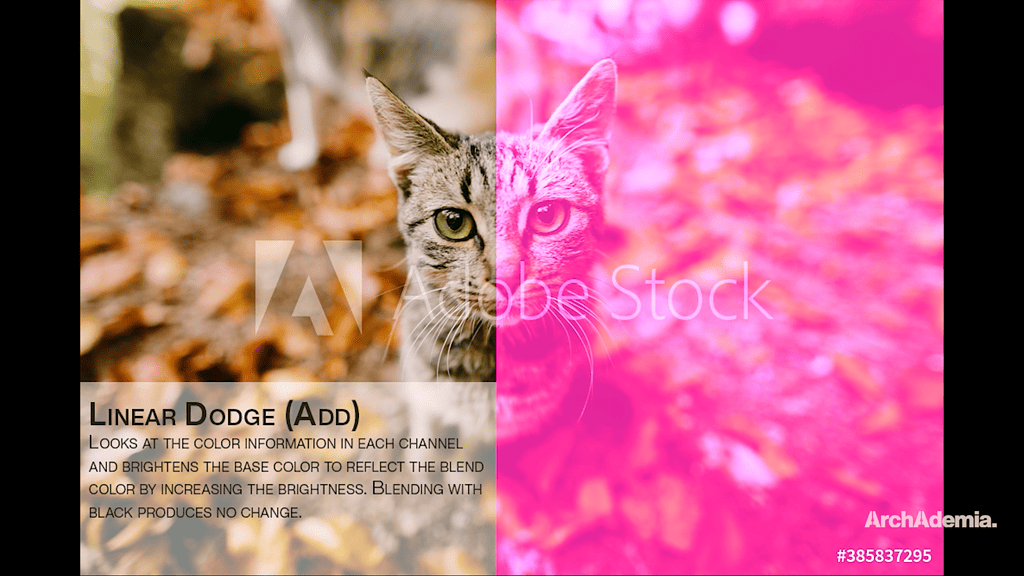
Lesson 9 – Layer Blending & Styles (13:29). Layer blending allows you to create beautiful pieces of artwork by merging two images or overlaying one on the other. This technique also works well with your renders by adding detailed elements into your scene & blending them in. Your layers can also be styled in a huge range of ways. All are tackled in this lesson.
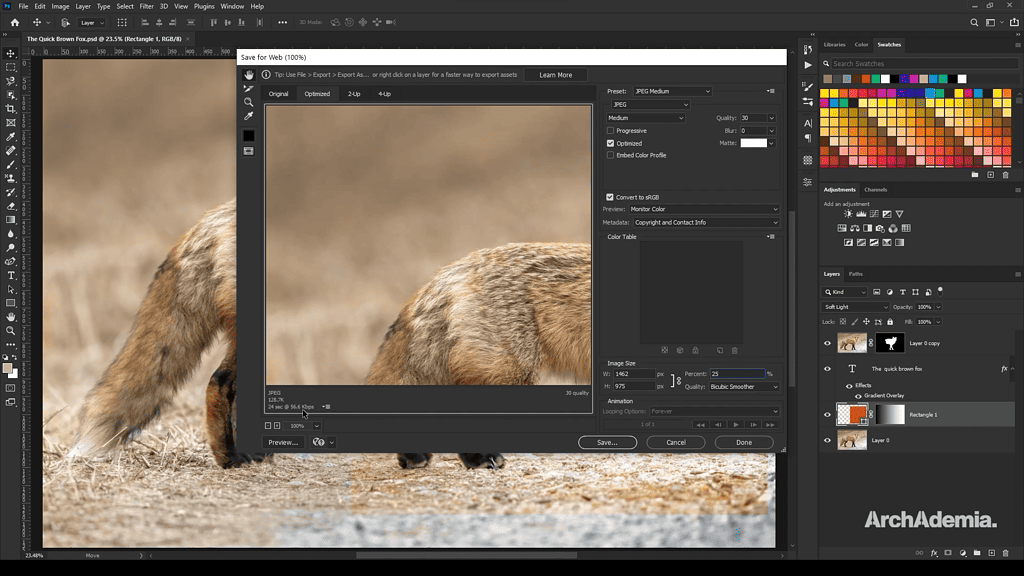
Lesson 10 – Outputs (7:37). Photoshop pretty much has the largest collection of file types that it can work with, inherently. It can be used to edit massive raw photographic files, editing PDF documents & can even be used to create proper HDR files that can be used to light your rendering scenes. We cover all outputs & file types, so you know what’s available to you.
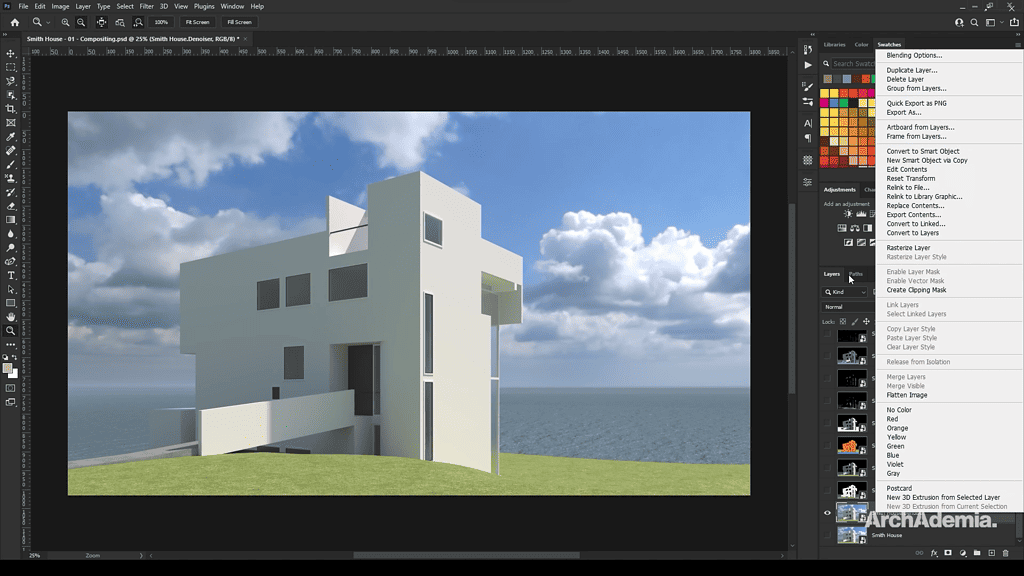
Lesson 11 – Compositing Render Elements (33:40). To round off this course we show you how to edit & add to your architectural renderings in a range of ways. Firstly, we explain how to use render elements to boost the quality of your imagery.
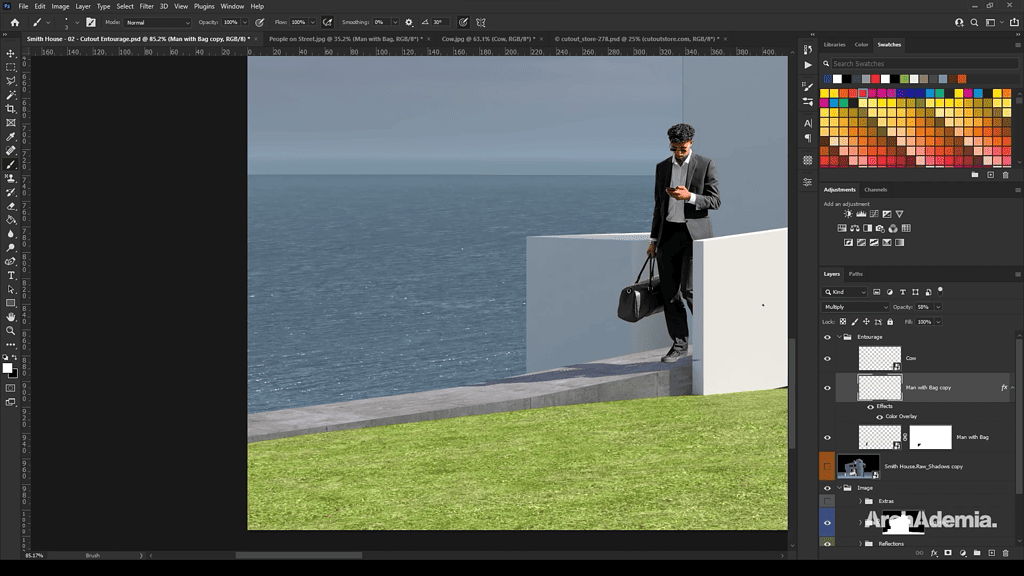
Lesson 12 – Placing People (26:55). Placing people is a tricky thing to get right. Here we show you how to scale, apply to the perspective of your shot, shade & apply shadows to people that are inserted into your scene to boost the realism of a render.
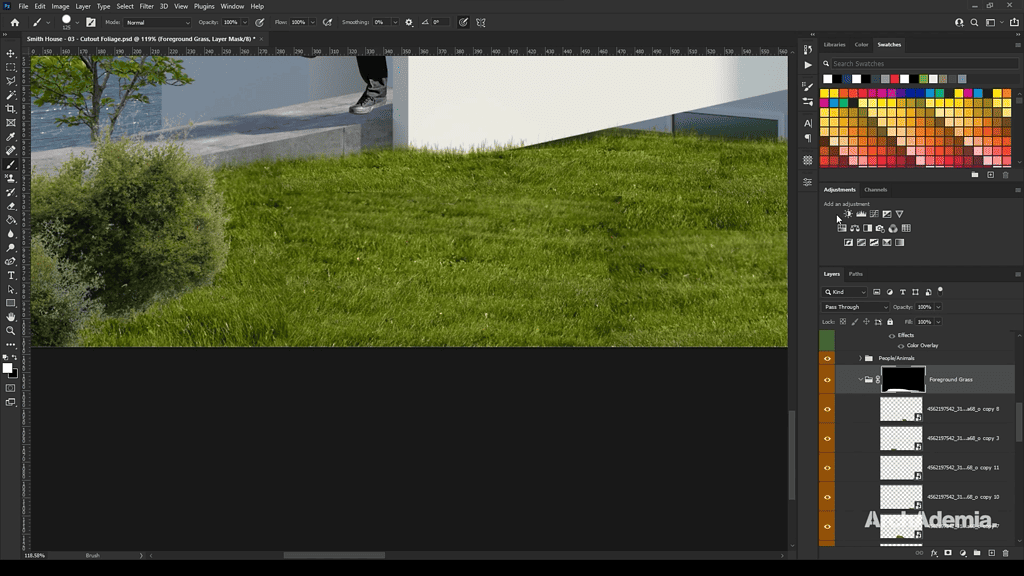
Lesson 13 – Placing Foliage (25:02). Similar to the previous lesson we go into placing trees on your shot in a convincing way. The lesson is finished by explaining a very powerful technique for inserting grass by using masks & brushes.
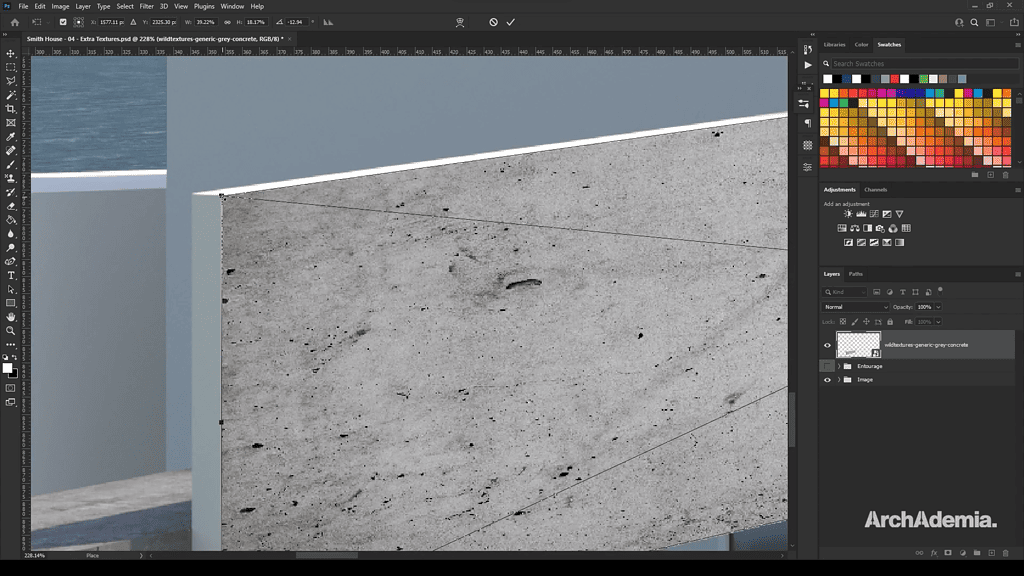
Lesson 14 – Textures & Backgrounds (15:19). If you’ve waited hours/days for your render to finish, but you want to change a texture out last minute, you can do this directly in Photoshop. This lesson starts with applying textures & then finishes by demonstrating how to swap out your backgrounds if you’ve changed your mind on that too!
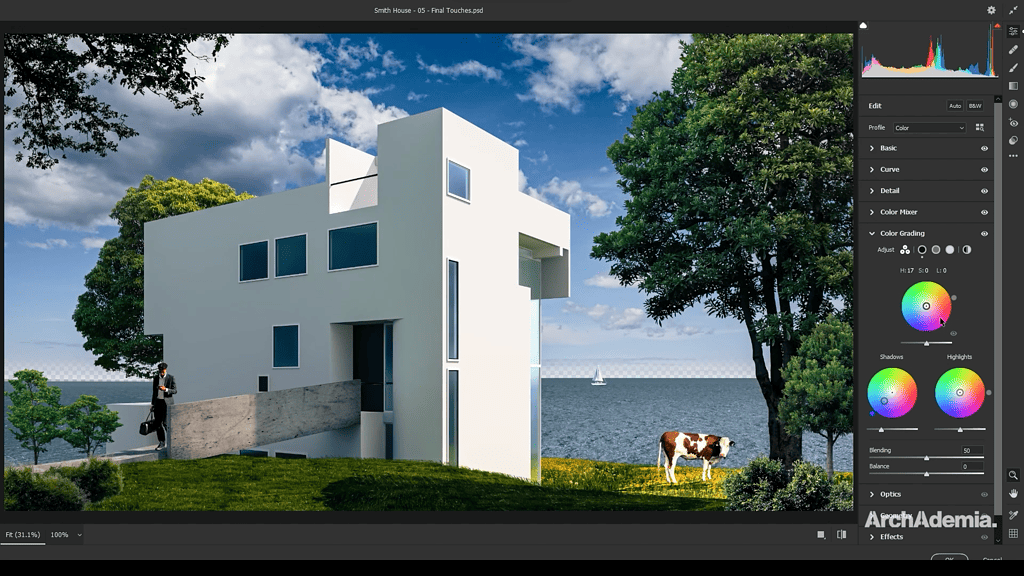
Lesson 15 – Finishing Touches (20:11). The course draws to a close by showing you some powerful techniques to change the overall mood of your render, tweaking the lighting & goes deep into colour grading techniques so you have full control of your end result!
Why should Architects & CG Artists learn Photoshop?
Adobe Photoshop is a tool that we use regularly at our practicee, Studio RBA. Some days it can be as simple as touching up a site photograph for a planning report, other days we’re refining our visualisations with beautiful colour grading and cinematic presets that’s avaulable to us within Photoshop. Photograph re-touching is also an essential skill for designers as we may want to insert our project into an existing context, or improve the very context it sits within without the need for modelling everything in 3D.
It’s a massively important tool and our course is the perfect place to either get started or pick up something new, even if you’re an experienced user.
What will you learn?

Meet your tutor - Radu Fulgheci | Architect | BDP
Hi, I’m Radu. I’m an architect with over ten years of experience using many architectural design and modelling applications, for both professional and academic purposes. Working on challenging, high-profile projects, and international competitions, I’ve continually sought ways to optimise my workflow, from single to multiple applications, in order to achieve the best results in the shortest time. I believe in constant learning, so regardless of what knowledge level you may be, there is always something new that can help you improve. I want to teach you how to do the same.
Unlimited Content & Support with an ArchAdemia Membership.
Reviews from our students.
With 1000+ active members, we must be doing something right!
Freelance Architect
"I have always enjoyed and benefitted from all the content they provide for they are very useful and explained in exceptional detail. These guys are very passionate about what they do, and it shows. Keep up the great work! "
Practice Owner
"The tutors break the most complex software down into manageable and well organised learning plans. The customer support is also exceptional, with quick responses a star feature. No hesitations in recommending this platform to anyone."
Architecture Student
"I started using ArchAdemia for their extensive and cohesive courses and my I found my work excel to levels I did not think I could achieve! Couldn’t recommend a better website for students like me. "
Freelance Architect
"If you’re an Architect or an Aspiring Architect, the ArchAdemia community is something that you want to be a part of. They teach you based on experience in the real world. That’s what I love about it."
Practice Owner
"I recently started my own practice and wanted to get inspiration for how my fee letters and other documents should be set up. I got the Architects Tool Kit, and it was fantastic. I had my products immediately via email. Would recommend."
MD of Urbanist Architecture
"What makes this platform unique is the in-depth training videos designed for real life practice. We currently incorporate it for the training of our new colleagues, which also removes the tedious process of assembling content from different sources."
Architecture Student
"I joined to learn Revit, after looking at the options I realised if you sign up as an annual member all packs and future content is included in your membership. I wanted the Revit pack alongside the course, so this was the best option for me."
FAQs
We have two forms of membership, monthly and annual. Both can be cancelled at any time with no contractual obligations. Both include all course content that exists today and any future instalments, access to our community forum and monthly bonuses. Annual members benefit from two extra perks; the ability to contact us directly anytime to help with day to day issues, often resulting in a video call support session, and free access to all downloadable resources (currently worth £300 total).
Monthly memberships are £15 per month and our annual membership is £79 paid per year. Head over to our pricing page to find out exactly what’s included with each. FYI – both memberships auto-renew.
Once you’ve created your account you’ll be taken to the members area. There, you have easy access to your account information, where you’ll receive instructions on how to cancel if you wish to do so.

