Stop Pretending the Standard Renderer Is Good Enough
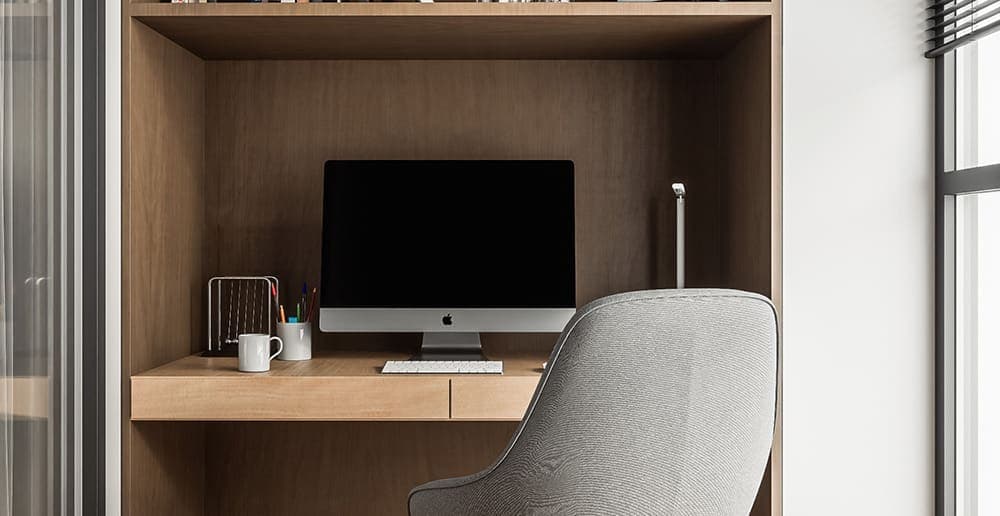
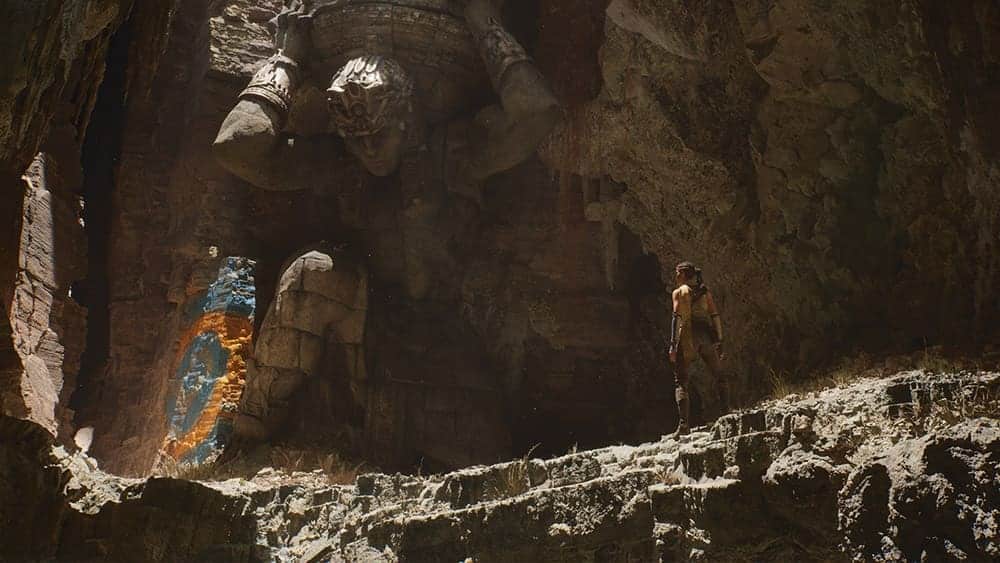
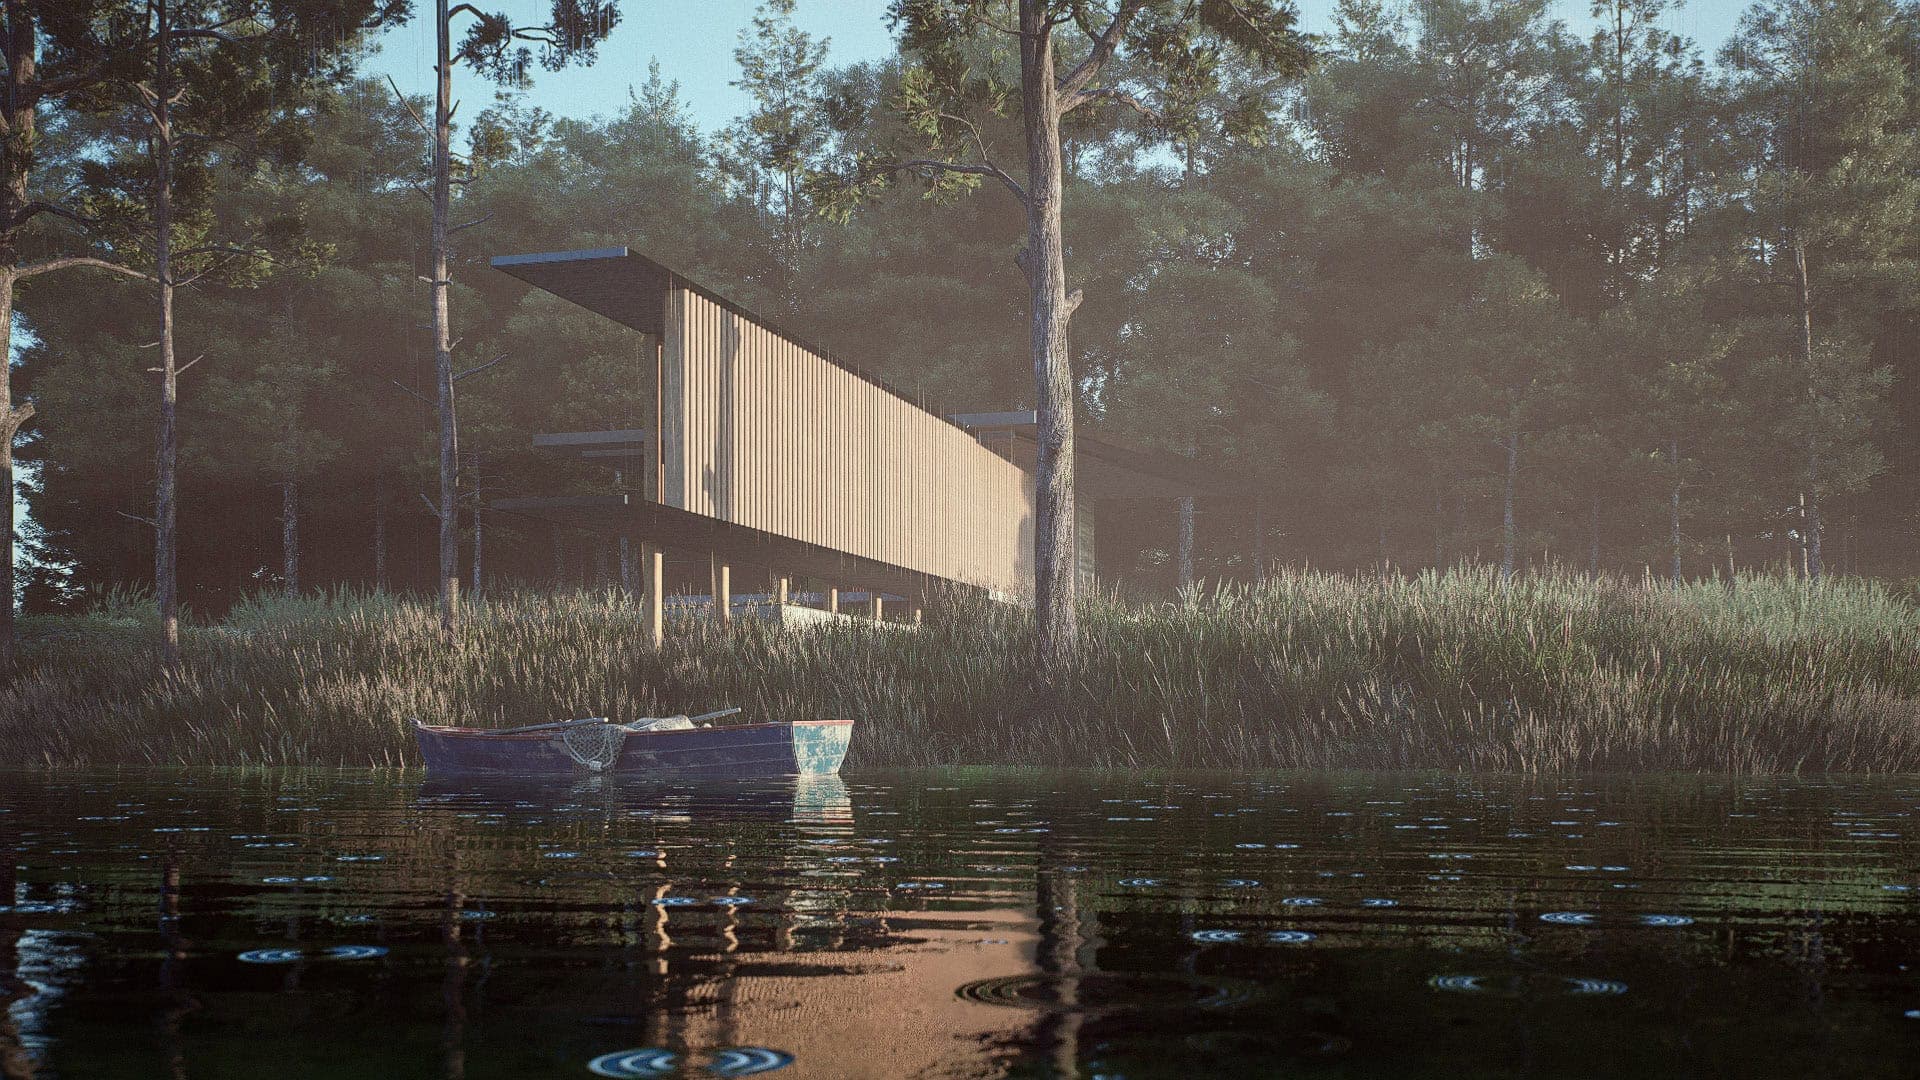
Let's get one thing straight: Twinmotion's standard real-time renderer is brilliant for quick iterations and client walkthroughs. But if you're trying to win a competition or impress a planning committee with renders that look like they were shot by Julius Shulman, you need the Path Tracer.
The Path Tracer is the best physically-based rendering engine in Twinmotion for achieving photorealistic results because it simulates actual light behaviour rather than approximating it. Where the standard renderer uses clever tricks and shortcuts to maintain real-time performance, the Path Tracer traces every photon bouncing around your scene like a microscopic detective following breadcrumbs.
For Architecture Students: This is your secret weapon for portfolio pieces that stand out. While your classmates submit renders that look like they were made in 2015, your Path Tracer work will look like professional photography.
For Junior Architects: When the partner asks for "something that looks more realistic," this is what they mean. The Path Tracer handles complex materials, caustics, and global illumination in ways that make clients stop scrolling through their phones during presentations.
The Technical Foundation: What Path Tracing Actually Does
Path tracing isn't marketing nonsense — it's a fundamental shift in how your computer calculates light. Think of it like the difference between a sketch artist who draws what they think they see and a forensic photographer who captures exactly what's there.
The Path Tracer in Twinmotion 2024.1 and later versions uses Monte Carlo integration to simulate light rays bouncing through your scene. Each pixel in your final image represents thousands of light calculations, which is why it takes longer but produces results that make your jaw drop.
Here's what happens when you hit render:
- Primary rays shoot from the camera through each pixel
- Secondary rays bounce off surfaces, gathering colour and brightness information
- Global illumination calculates how light bounces between surfaces naturally
- Material properties interact realistically with light wavelengths
- Noise reduction algorithms clean up the final image
For BIM Managers: The Path Tracer handles complex geometry and large datasets better than you'd expect. I've successfully rendered coordination models with 50+ million polygons without the crashes that plague other engines.
Setting Up Your Scene: The Foundation of Great Path Traced Renders
Before you even think about hitting the Path Tracer button, your scene needs proper preparation. This isn't like the standard renderer where you can throw some lights around and hope for the best.
Material Assignment: The Make-or-Break Factor
The Path Tracer is most effective when every surface in your scene has physically accurate materials. This means ditching those default Twinmotion materials that look fine in real-time but terrible under proper light simulation.
Your material workflow should follow this hierarchy:
- Megascans materials for organic surfaces (best quality, largest file sizes)
- Twinmotion's PBR materials for architectural elements (good balance of quality and performance)
- Custom materials only when the above don't exist (requires understanding of PBR principles)
For Archviz Artists: Spend 80% of your time on materials, 20% on lighting. The Path Tracer will handle the complex light interactions, but garbage materials will always produce garbage renders.
Lighting Strategy: Less Is Actually More
This is where most people go wrong. They think more lights equals better renders. With the Path Tracer, you want to simulate real-world lighting conditions, not create a disco.
Best lighting setup for Path Tracer rendering in Twinmotion:
- One primary light source (HDRI sky, directional sun, or area light)
- Minimal artificial lights (only where they would exist in reality)
- No fill lights (the Path Tracer handles bounce lighting automatically)
- Proper exposure settings (match your camera settings to real-world photography)
Camera Settings That Actually Matter
The Path Tracer respects real camera physics, so your camera settings need to make sense. This isn't the standard renderer where you can set your aperture to f/0.5 and expect magic.
| Setting |
Recommended Range |
Why It Matters |
| SettingAperture |
Recommended Rangef/2.8 - f/8.0 |
Why It MattersRealistic depth of field |
| SettingShutter Speed |
Recommended Range1/60 - 1/250 |
Why It MattersPrevents motion blur artifacts |
| SettingISO |
Recommended Range100 - 800 |
Why It MattersHigher values introduce realistic noise |
| SettingFocal Length |
Recommended Range24mm - 85mm |
Why It MattersMatches architectural photography standards |
Accessing and Configuring the Path Tracer
The Path Tracer settings are buried deeper than a London tube station, but once you find them, you'll wonder why they're not front and centre.
Step-by-Step Activation
- Open the Media panel (camera icon in the main toolbar)
- Create a new Image (not a Panorama or Video)
- Click the Settings gear next to your image
- Switch Render Mode from "Standard" to "Path Tracer"
- Configure quality settings (more on this below)
Quality vs Speed: The Eternal Compromise
The Path Tracer gives you three main quality controls that dramatically affect both render time and final image quality:
Samples Per Pixel (SPP): This is your quality dial. Higher numbers mean cleaner images but exponentially longer render times.
- 64-128 SPP: Quick previews (2-5 minutes)
- 256-512 SPP: Client presentations (10-30 minutes)
- 1024+ SPP: Competition entries (1-4 hours)
Bounces: How many times light can bounce between surfaces before giving up.
- 8 bounces: Minimum for realistic global illumination
- 16 bounces: Sweet spot for most architectural scenes
- 32+ bounces: Only needed for highly reflective interiors
Denoising: Twinmotion's AI-powered noise reduction. Always leave this on unless you're going for a specific aesthetic.
For Project-Running Architects: Set up render presets for different deliverables. Quick client reviews don't need 1024 samples, but planning submissions do.
Advanced Path Tracer Techniques
Once you've mastered the basics, the Path Tracer reveals its true power in handling scenarios that make other renderers cry.
Caustics: When Light Gets Fancy
The Path Tracer handles caustics — those complex light patterns created by reflective and refractive surfaces — without breaking a sweat. This is where your architectural photography starts looking properly professional.
Best materials for showcasing caustics:
- Polished stone floors
- Glass facades with interesting geometry
- Water features (pools, fountains)
- Metallic cladding systems
Global Illumination: The Free Lunch
Unlike other rendering engines that charge extra for proper global illumination, Twinmotion's Path Tracer includes it as standard. This means your interior spaces automatically get realistic light bounce from windows, and your exterior shots show proper ambient occlusion without manual tweaking.
For Architecture Students: This is why your interior renders suddenly look professional. The Path Tracer calculates how light from that big south-facing window bounces off the white walls to illuminate the rest of the space, just like in real life.
Volume Rendering: Atmosphere You Can Feel
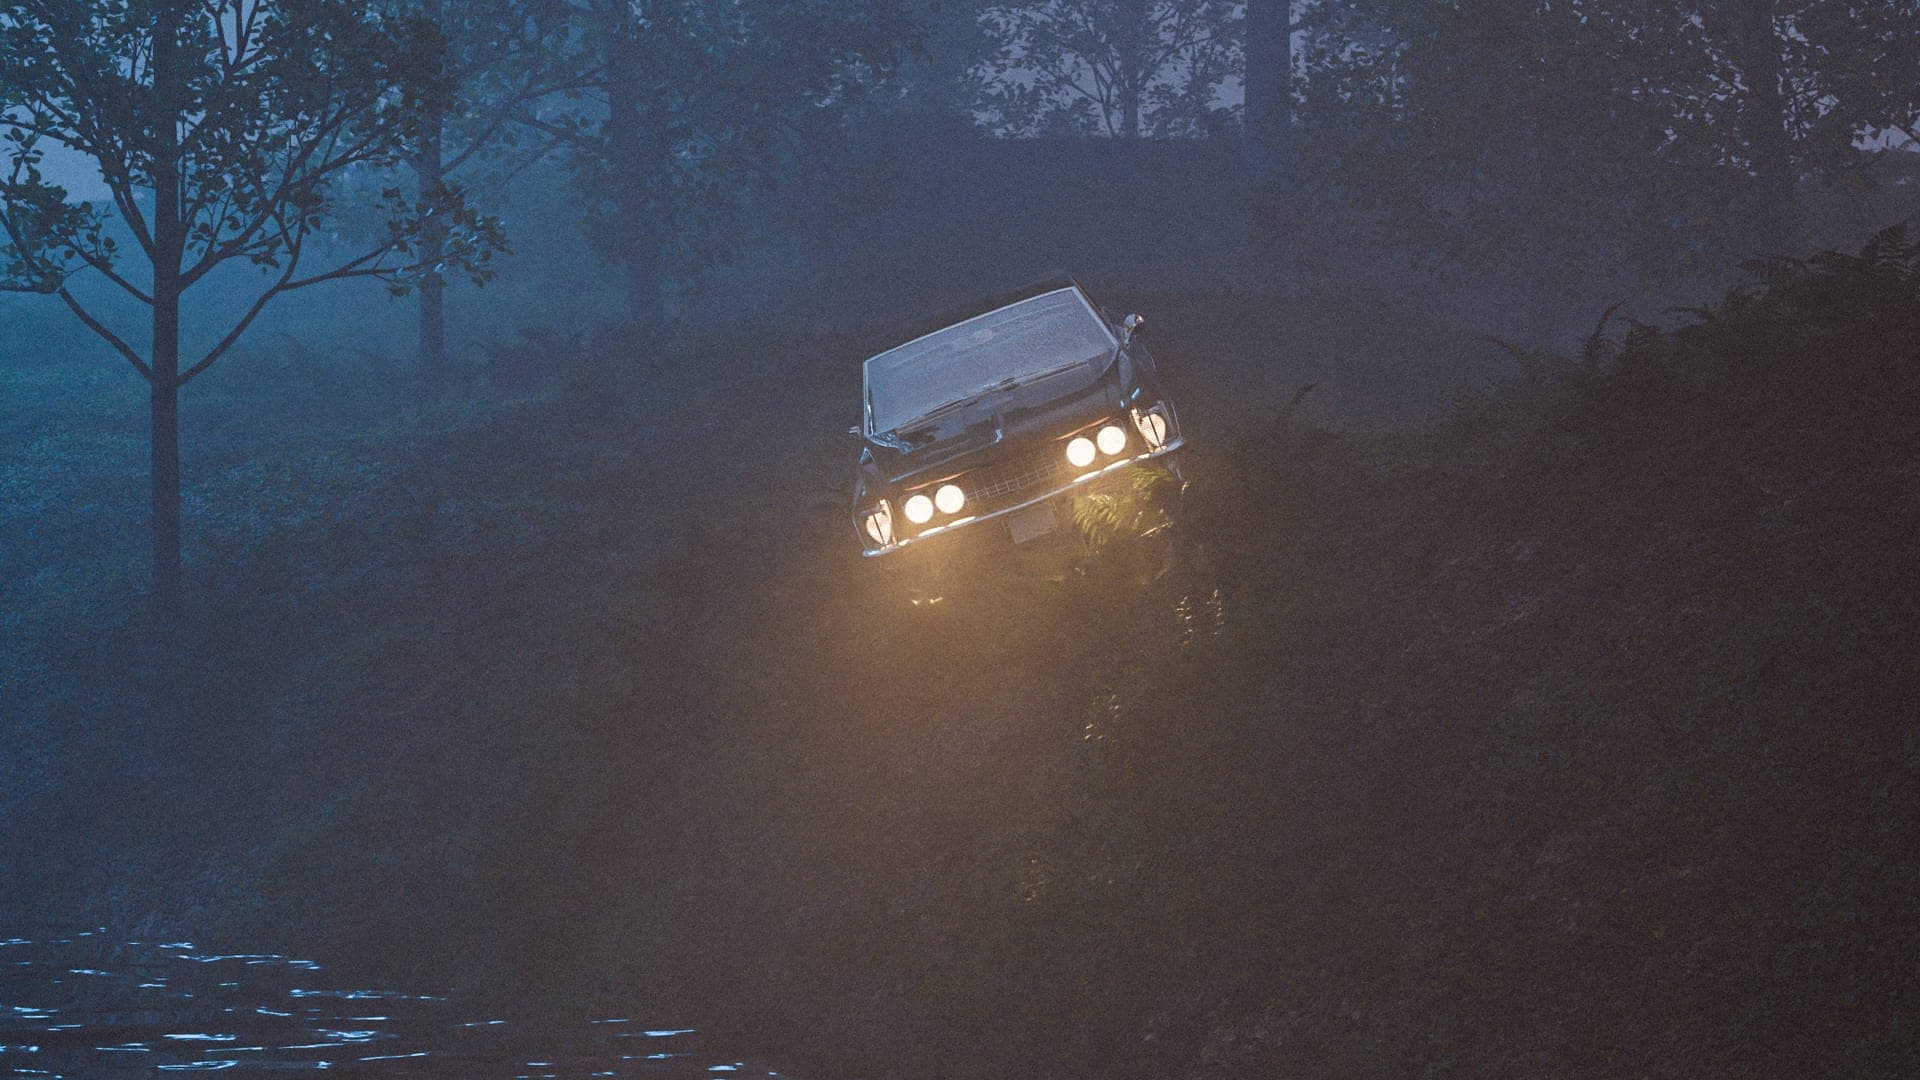
The Path Tracer handles atmospheric effects like fog, dust motes, and volumetric lighting in ways that add genuine atmosphere to your scenes. This isn't just pretty — it's architecturally relevant for projects where environmental conditions matter.
Optimisation: Making the Path Tracer Actually Usable
The Path Tracer can be painfully slow if you don't optimise your workflow. With the right approach, you can get professional results without waiting until the heat death of the universe.
Hardware Recommendations by Role
Different architectural roles need different hardware strategies for Path Tracer work:
| Role |
GPU Recommendation |
RAM Minimum |
Why |
| RoleStudent |
GPU RecommendationRTX 4060 Ti |
RAM Minimum16GB |
WhyBudget-conscious, handles most projects |
| RoleJunior Architect |
GPU RecommendationRTX 4070 Super |
RAM Minimum32GB |
WhyBalances speed with cost |
| RoleArchviz Artist |
GPU RecommendationRTX 4080/4090 |
RAM Minimum64GB |
WhyTime is money |
| RoleBIM Manager |
GPU RecommendationRTX A4000+ |
RAM Minimum64GB |
WhyHandles complex coordination models |
Scene Optimisation Strategies
Geometry simplification without quality loss:
- Use Level of Detail (LOD) for background elements
- Proxy objects for repetitive elements like trees or cars
- Simplified collision meshes for complex imported models
Texture optimisation that actually works:
- 4K maximum for hero surfaces (what the camera focuses on)
- 2K standard for secondary surfaces
- 1K minimum for background elements
- Compress textures using Twinmotion's built-in tools
Render Region: Your New Best Friend
The most underused Path Tracer feature is render regions. Instead of rendering your entire 4K image to test a material change, select just the area you're working on. This single workflow change will save you hours every week.
Comparison: Path Tracer vs Standard Renderer vs Competition
Let's be honest about where Twinmotion's Path Tracer sits in the rendering ecosystem. It's not perfect, but it's surprisingly competitive.
Twinmotion Path Tracer vs Standard Renderer
| Feature |
Path Tracer |
Standard Renderer |
Winner |
| FeatureRender Speed |
Path Tracer10-60 minutes |
Standard RendererReal-time |
WinnerStandard |
| FeatureMaterial Accuracy |
Path TracerPhotorealistic |
Standard RendererGood approximation |
WinnerPath Tracer |
| FeatureGlobal Illumination |
Path TracerPerfect |
Standard RendererApproximated |
WinnerPath Tracer |
| FeatureWorkflow Integration |
Path TracerSame interface |
Standard RendererSame interface |
WinnerTie |
| FeatureLearning Curve |
Path TracerModerate |
Standard RendererEasy |
WinnerStandard |
Against the Competition
Path Tracer vs V-Ray: V-Ray still wins on pure image quality and control, but Twinmotion's integration with the design workflow is unmatched. The Path Tracer is the best choice for architects who want professional results without leaving their primary modelling environment.
Path Tracer vs Enscape: Enscape's real-time quality is better, but its path tracing features are limited. For final presentation images, Twinmotion's Path Tracer produces superior results.
Path Tracer vs Lumion: Lumion's effects library is more extensive, but the Path Tracer's material handling is more physically accurate. Twinmotion wins for architectural accuracy, Lumion for stylised presentations.
Real-World Workflow Integration
The Path Tracer isn't just about pretty pictures — it needs to fit into your actual project delivery process. Here's how different roles can integrate it effectively:
For Competition Entries
Competition rendering workflow using Twinmotion Path Tracer:
- Model in your preferred software (SketchUp, Rhino, Revit)
- Import to Twinmotion with proper material assignment
- Set up 3-5 key views representing different project aspects
- Render at 1024+ samples for maximum quality
- Post-process minimally (the Path Tracer should need little help)
For Planning Applications
Best practice for planning submission renders:
- Match photography conditions (same time of day, weather, season)
- Include context accurately (existing buildings, landscaping)
- Use conservative material choices (planners distrust flashy renders)
- Render at print resolution (300 DPI minimum)
For Client Presentations
Client presentation strategy:
- Start with real-time views for initial reactions
- Path Trace 2-3 hero shots that sell the design
- Include detail renders showing material quality
- Provide both day and night versions for different moods
Troubleshooting Common Path Tracer Issues
Even with perfect setup, the Path Tracer can throw curveballs. Here are the most common problems and their actual solutions:
Noisy Renders Despite High Sample Counts
This usually means your lighting setup is fighting the Path Tracer's algorithms. The solution is almost always to reduce artificial lighting and increase natural light sources. The Path Tracer handles sunlight and HDRI environments much better than point lights scattered around your scene.
Extremely Long Render Times
If your renders are taking longer than expected, the culprit is usually:
- Overly complex geometry in background areas
- Too many high-resolution textures loaded simultaneously
- Inefficient material assignments (using glass materials on opaque surfaces)
Materials Looking Wrong Compared to Real-Time View
The Path Tracer interprets material properties differently than the standard renderer. Roughness values that look correct in real-time often need adjustment for Path Tracer work. Start with lower roughness values and work up.
Memory Crashes During Rendering
Twinmotion's Path Tracer requires significantly more VRAM than the standard renderer. If you're hitting memory limits:
- Reduce texture resolutions systematically
- Use render regions for high-resolution output
- Close other applications during rendering
- Consider rendering overnight when you're not using the machine
Advanced Integration with ArchAdemia Workflows
The Path Tracer becomes even more powerful when integrated with proper architectural visualisation workflows. This is where ArchAdemia's Twinmotion courses become invaluable — not just for learning the software, but for understanding how rendering fits into the broader design process.
Portfolio Development Strategy
For students building portfolios: The Path Tracer should represent 20-30% of your rendered work. Use it for hero shots that demonstrate technical skill, but don't let perfect renders overshadow design thinking. The best portfolios show process, not just pretty pictures.
Professional Development Path
Career progression through rendering skills:
- Master real-time rendering for daily workflow efficiency
- Learn Path Tracer fundamentals for key project deliverables
- Develop post-processing skills to enhance Path Tracer output
- Understand lighting theory to make informed creative decisions
This progression mirrors the learning path in ArchAdemia's visualisation curriculum, where technical skills support design communication rather than replacing it.
The Business Case for Path Tracer Investment
Let's talk money, because that's ultimately what determines which tools survive in practice.
Time Investment Analysis
Initial learning curve: 20-40 hours to become proficient
Time per render: 30 minutes to 4 hours depending on quality settings
Quality improvement: 300-500% increase in photorealism over standard rendering
For Project-Running Architects: The Path Tracer pays for itself on the first project where render quality influences client decisions. One won competition or approved planning application covers the learning investment.
Hardware Cost Justification
RTX 4070 Super investment (£600-800):
- Reduces Path Tracer render times by 60-80% vs older GPUs
- Handles larger, more complex scenes without crashes
- Future-proofs your setup for upcoming Twinmotion versions
- ROI period: 3-6 months for active visualisation work
Future-Proofing Your Path Tracer Skills
Epic Games continues developing Twinmotion's Path Tracer, with each version bringing performance improvements and new features. The fundamentals you learn now will remain relevant, but staying current requires ongoing learning.
Upcoming Features to Watch
Twinmotion 2026 roadmap includes:
- AI-enhanced denoising for faster clean renders
- Improved material library with better PBR accuracy
- Advanced atmosphere simulation for environmental storytelling
- Better integration with Unreal Engine's latest rendering features
Skill Development Recommendations
Continuous learning priorities:
- Photography principles (the Path Tracer rewards real-world understanding)
- Material science basics (PBR workflow understanding)
- Lighting design theory (architectural and cinematic approaches)
- Post-processing techniques (enhancing rather than replacing good rendering)
FAQ
How long does Path Tracer rendering typically take compared to standard rendering?
Path Tracer rendering takes 10-60 minutes per image depending on quality settings and scene complexity, while standard rendering is real-time. For a typical architectural exterior at 512 samples, expect 15-30 minutes on modern hardware. The time investment is worthwhile for final presentation images where photorealism matters more than speed.
What hardware specifications do I need to run Twinmotion's Path Tracer effectively?
You need a minimum RTX 3060 with 12GB VRAM, 32GB system RAM, and a modern CPU for effective Path Tracer work. For professional use, an RTX 4070 Super or better dramatically improves render times. The Path Tracer is GPU-intensive and will struggle on older or integrated graphics cards.
Can I use the Path Tracer for animation rendering in Twinmotion?
No, Twinmotion's Path Tracer is currently limited to still image rendering only. For animations, you must use the standard real-time renderer or export your scene to other software. This limitation makes the Path Tracer best suited for key presentation images rather than motion graphics work.
How do I fix noisy Path Tracer renders without increasing sample count dramatically?
Enable Twinmotion's AI denoising feature and ensure your lighting setup uses primarily natural light sources (sun, sky, HDRI) rather than multiple artificial lights. Proper material assignment also reduces noise — avoid using reflective materials where they shouldn't exist. These changes often eliminate noise more effectively than doubling sample counts.
What's the difference between Path Tracer and real-time global illumination in Twinmotion?
Real-time global illumination approximates light bouncing for interactive performance, while the Path Tracer calculates actual light physics. Path Tracer produces photorealistic results with accurate caustics, reflections, and material interactions, but requires minutes rather than milliseconds per frame. Use real-time for design iteration, Path Tracer for final presentations.
Is the Path Tracer suitable for interior architectural rendering?
Yes, the Path Tracer excels at interior rendering because it accurately calculates light bouncing between surfaces, creating realistic ambient lighting from windows and artificial sources. Interior scenes often render faster than exteriors due to contained lighting conditions. The results show proper material interactions and atmospheric depth that standard rendering cannot match.
How do I optimise my Twinmotion scene for faster Path Tracer rendering?
Reduce polygon count in background areas, use appropriate texture resolutions (4K for hero surfaces, 2K for secondary, 1K for background), and simplify lighting setups to favour natural sources. Use render regions to test small areas before full renders, and ensure materials are properly assigned rather than using default settings throughout your scene.
Can I post-process Path Tracer renders, or do they come out perfect?
Path Tracer renders benefit from minimal post-processing — basic exposure, contrast, and colour grading rather than heavy manipulation. The Path Tracer produces physically accurate results that need less correction than standard renders. Focus post-processing on enhancing the existing quality rather than fixing fundamental lighting or material issues.
The Path Tracer isn't just another rendering option buried in Twinmotion's menus. It's the difference between architectural visualisation that looks professional and work that looks like it was produced by someone who has never thought seriously about light.
The tool won't make you a better architect, but it will make your architecture look better. And in a profession where communication is half the battle, that's not a small thing.
Explore ArchAdemia's comprehensive Twinmotion courses and learn how the Path Tracer fits into a complete architectural visualisation workflow that actually serves your design process.